Create a WordPress image upload form easily! Follow this step-by-step guide to let users upload images without hassle. Perfect for any website!

User-submitted images can be a valuable addition to your website. However, accepting and processing these visuals manually requires time and effort.
This is where an image upload form can be a lifesaver. When visitors can submit files via an automated form, you get all the benefits of user-generated content without any administrative headaches.
In this post, we’ll explore why you may want to accept images submitted by your users. Then, we'll show you how to create a WordPress image upload form in three easy steps. Let’s get started!
Why you might want to create WordPress image upload forms
You might enable people to submit image files to your website for many reasons.
For example, if you run a membership site, subscribers often want to upload profile pictures to their accounts. You may even want users to add profile pictures as part of the signup process. You can do this by creating a registration form with an image upload plugin in WordPress:
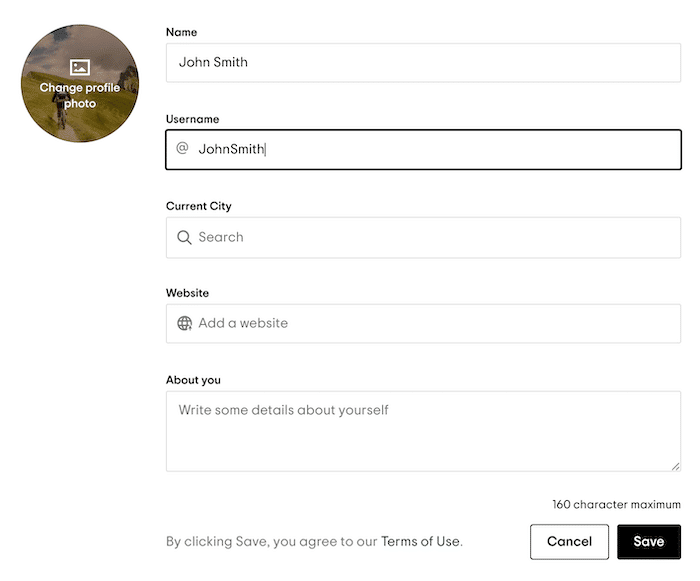
Enabling members to personalize their profiles with images can improve the user experience and create a sense of community, as members can see the people they’re interacting with.
If you accept guest posts, authors can use a file upload form to add images to their submissions. This can help them create more engaging multimedia content:

Lastly, allowing users to upload form submissions into a space-saving image carousel is a great way to increase user engagement, create a dynamic website, and make your site look sleek and interesting.
How to create WordPress image upload forms (in 3 steps)
If you want to accept product reviews, allow guest posts, or run a membership site, you’ll almost certainly need an image uploader for WordPress.
Let’s see how easy it is to create this element using the Formidable Forms plugin.
Step 1: Create a new form
In the WordPress dashboard, navigate to Formidable > Forms. Then click on the Add New button and select Create a blank form.

To start, give this form a straightforward name and enter an optional description. When you’re happy with the information you have entered, click Create.
Now, you can start adding fields to your form. This may vary depending on your desired result. For example, you might build a form where guest authors can submit their text, complete with relevant images. You might collect the author’s name and email address in this scenario. You can even add a Text field where your guest writer can submit the body of their blog post.
To complete this step, find the File Upload in the left-hand menu of Formidable Forms. When you find it (or any other field you need), drag and drop it onto your form:
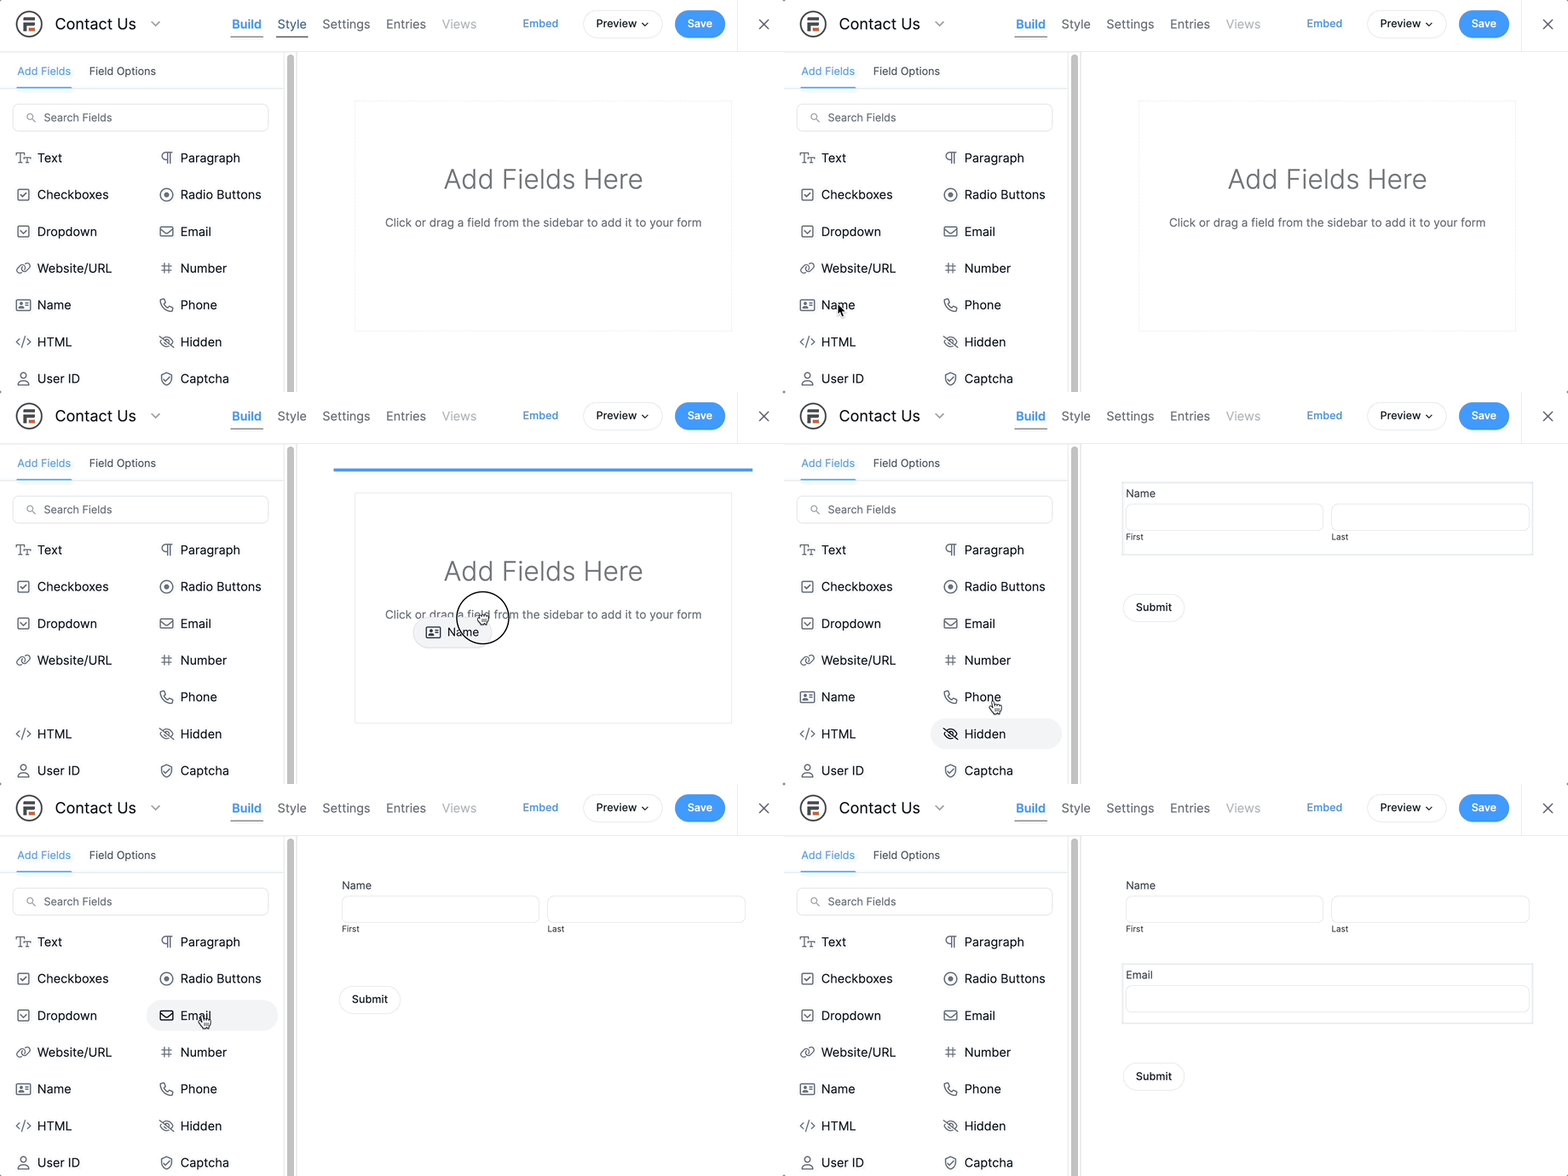
That's it! However, you should note that since File Upload is an Advanced Field, you'll need a premium license to access it. Once you’ve added all of the supporting fields, it’s time to move on to the main part of the show!
Step 2: Configure the image upload field
There are a few ways you can configure the File Upload field. To start, click on it and make sure the Field Options tab is selected in the left-hand menu:
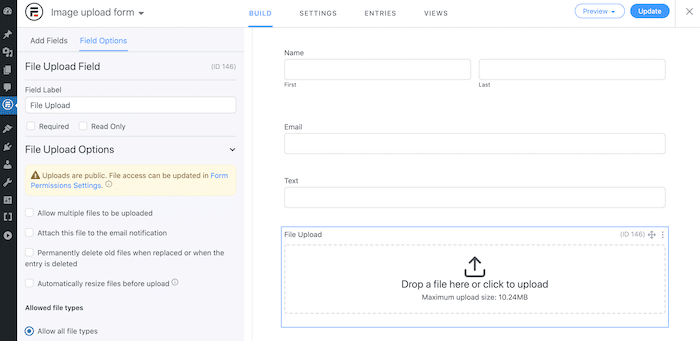
You can now choose whether the user can upload multiple files simultaneously. This can be particularly useful for guest posts and product reviews, which often benefit from featuring multiple images.
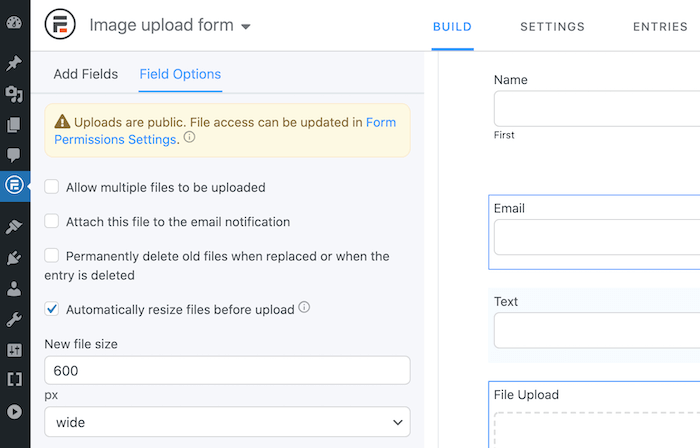
However, large files can be bad news for your site’s performance and may even eat into your data storage allowance. For this reason, you may want to resize larger files automatically. If you decide to enable this setting, you’ll be prompted to specify a New file size:
If you’re concerned that visitors may attempt to upload large, high-resolution images, you may also want to specify a maximum file size. You can set this limit using the Max file size field:
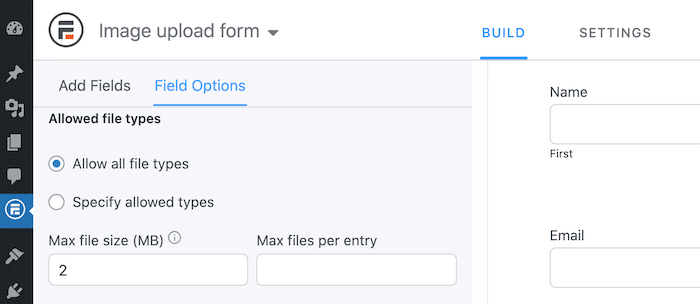
Some files pose a bigger security risk than others. Allowing users to upload any file format to your site can make it more vulnerable to attack and lead to a poor user experience. For example, if a guest author submits images in unsupported formats, you may have to ask them to resubmit their form.
With this in mind, you might want to specify the file formats you accept. To start, select the Specify allowed types checkbox:
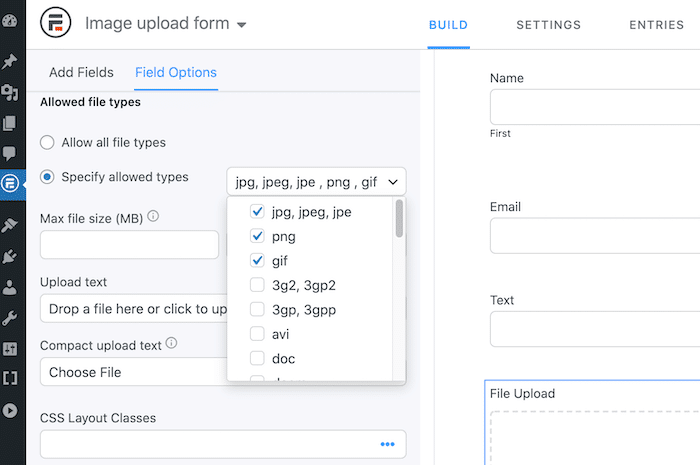
You can now select the permitted file formats from the accompanying drop-down menu. This can also effectively transform a generic file upload form into an image-only form.
Step 3: Publish your form
You can embed your form using a shortcode when ready to go live. In the WordPress dashboard, select Formidable and find the form we just created:
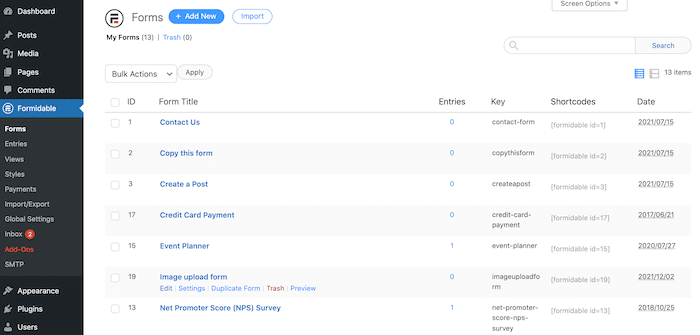
Formidable Forms generates the embed shortcode automatically, so copy this information. Then, navigate to the post or page where you want to embed your form and create a new shortcode block.
Paste your Formidable Forms embed code into this block. You can now publish or update this page as normal. Then, visitors can upload images to your WordPress website easily.
Whenever someone completes this form, you can view their submission by navigating to Formidable → Entries in your WordPress dashboard. Then, hover over the submission you want to examine and click on View:
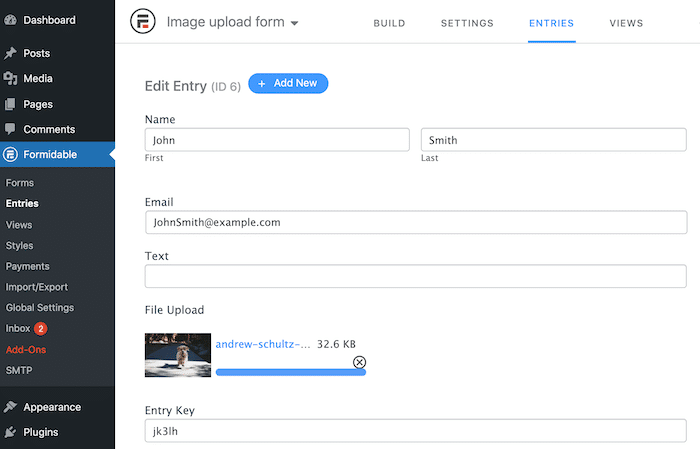
This will open a screen containing all of the information that this person submitted. To view any of their images, click on the accompanying links.
Ready to create a WordPress image upload form?
Visitors may want to submit images to your site in many scenarios. However, manually accepting, processing, and publishing those images can be time-consuming and may require additional email correspondence.
Let’s quickly recap how to add a WordPress form for uploading images:
- Create a new form using Formidable Forms.
- Configure the image upload field.
- Publish your form.
An image upload form is a WordPress must-have if you accept guest posts, product reviews, or membership registrations. This is just one example of using Formidable Forms – check out what other forms you can create!
 How to Upload Files to Dropbox from Your WordPress Forms
 9 Best WordPress File Upload Plugins
 How to Create the Ultimate WordPress File Upload Form
This article was rather disappointing. I am trying to create a form with a file upload field. The problem is - when I preview it all that shows up is a file path. It is not even a link (which would still not be acceptable). Why does the preview not default to displaying the document itself...not a path or a link? Moreover, this article does not even talk about that or how to resolve it by referencing another article. Just maddening.