Discover how to style Mailchimp forms in WordPress step-by-step! Explore two simple ways to customize and match forms to your website’s style.

Approximate read time: 5.5 minutes
Want to give your Mailchimp forms a fresh new look that matches your website better?
Well-designed forms can make your brand stand out and help you get more signups at the same time. But figuring out how to style the forms seems a bit difficult.
Don't worry, though. It's easier than you think.
In this post, we'll show you two ways to style your Mailchimp forms: using Mailchimp and using a WordPress form plugin.
Let’s get started.
How to style Mailchimp forms in WordPress
Mailchimp’s forms look great but are a bit basic.
And customizing them to match your site is an excellent way to make them stand out.
So, there are two ways to style your Mailchimp form in WordPress:
Since both work, we’ll show you how to do each.
1. How to style forms with Mailchimp
Styling Mailchimp’s forms using their method can be complicated.
You’ll need to know at least some code to start. If you don’t, things may get confusing very quickly. So we recommend this method to people confident in their coding abilities.
To start customizing your form, head to your Mailchimp account and go to Audience → Signup forms → Embedded forms.
Feel free to customize your form fields by adding an email address, first name, or last name field. Once you’re finished, click Continue. Next, you’ll see HTML code you can copy and paste to your site to display your form.
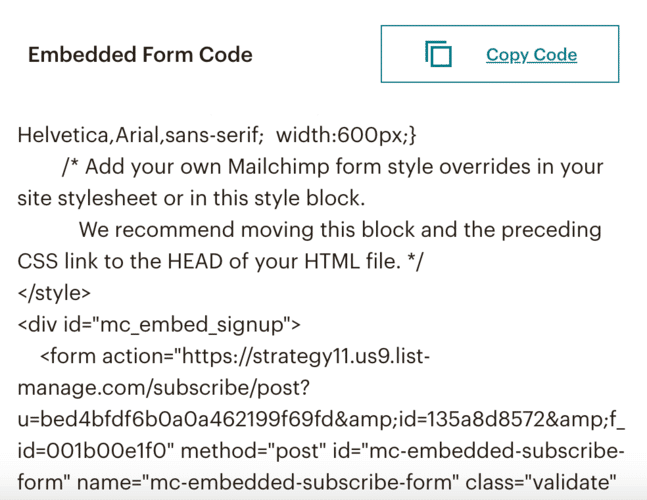
Customizing the Mailchimp embed form means customizing the embed form code.
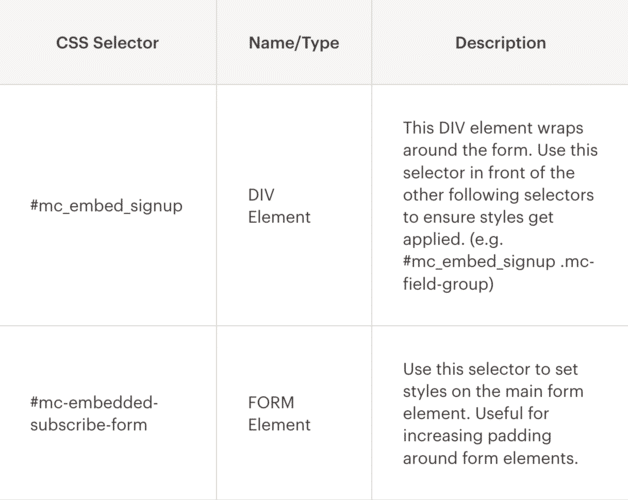
But, sometimes, you have to use Mailchimp’s CSS hooks. And Mailchimp has over 30 of them, like mc-embedded-subscribe-form or mc-embed signup.
If you’re comfortable with CSS and using these hooks, you can do a lot with your forms.
Customize input fields, your submit button, and any form actions are possible by pasting this embed code into an editor and changing it.
Change your form’s background color
You must target the <div id=”mc_embed_signup”> code to change your form's background.
So, in your style section, you’ll see a piece of code:

You can change this code to adjust your form’s background. For example, you can change the background: #fff to background: #000 to change the background to black.

But now the text isn’t visible. You can add the color #fff to change it to white.
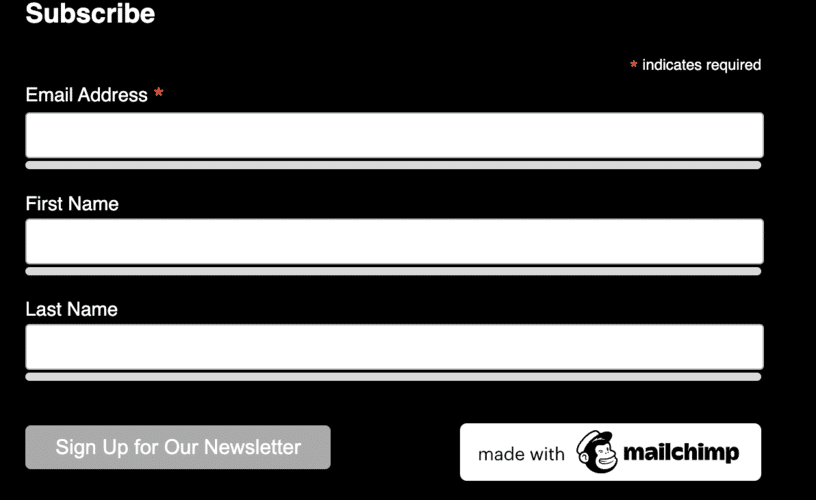
Now, your form looks even better!
Feel free to play around with the customization to see if you can match your WordPress site!
Customizing your submit button
Now, let’s see how to change your submit button.
So, you need to target the <input type=”submit”>. But we’ll need to do it differently from your form background.
Head to your <style> section, and add some code for your Mailchimp form style overrides:

This will set your button background to white and your text to black.
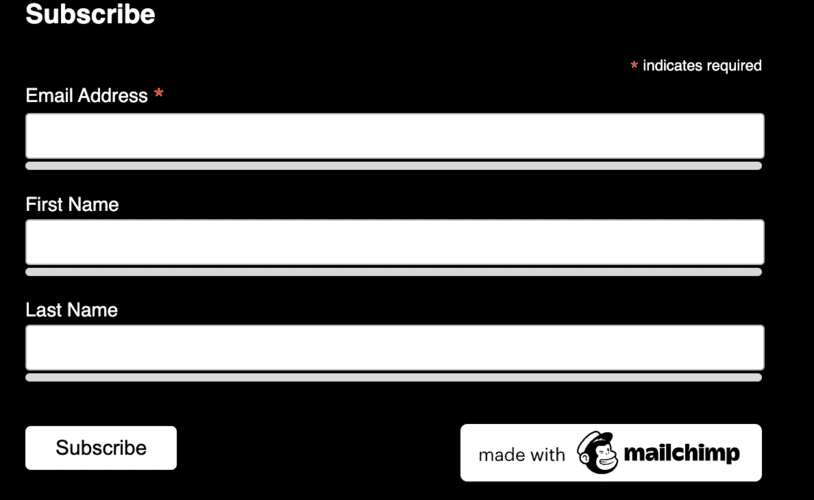
And now your form is starting to come together!
You can continue customizing your form by targeting CSS hooks like the mc-field-groups and the <input type=”email”> code.
But if you want an easier way to style your Mailchimp forms, check out the method below.
2. Style your forms with a form builder
Using custom CSS is great for giving you control over your form’s design.
If you know how to code.
But if you want a much simpler option, we suggest Formidable Forms.
Formidable is WordPress's most advanced form plugin, making customizing your form a breeze. Whether it's a contact form or a Mailchimp popup, Formidable has you covered.
Plus, its Mailchimp integration and a great Visual Form Styler make it the perfect Mailchimp form builder.
So, get Formidable installed and activated, then we’ll get started.
And there are only a couple of steps to get it done:
- Connect Mailchimp and Formidable
- Create your form
- Customize the design
- Display your form

1. Connect Mailchimp and Formidable
In your WordPress dashboard, go to Formidable → Add-Ons, find the Mailchimp add-on, and install and activate it.
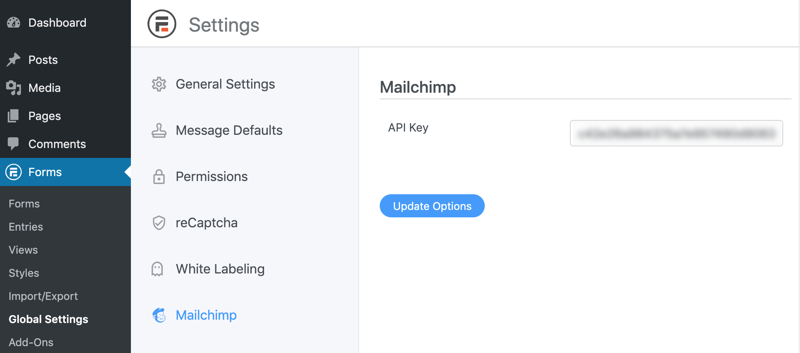
Next, go to Formidable → Global Settings → Mailchimp.
You can enter your Mailchimp API key to connect to your Mailchimp account.
Now that your Mailchimp account is connected, it’s time to create your form!
2. Create your form
To start creating your form, go to Formidable → Forms, and click Add New.
Next, choose from one of Formidable’s many templates or a Blank Form to start from scratch.
Then, name your form and click Create.
The plugin will take you to its drag and drop form builder, where you can begin creating your form.

Feel free to customize the form by adding email, name, and text fields to fit your needs.
Once finished, click Update to save your changes, head to Settings → Actions & Notifications, and click Mailchimp.
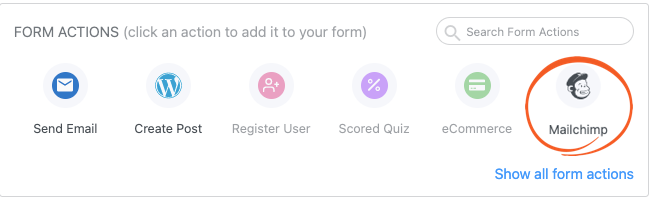
A Mailchimp action will appear below, and you can customize your Mailchimp settings.
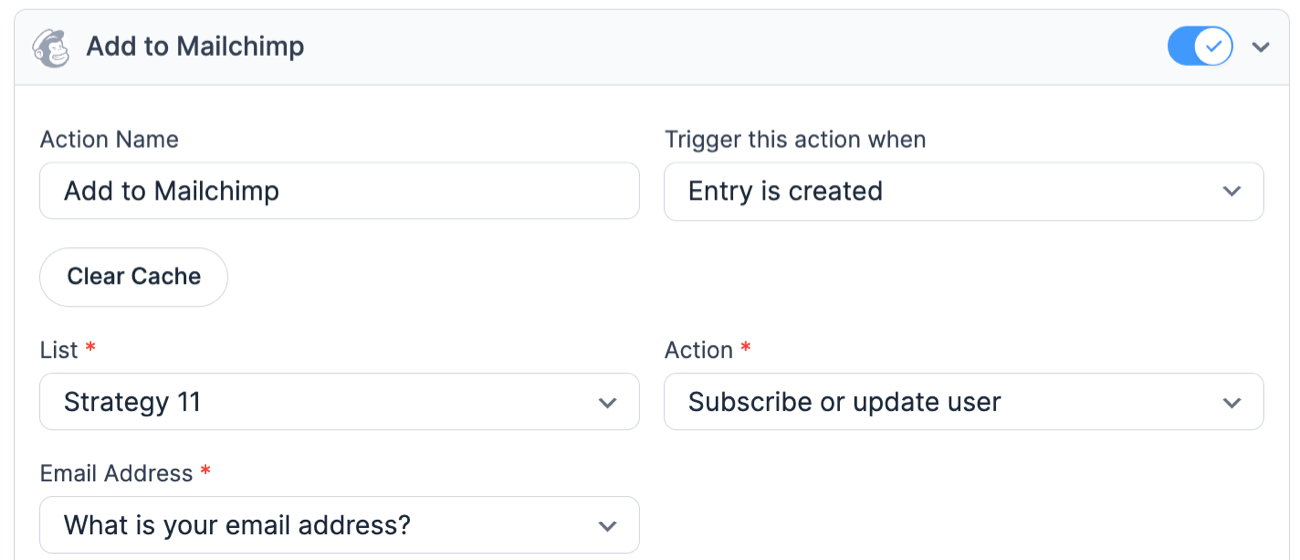
Once you have them set, click Update to save your changes. Adding a Mailchimp subscriber to your email list is as simple as filling out your form.
Now, it’s time to customize your form. So, let’s head to the Style tab.
3. Customize the design
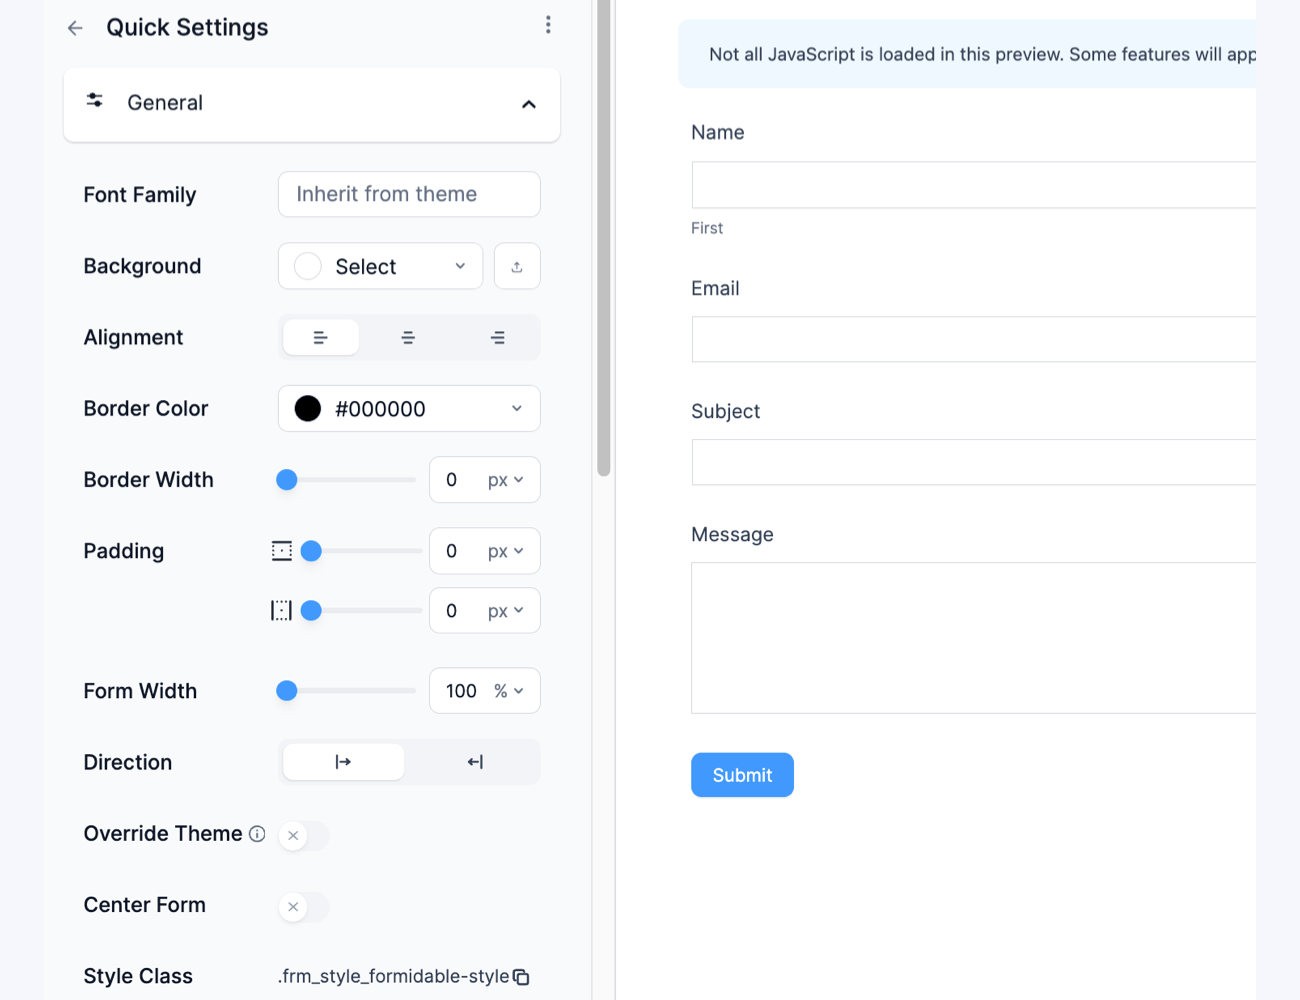
Formidable’s Visual Form Styler makes customizing a beautiful form easy for anyone.
No need to code or use CSS Hooks. Simply click and adjust the settings in the sidebar.
So, you’ll see a few options in Formidable's Style tab.

Select one of Formidable’s premade design templates to save time or begin styling your own.
To customize one, click the three dots on the template and click Edit.

In Formidable’s Styler, you can customize your form to fit your needs.
Change font sizes, border radius, colors — anything you see; you can customize.
You can get creative with your form and make it unique for any website.
For example, here’s a form we created for a test website we use!
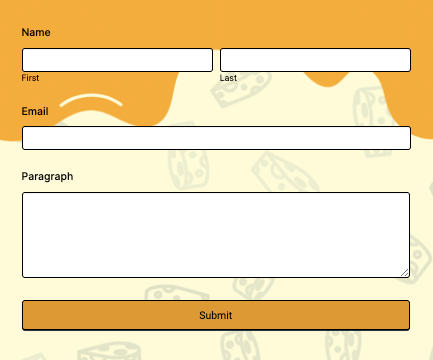
Formidable’s Styler makes it easy for you, whether a beginner or an expert.
So, play around with the settings and make the form your own. When you're finished, make sure you click Update to save your changes.
Now, let’s get that form displayed.
4. Display your form
First, head to the post or page where you want to add your Mailchimp form.
Next, add a new WordPress block, then search for the Formidable Forms block and add it.
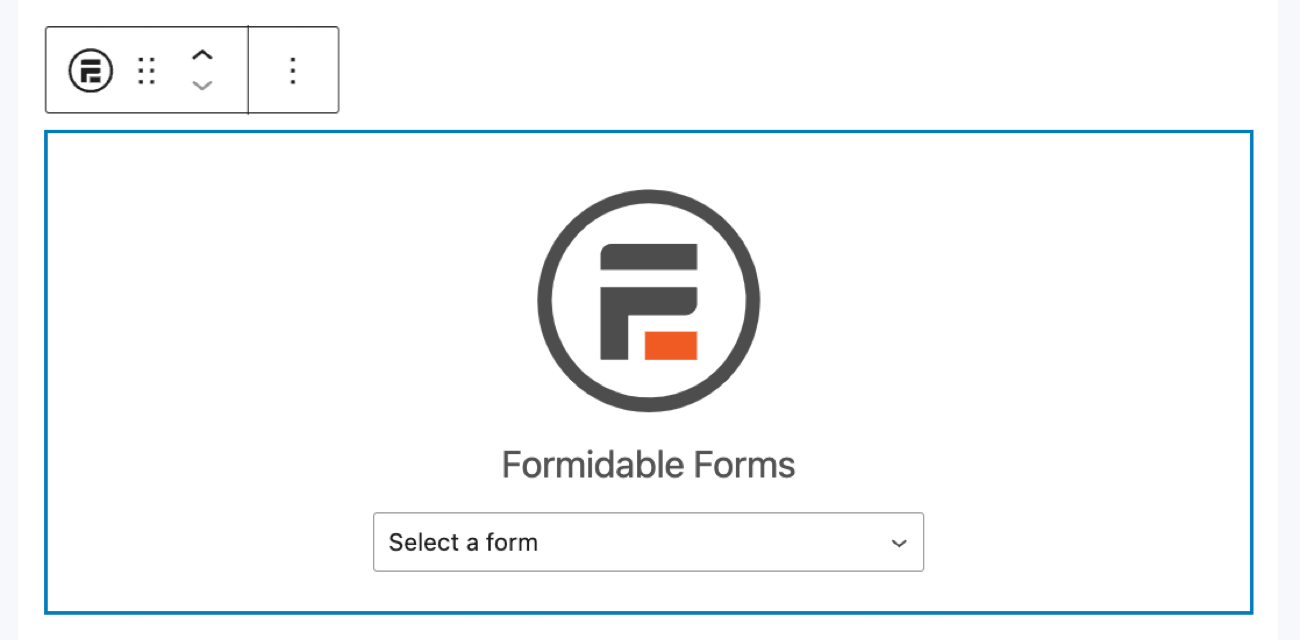
Then, choose your form from the dropdown menu, and you’ll see your form.
Last, click Update to save the changes, and your form is live!
We told you Formidable is the best for easy forms for Mailchimp! With just a few simple steps, you have your custom form ready.
No code, no hassle — just easy form building.
How will you style Mailchimp forms in WordPress?
Customizing your Mailchimp signup form in WordPress is the best way to make your forms stand out.
Today, you learned two different ways to customize embedded forms for Mailchimp: using code and Formidable Forms. Which one you choose will depend on your comfort with code, although we recommend Formidable even if you’re an experienced coder.
If you’re still wondering why Formidable is the best choice, check out this post on why it’s the best Mailchimp signup form WordPress plugin.
You won’t be disappointed! If you’re ready, head to our pricing page and snag one of our excellent plans.
Last, follow us on Facebook, Twitter, and YouTube for more great Mailchimp tips and tricks!
 How To Add a Mailchimp Signup Form to WordPress [4 Steps!]
 The Best Mailchimp Form Builder for WordPress
 7 Best Mailchimp Plugins for WordPress
Leave a Reply