Are you looking to connect your Pipedrive form to WordPress? We'll show you how to quickly set up a Zapier Pipedrive webform!

If you use Pipedrive, you probably already know that it can support your marketing strategies. However, manually updating it with data can take up a lot of your time. In addition, inputting more information only gets harder as you continue to find new leads.
Fortunately, you don't have to add your information by hand anymore. With the help of our Formidable Forms plugin and Zapier, you can automate your Pipedrive form and WordPress linking process.
In this article, we'll cover a few reasons why you might want to connect Pipedrive to your WordPress website. Then, we'll show you how to do it in just two simple steps. Let's get started!
Why you might want to connect Pipedrive to WordPress
If you're not familiar with Pipedrive, it might be time to change that. It is a versatile marketing tool that you can apply to almost any niche. Pipedrive can help you plan sales, keep track of customers, and efficiently close deals.
In simpler terms, Pipedrive is a conversion multitool:
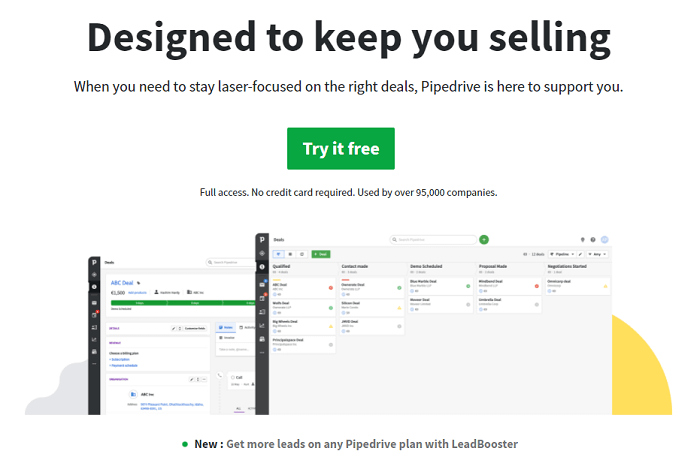
Still, even an advanced tool like this is pretty useless without customer data. That's where Formidable Forms comes in. With our plugin, you can create surveys to collect a wide range of information from your users. This data, in turn, can be used with Pipedrive.
For example, you could use our plugin to build with front-end profile editing. With this easy access, your customers can keep their contact records updated. As such, you can help make sure that you can always reach out to potential leads.
Best of all, Formidable Forms comes with built-in Pipedrive WordPress integration. This simple connection means you can make the most of your user data without all the manual upkeep. The result is a quicker, easier, and better way to power your marketing strategy.
How to connect a Pipedrive form to WordPress
Before you dive into our walkthrough, you'll need a few accounts. Make sure you have a Formidable Forms Business Plan or higher, the Zapier add-on, a Pipedrive account, and a Zapier account. Once you have all that set up, you can get started.
If you prefer a direct integration instead of going through Zapier, there's a great Formidable Pipedrive integration from Help for WordPress you can use instead. We'll go ahead and show you how to setup the Zapier Pipedrive automation.
Step 1: Set up your Formidable Forms trigger
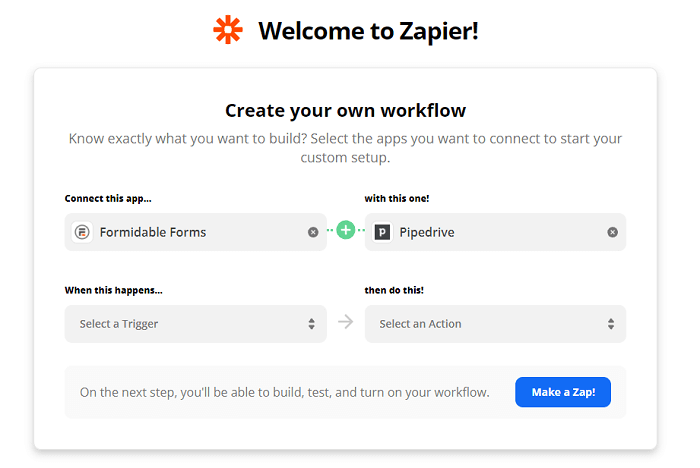
First, head over to Zapier. Once you get to the dashboard, find the box labeled Create your own workflow.
In the first search field, enter Formidable Forms. Afterward, enter Pipedrive in the second field. Doing so will generate a new screen:
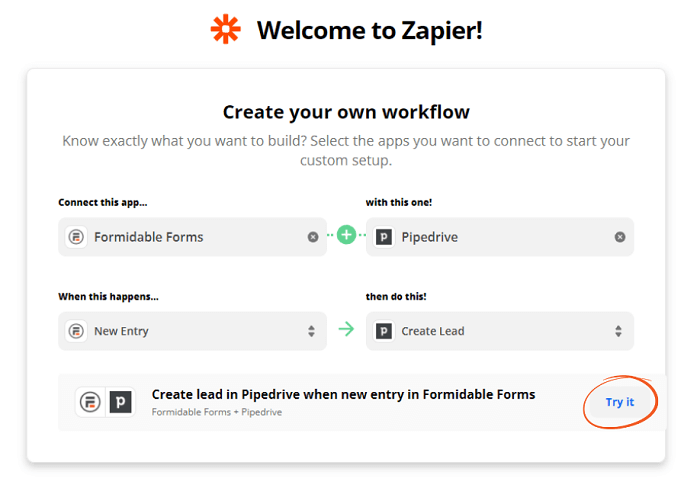
You can now use this form to set up your specific trigger. For the first box, we've selected New Entry. For the second, we chose Create Lead.
With these settings, Pipedrive will create a new lead every time a form entry is added. However, you're not limited to these actions: you might also select ones such as Update Person, Add Follower, or Update Deal.
After you've entered your trigger, click on Try it to see your finished workflow:
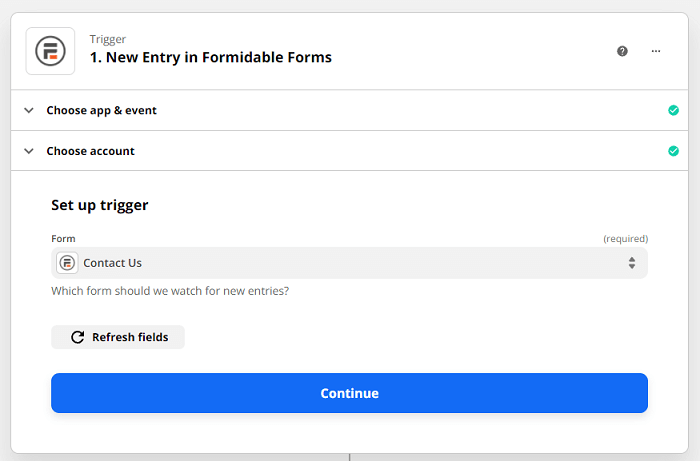
At this point, you'll need to sign in to your Formidable Forms account. You can then select which form you want this trigger to apply to, such as your lead generation form. Then, click on Continue:
Finally, you can test this connection. However, it's an optional step, so feel free to skip it. Once you've finished up, continue to step two.
Step 2: Choose your Pipedrive result
Now that you've set up your trigger, you can move on to the result for the automation. You should see the action you chose in the first step. However, you'll also have the chance to change it at this point:
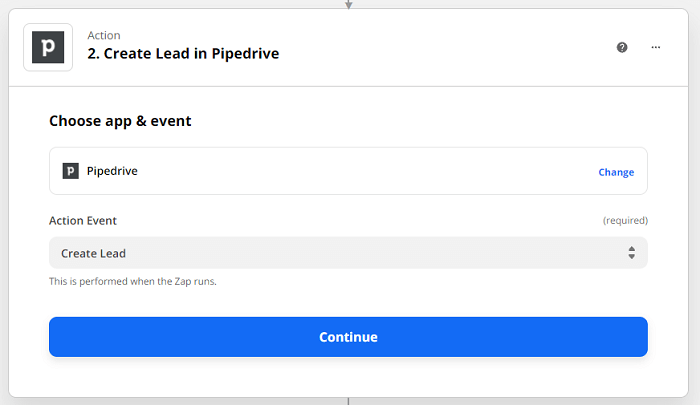
Next, click on Continue and log in to your Pipedrive CRM account when prompted. This will link up Pipedrive to Zapier without an API key. You'll then reach a set-up screen for mapping to Pipedrive that looks something like this:
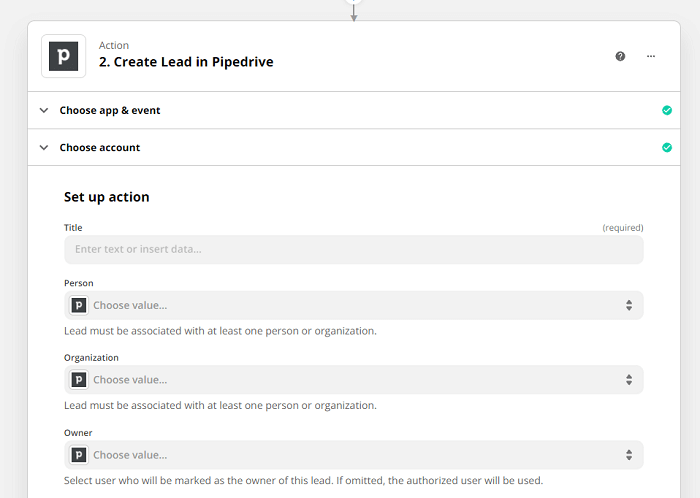
Here you can map contact form fields (or whatever form you choose) to Pipedrive fields. Any Pipedrive custom fields should show up here for mapping as well.
Afterward, you'll see three options: Test & Review, Test & Continue, and Skip Test. Testing can potentially save you troubleshooting later on, but again, it's optional.
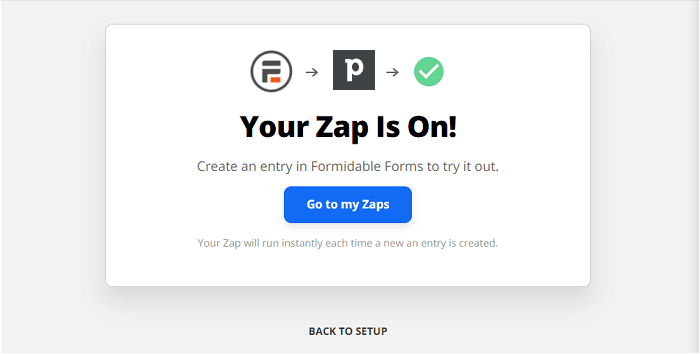
Once you're all finished, click on Turn on Zap to complete the process:
While you're still on Zapier's site, you may want to consider adding a few of our other integrations. For example, a Dropbox integration or creating customers with Quickbooks can save you a lot of time. Try using several Zapier triggers to increase your site's efficiency!
Conclusion
Pipedrive can be an essential marketing tool. However, it needs the right user information to operate. Fortunately, an automated Zapier connection to your Formidable Forms data is an easy way to streamline the whole process.
In this article, we showed you how to create a Pipedrive and WordPress connection in just two steps:
- Set up a trigger from your Formidable Forms account.
- Select which Pipedrive action you want to happen as a result.
Formidable Forms can make your marketing automation a breeze. Consider checking out a few other ways that our automation features can simplify your workflow!
 10 Incredible Examples of AI in Everyday Life
 How To Use AI in WordPress [5 Great Examples!]
 How To Add WordPress Payment Gateways without WooCommerce
Leave a Reply