Want a quick way to organize your MailChimp groups? Learn how to allow users to choose MailChimp groups on your WordPress website using forms.

Approximate read-time: 6 minutes
MailChimp groups are a great way to keep your email list organized. Email marketing is easier to manage when you can segment things more clearly.
That doesn’t just apply to you. Your clients and website visitors will appreciate a bit of organization. After all, it makes their lives easier too.
Why use MailChimp groups?
Let's say you offer several services or plans in your business. You’ll have a variety of things to talk to your email list about, but not everyone will want to read everything you send.
If the emails you send out aren’t relevant to the recipient, it can become a bit annoying. Annoyed people don't make good customers!
When a user receives a series of emails that are only 20% relevant to them, they are much more likely to unsubscribe. This is terrible news for your business.
The solution is to use MailChimp groups. Setting up MailChimp groups is the best way of managing a list if you know you have subscribers with different interests.

Here's the best part: setting up groups is often much easier than managing multiple audiences and separate email lists.
MailChimp's groups feature adds an easy way to segment audiences and send only relevant emails to the appropriate recipients. But you can even go one step further.
Did you know you can give users the option to choose which email group to sign up for? This is the key value of groups. You give users the power of choice!
All you need to use MailChimp groups on your website is a solid WordPress form plugin. Before we get into that, let's look at the difference between groups and tags in MailChimp.

How are MailChimp groups different from tags?

Groups refer to people categorized by the same interests, but tags are slightly different. While groups make it easier to organize tagged contacts, tags don't need to be used for a group.
Think of groups more like a sub list, while tags are extra details that may be wide-spread. Groups are great if you know you have two or more separate interests that fall under the same audience.
On the other hand, tags work well when you need to categorize people under certain conditions, for example, pro users or free users, or people who have purchased in the past 30 days vs those who haven't.
Tags can be based on much wider criteria, giving them more flexibility than static groups in MailChimp. But that doesn't mean groups are not a powerful feature.
Want to learn how to set up MailChimp groups in WordPress forms? Keep reading.
Step 1 – Set up Formidable Forms and MailChimp

Before anything else, you will need to install and activate Formidable Forms in WordPress.
Download the Formidable Forms WordPress plugin from your Account page and install it onto your WordPress site. You can find instructions and how to activate Pro in our documentation.
You will also need to set up an account with MailChimp to be ready to integrate. This is easy with our MailChimp integration plugin.
Our MailChimp plugin links the two apps so that you can set up a MailChimp newsletter opt in form. That form takes subscribers directly to the email marketing platform.
Step 2 – Create MailChimp groups
To create MailChimp groups, log into your MailChimp account and find the Audience tab.
If you have more than one Audience, you may need to select the Current Audience dropdown. Click on Manage Audience and choose Manage Contacts.
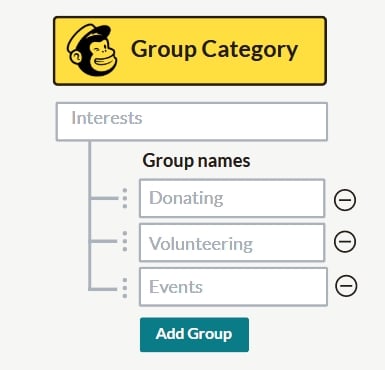
Click Groups, then Create Groups. Choose a Group Category name. This is the overall category or theme that your subscribers will see, giving them an idea of what its focus is.
You can choose as many Group Names as you need according to the different options, e.g. group 1, group 2. Finally, save your new group.
Step 3 - Customize how users see group options in MailChimp
Formidable Forms uses its own forms for signups. But MailChimp's built-in forms may also appear when users click links in their MailChimp emails to edit preferences or unsubscribe.
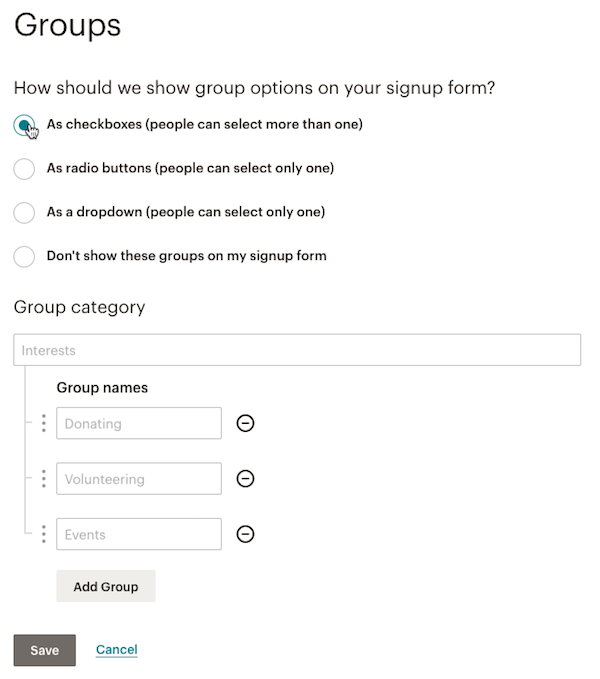
In cases like these, it's important to customize how users see group options in MailChimp too. You can show these options in a dropdown list, through radio buttons or a checkbox (as shown in the screenshot below).
This will give users the option to edit or unsubscribe from their previously-selected group(s) or unsubscribe from your list entirely.

Step 4 – Create a MailChimp signup form
Once you’ve got everything set up and ready to go, it’s time to dive right in and build a MailChimp signup form.
You can either use a form you’ve already made or build a new contact form with our drag and drop form builder.
? Did you know?
You can easily put a Mailchimp popup on your site! Learn how to make a Mailchimp popup for your website today!
When you have all the fields you need, and the layout is correct, you can then link it to MailChimp.
Step 5 – Set up a MailChimp group field on your signup form
Head back over to WordPress and your MailChimp signup form. You will need to add a field to your MailChimp's Group signup form.
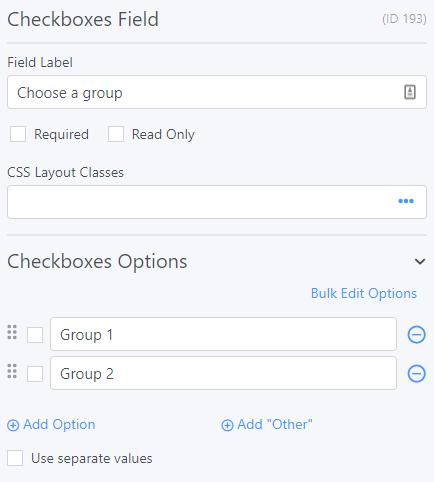
You’ve got the option to add a checkbox, radio button or dropdown field. The best choice may depend on the amount of flexibility you want to offer users.
- Using a checkbox means that users are given the flexibility to sign up for more than one group.
- The radio buttons and dropdowns only give users the option to select one group.
Once you’ve added your field in, make sure you name all the options according to each group. For example, Group 1 and Group 2. This will give users a simple way to check a box or select a dropdown item to choose their group.

Step 6 – Select the MailChimp groups you want
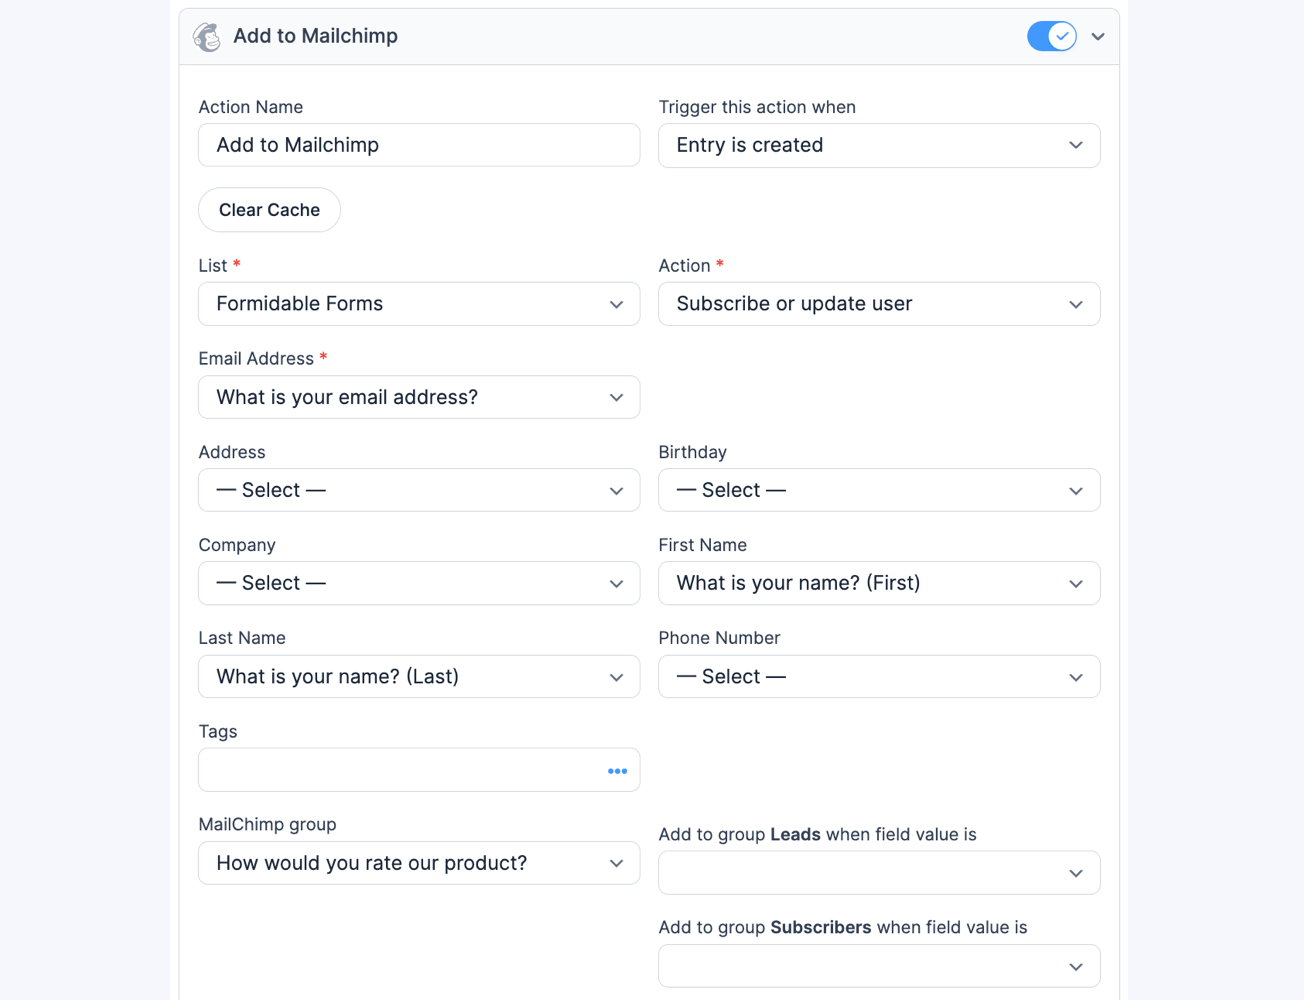
To do this, click on Settings → Actions & Notifications → MailChimp.

Next, select the MailChimp list you would like to add subscribers to and change any settings if necessary.
If you have set up your MailChimp groups correctly, an option to select them should appear. Once selected, you will need to match up the group with the form field you created earlier (checkbox, dropdown or radio) to link everything together.
Select the field value that will add the subscriber to the group. For example, the option for Group 1 needs to correspond with an automatic signup to Group 1 on MailChimp. Do the same for any of the other groups you have.

All that's left is to click Update.
That's all there is to it! You've now created a signup form that offers your users something different. Your users will now be able to select MailChimp groups in WordPress forms with a simple click.
Now, it's time to start growing your mailing list. Read our post on Content Upgrade Examples that will Boost Email Signups. You can even include a MailChimp signup checkbox on your usual contact forms to further boost signups.
Read more: Using MailChimp with Formidable
If you're interested in getting started with Formidable Forms, take a look at our full range of features and integrations like MailChimp.

Leave a Reply