Follow the directions below to create a Real Estate Listings page similar to the Real Estate Listings demo.
If you want a ready-made solution, you can create this easily with the Real Estate Listings application. Application templates require an Elite license.
Create the form
There are multiple ways to create the Real Estate Listings form.
- Use a custom form template. To create a form using the Real Estate Listings form template, you will need at least the Plus license.
- Use the AI form builder. To create a form using the AI form builder, you'll need the Form AI add-on, which is included with a Business license.
- Create from scratch. To build a form from scratch in WordPress, follow this guide.
Create the listings page
Create the listings page to display all the available properties. This includes creating a main listing page and a detail page for each property listing.
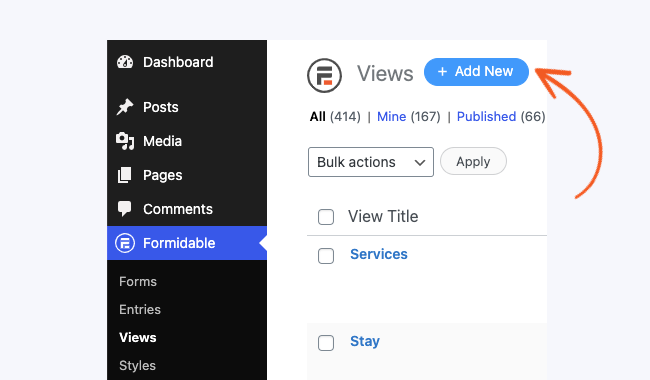
- Go to Formidable → Views. Click the Add New button at the top of the page.
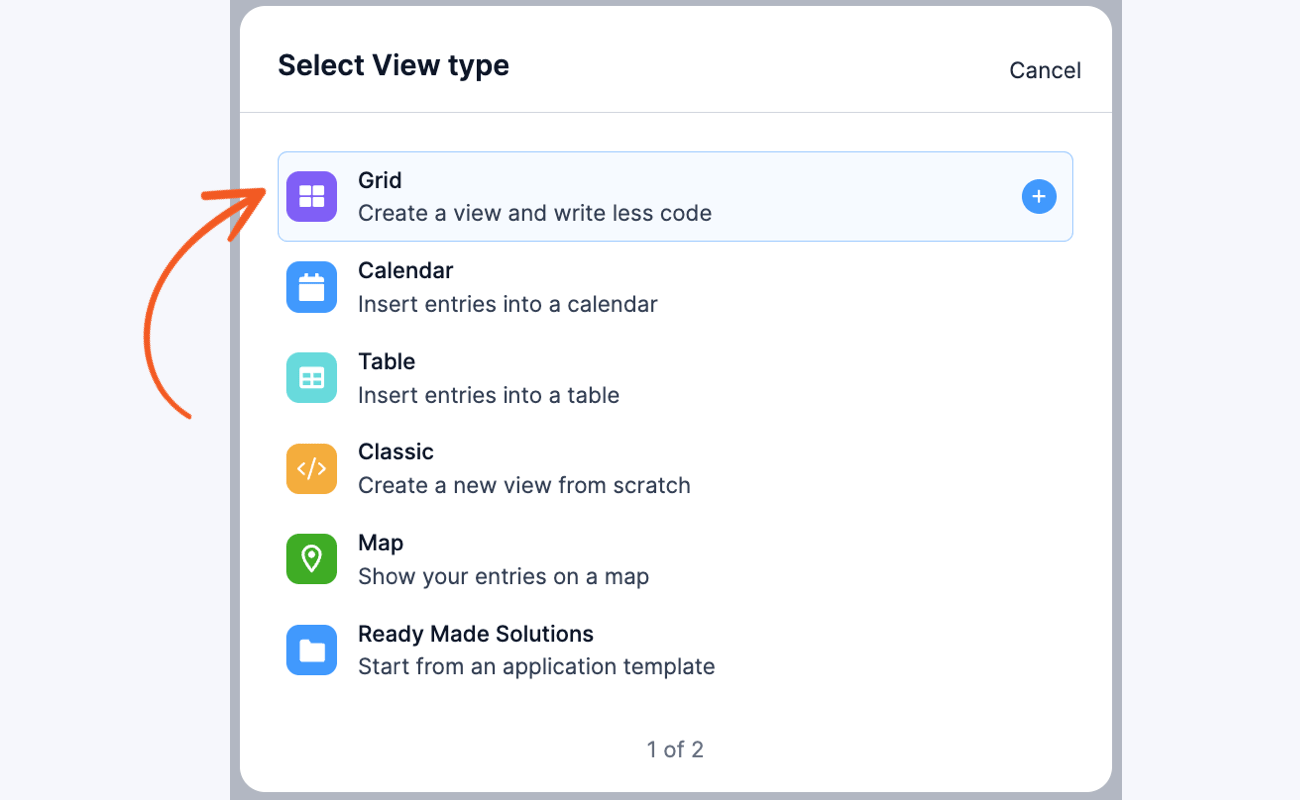
- Select Grid for the View type.

See the Visual View Settings page for more information on these formats. - Give the new View a name. In the Use Entries from Form dropdown, select the Real Estate Listings form for the data source.
- Add your content to the Listing Page Content box by clicking the Listing Page tab. This section will be repeated for each listing.
<a href="[detaillink]">[if photo-url][if photo-upload equals=""]<img src="[photo-url]" alt="[mlsid]" />[/if photo-upload][/if photo-url]
	[if photo-upload]<img src="[photo-upload size=large]" alt="[mlsid]" />[/if photo-upload]</a>
	<h3><a href="[detaillink]">$[list-price thousands_sep=","]</a></h3>
	<strong>[address] [city], [state]</strong>
	[bedrooms] bd / [bathrooms] ba [if sqft-living]/ [sqft-living] sq ft[/if sqft-living]
- In the Grid Style Settings, drag the Number of grid columns to 3 columns. Also, set the Padding to 0.
- Add your content into the Detail Page Content by clicking the Detail Page tab. This is the box for the detailed listing page. See the demo for an example.
[if photo-url][if photo-upload equals=""]<img src="[photo-url]" alt="[mlsid]" />[/if photo-upload][/if photo-url] [if photo-upload]<img src="[photo-upload size=medium]" alt="[mlsid]" />[/if photo-upload] <h3>[address] — $[list-price thousands_sep=","]</h3> [city], [state] [zip] [editlink label="Edit" page_id="53495"] [bedrooms] beds | [bathrooms] baths [if sqft-total]| [sqft-total] sq ft[/if sqft-total] <strong>MLS #:</strong> [mlsid] [if type]<strong>Type:</strong> [type] [/if type]<strong>Year Built:</strong> [year] <strong>Status:</strong> [property-status] <hr/> <p>[description clickable=1]</p> <hr/> <h3>Features</h3> <ul> [if sqft-living]<li><strong>Living Square Feet:</strong> [sqft-living]</li>[/if sqft-living] [if gen-features]<li><strong>General Features:</strong> [gen-features]</li>[/if gen-features] [if interior]<li><strong>Interior Features:</strong> [interior]</li>[/if interior] [if rooms]<li><strong>Rooms:</strong> [rooms]</li>[/if rooms] [if ac]<li><strong>Air Conditioning:</strong> [ac]</li>[/if ac] [if heat]<li><strong>Heat:</strong> [heat]</li>[/if heat] [if lot-features]<li><strong>Lot Features:</strong> [lot-features]</li>[/if lot-features] [if community-features]<li><strong>Community Features</strong> [community-features]</li>[/if community-features] </ul> <a href="/demos/real-estate-listings/">← All Listings</a>
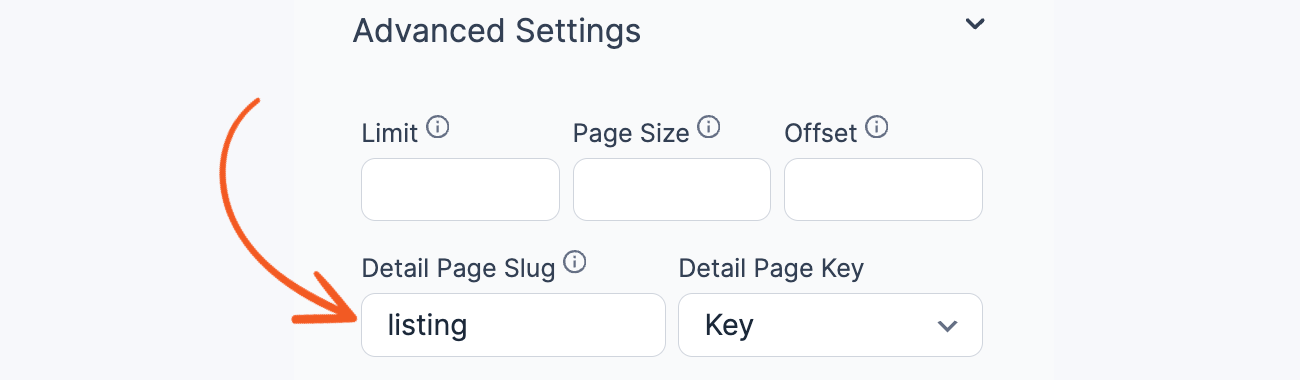
- Scroll down to the Advanced Settings. Set your Detail Page Slug to listing. Set the parameter value to key.
- Save your View by clicking the Update button.
- Insert the view on the page you created using the View shortcode. Replace x with the ID of your View. Read more about publishing a view.
[display-frm-data id=x filter=1]
.


Create the Featured listings widget
- Follow steps 1 - 3 above. Select Grid for the View Type if you would like to show all featured listings. Set the View limit to 1 if you want to randomly display a single featured listing.
- Add content into the Listing Page Content as needed.
- Add a filter in the Filter Entries section. Select your Featured field, does not equal, and leave the last box blank. This means that if the featured field is empty, it won't be included in the list.
- Save your View.
- Copy the shortcode for your view, i.e. [display-frm-data id=x filter=1]. Replace x with the View ID.
- Go to Appearance → Widgets. Then drag a Text widget into your sidebar.
- Insert your view shortcode in the text widget, so it will look like this:
[display-frm-data id=10]
- Save your widget.