
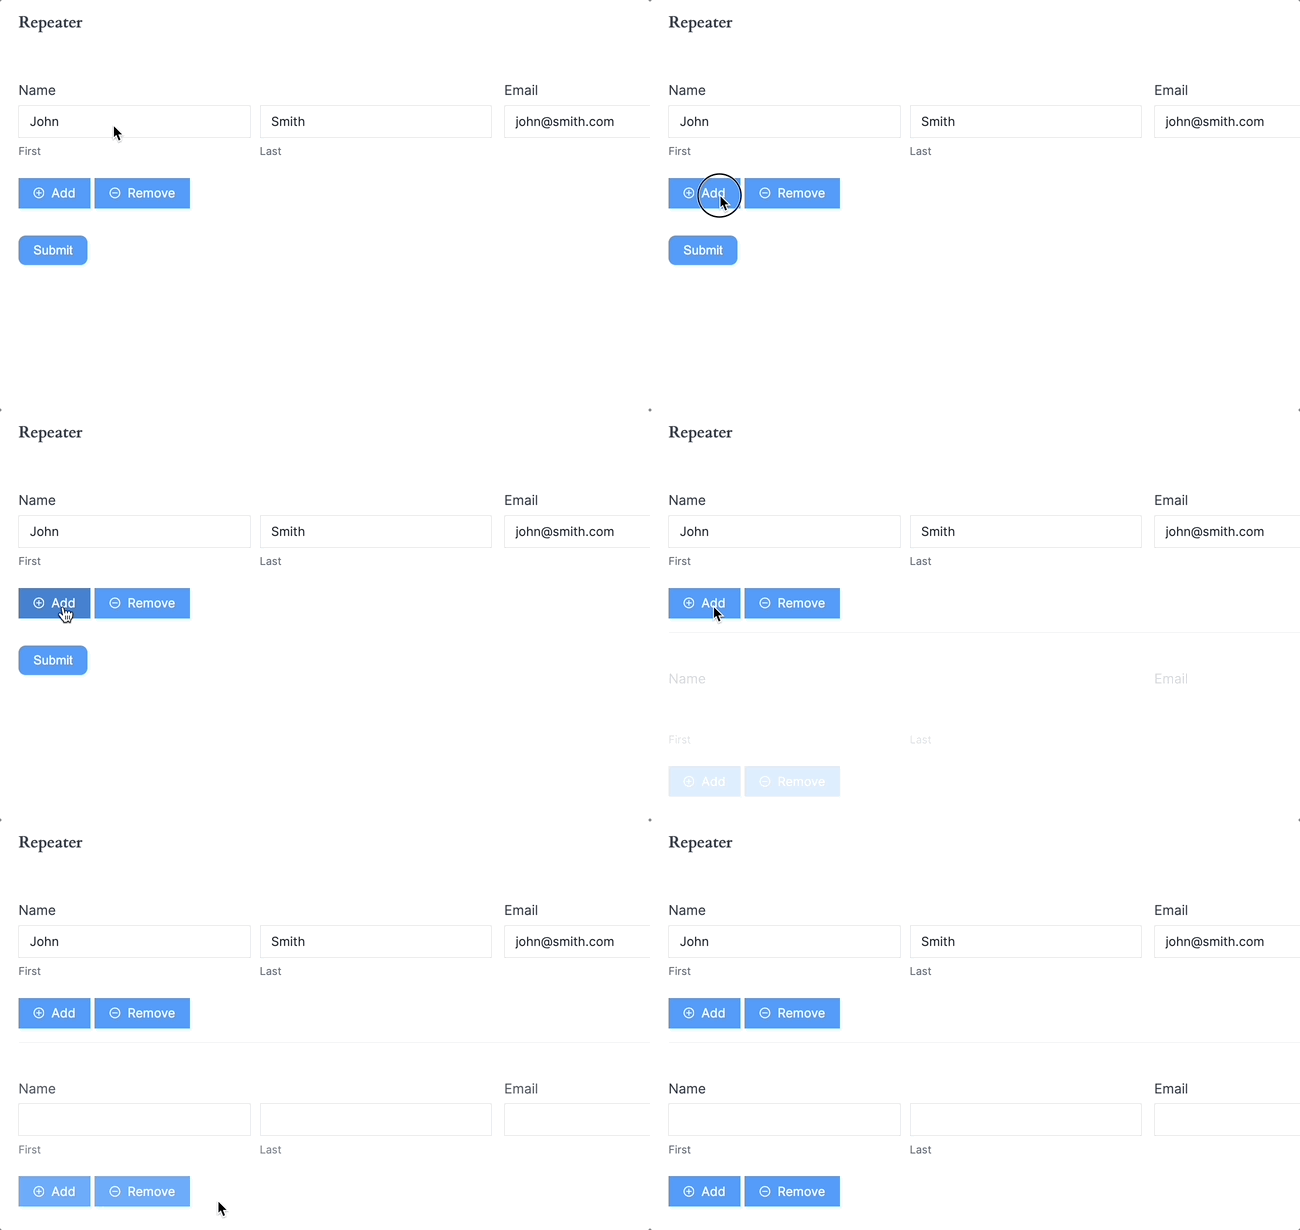
Use a Repeater field to add a group of fields any number of times. This field allows users to click an Add button to add another group of fields. This field is incredibly useful if you would like users to add details about multiple items in a form. This feature is commonly used when adding information for multiple individuals, such as children, in a form.
Standard Field Options
A Repeater field has the following standard options:


Field-specific options
Collapsible
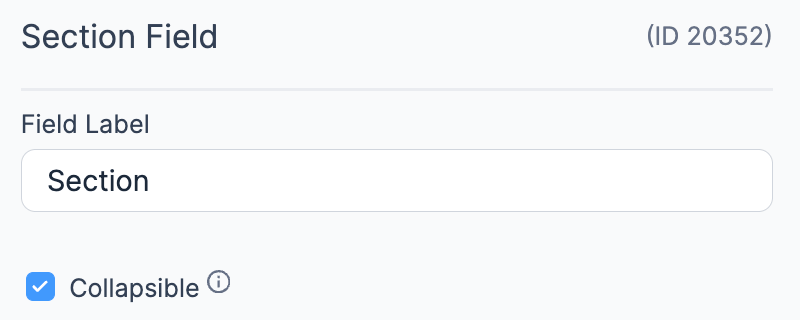
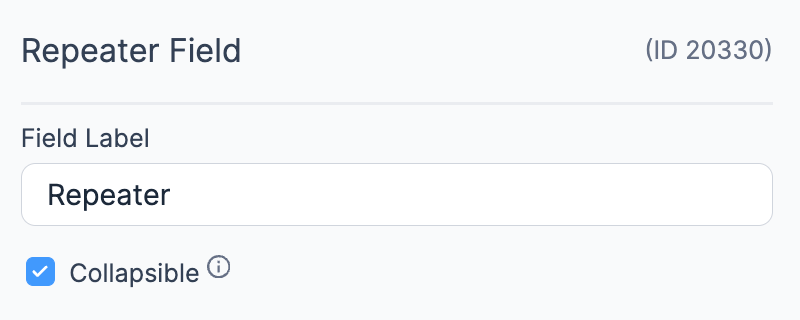
If you would like your section or repeater to slide open or closed, you can select the Collapsible checkbox option.
To learn more about collapsible sections, click here.
Repeat Layout
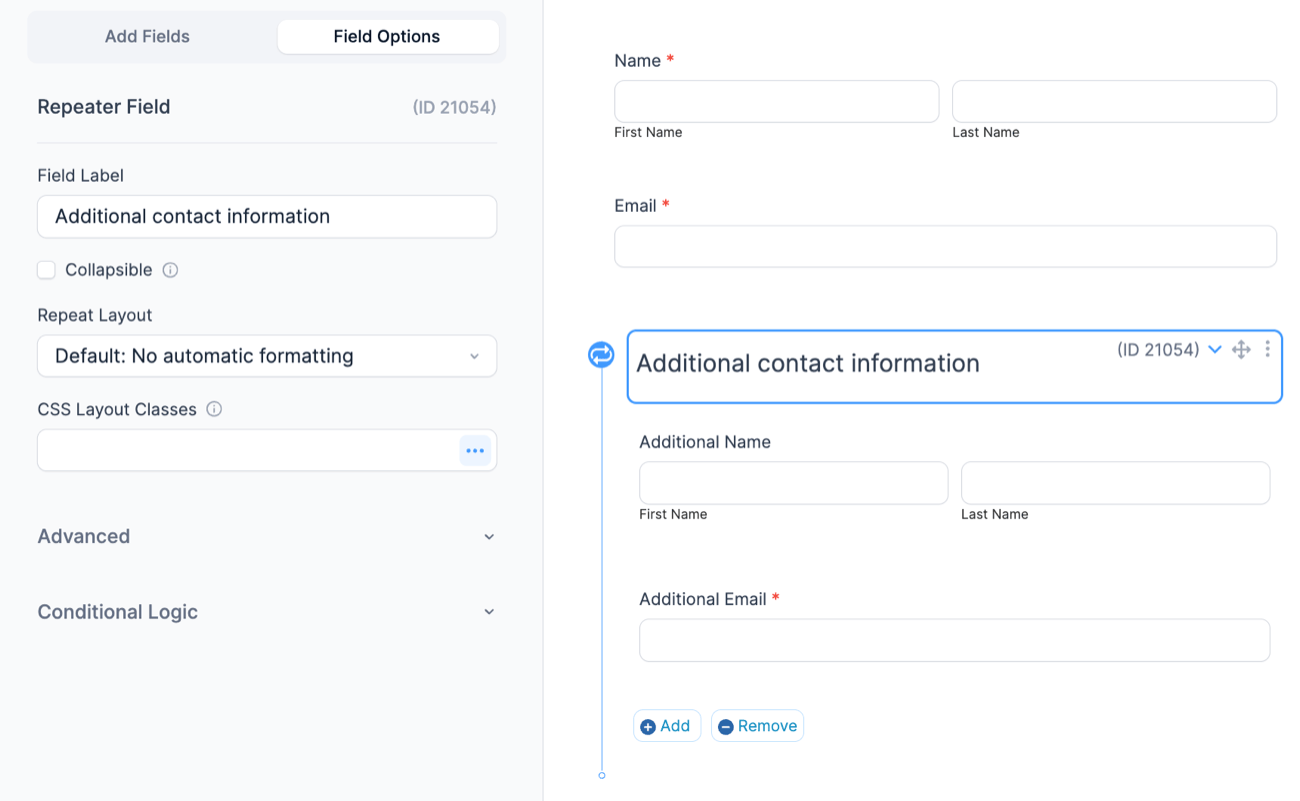
With the Repeater, you can choose the layout you would like for the fields within that section. To set the layout, go into the Field Options setting and select the Repeat Layout that you would like.

The Inline format will display all the fields in the Repeater on one row. The Grid format will display all the fields in the Repeater on one row with the field names only on the top of the first row.
Repeat Buttons
By default, the repeat buttons will show a (+)(-) symbol as well as the Add/Remove text. The text can be changed to whatever you would like, or you can remove the text altogether and only have the (+)(-) symbols. Alternatively, the (+)(-) symbols can be removed so you only see text on the Add/Remove buttons.
- Click on the (+)Add (-)Remove button inside the Repeater.

- Set your Add New Label and Remove Label text.

- Choose if you would like to have Icons, Text links, or Text links with icons for the Repeat Links option.

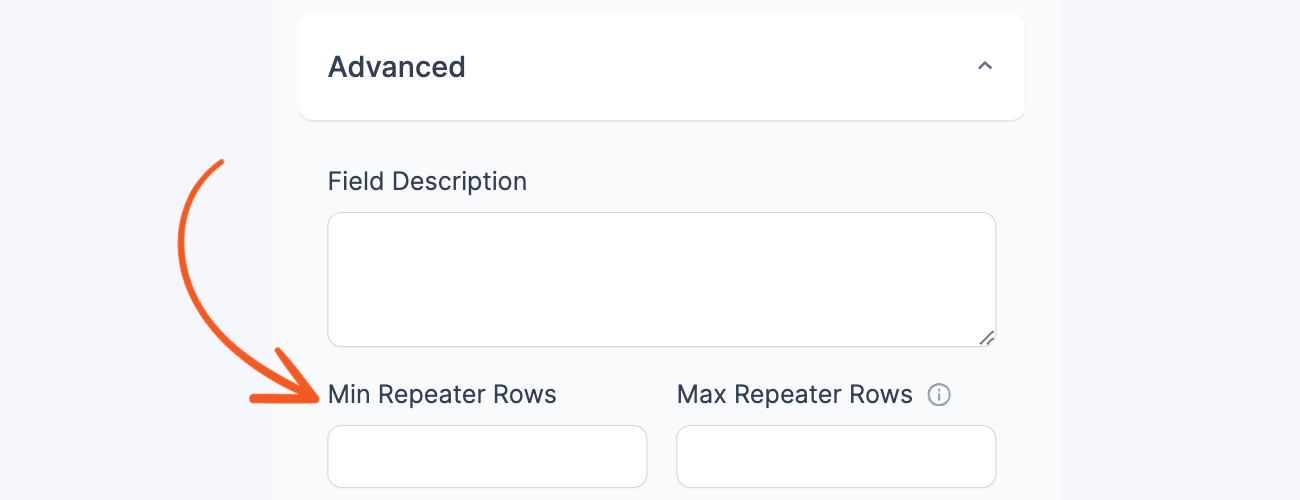
Maximum Repeater Rows
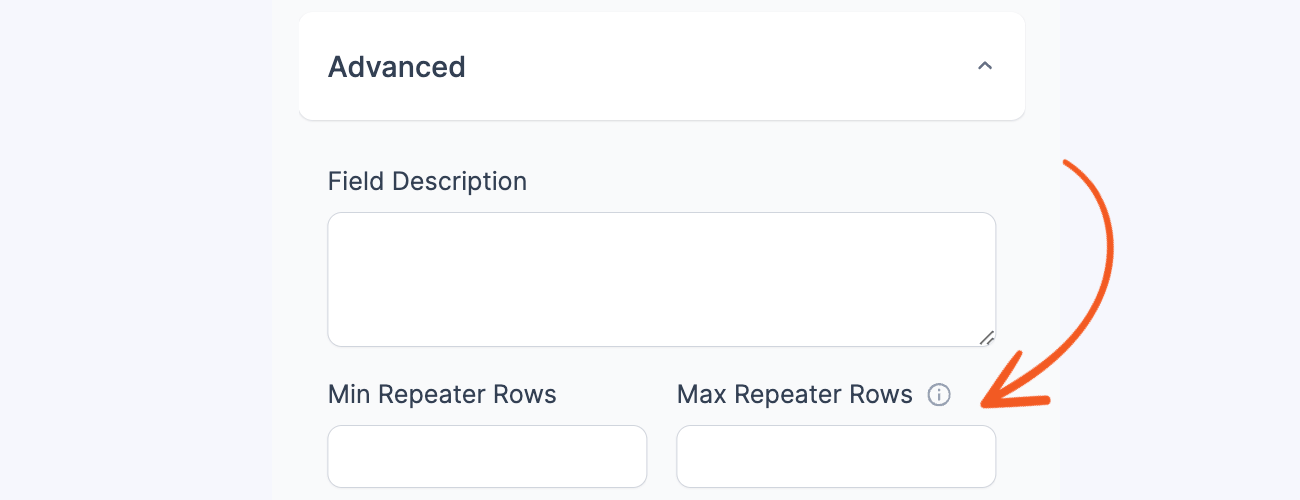
Set the maximum number of rows a user can add in a Repeater field. If no value is set, it will allow users to submit as many rows as they want. It needs to have a value of at least 2 to trigger this function.
Minimum Repeater Rows
Set the minimum number of rows displayed in a repeater when the form is initially loaded. If no value is set, only one row will appear by default. It needs to have a value of at least 2 to trigger this function.
Set up a Repeater Field
- Add a Repeater field by clicking on Repeater in the Fields Panel (in the right sidebar).

- Drag and drop the field(s) that you would like into the Repeater.

- Now you can customize the layout of the repeat rows or change the repeat buttons.
Set up Repeater action

By default, every form action is triggered based on the events of the main entry, such as entry creation, saving, updating, and deletion. With the repeater action, you can trigger specific actions based on the entries in the repeater. Below is a list of supported form actions.
- ActiveCampaign
- API
- AWeber
- Campaign Monitor
- Constant Contact
- GetResponse
- Google Sheets
- Hubspot
- Mailchimp
- MailPoet
- Salesforce
- Send Email
- User Registration
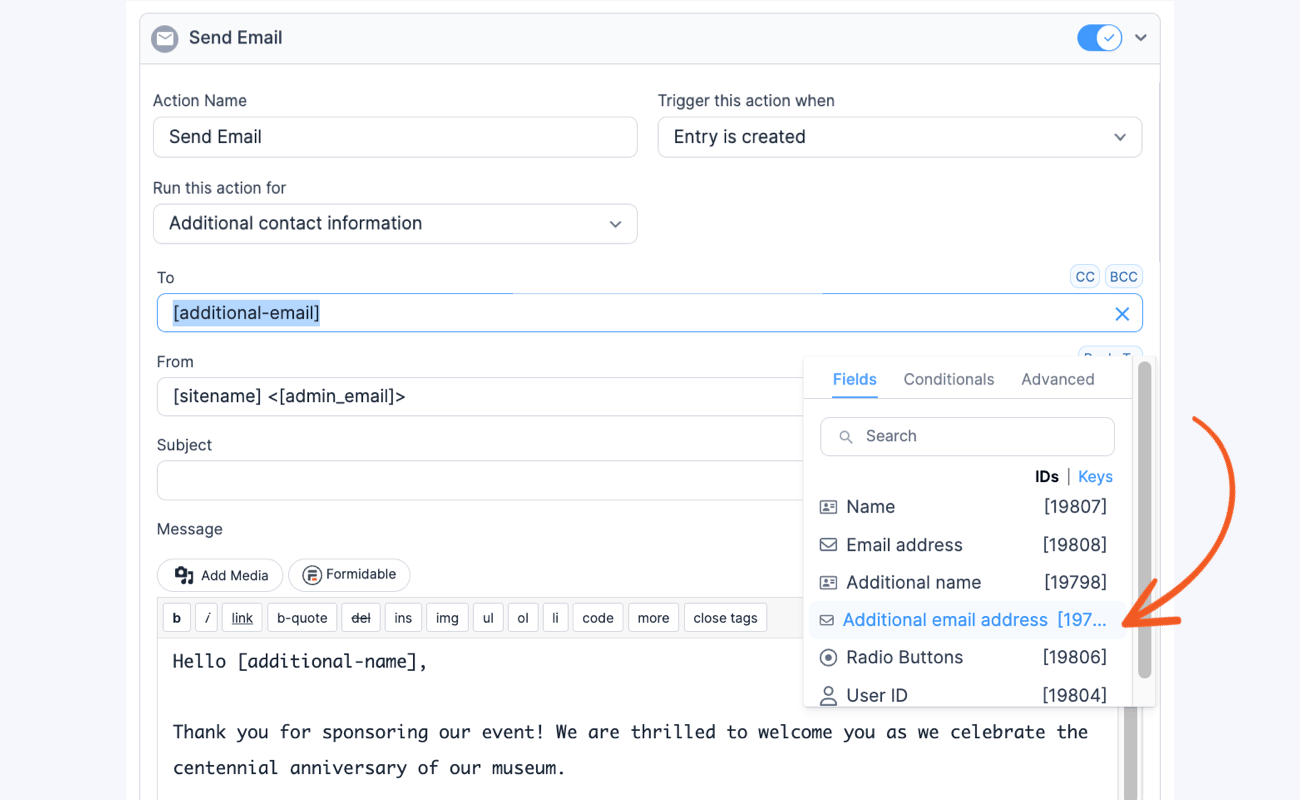
This guide will walk you through using the Repeater actions with the Send Email action as an example.
- Begin by creating the required repeater fields in your form.

- Navigate to your form Settings and access a form action. Then, configure it to trigger based on your selected repeater.

- Add the necessary data for the email message, considering the repeater entries. In this example, the custom email will only be sent out if a value is submitted to the selected repeater.

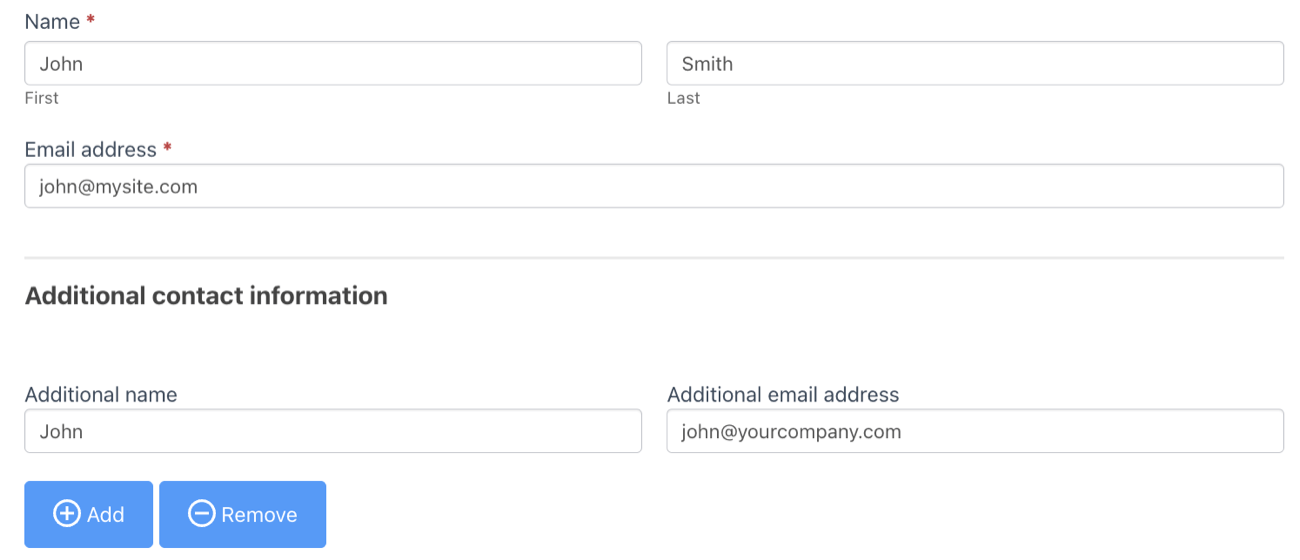
- Submit some new entries for the repeater.

- Once you have submitted the entry, you can check your email inbox to see the entry results of the Send Email action. It will vary depending on which repeater you have triggered it to run.

Repeater field styling
To customize the default styling for Repeater fields, go to Formidable → Styles → Repeater Fields. Select the icons and icon color that you would like to use for your add/remove buttons.
![]()
Repeater button color
To customize the Add/Remove button colors, go to Formidable → Global Settings → Custom CSS page and add the following CSS. You may adjust the background-color and border-color as needed.
.frm_repeat_sec .frm_button {
    background-color: #5bcd5d !important;
    border-color: #5acc5c !important;
}
Repeater button order
To customize the order of the repeater buttons, go to Formidable → Global Settings → Custom CSS page and add the following CSS.
.frm_repeat_buttons.frm {
  direction: rtl;
}
Add columns in a repeater field
Since section headings can't be used inside a repeater, you could create a two-column layout by following the steps below:
- If you want to create a title similar to a Section Heading field, you can add two HTML fields for each column inside a repeater.
<h3>Section Title</h3>
- In the CSS layout classes box, insert frm_first frm_half for the first HTML field and frm_half for the second HTML field.
- Add the other fields that you want in the first column below the HTML field. Set the CSS layout class to frm_first frm_half.
- Add the fields that you want in the second column below the HTML field. Set the CSS layout class to frm_half.

Note: This can also be done without the HTML field, if you don't want a heading title.
Get the total of the values from Repeater fields
To get a total of the values in a field in a Repeater, you can:
- create a field outside of the Repeater to hold the total
- in the Dynamic default value box, check the Calculations checkbox
- in the Calculations box, put the [id] or [key] of the field inside the Repeater that you want to total
The values in the field in the Repeater will be added together automatically. If the values in the Repeater are words instead of numbers, you can check the text calculations checkbox, too. The total field will contain a comma-separated list of the values in the field in the Repeater.
Calculate the number of rows in a repeater
To calculate the number of rows in a repeater, follow the steps below:
- Inside the repeater, add a hidden field to hold the row number.

In the Default value box, set the default value to 1.

- Outside the repeater, add a text or number field to hold the total number of rows. In the Default value (Calculations) box, insert the Hidden field ID.

The values in the hidden field in the Repeater will be added together automatically to calculate the number of rows.
Displaying Repeater Fields
Display the value submitted in a Repeater field by inserting the shortcodes into a View or email.
- Display submitted options. In emails and Views, you'll see values from Repeater fields grouped by field.
Name: John Smith, Julie Roberts, Rob Darlington
Meal: Pepperoni pizza, Fettucine alfredo, Pepperoni pizza
Drink: Dr. Pepper, Water, Coca-Cola
When you use the field shortcodes like this:
[101 show="field_label"]: [101]
[102 show="field_label"]: [102]
[103 show="field_label"]: [103]
Replace 101, 102, and 103 with the field IDs inside the Repeater.
- Separator. Apply a separator between iterations.
Dr. Pepper, Water, Coca-Cola
When you use the foreach shortcode like this:
[foreach 100 sep=", "][103][/foreach 100]
Replace 100 with the field ID of your Repeater field. Replace 103 with the field ID inside the Repeater.
Alternatively, you may create a View from a Repeater field. A View from a Repeater provides ordering and filtering options that the [foreach] shortcode, in a View from the main form, does not. A View from a Repeater could be standalone or nested inside a View from the main form.
Display data grouped by row
If you would like to display the data from a Repeater field grouped by row, like this:
John Smith: Pepperoni pizza, Dr. Pepper
Julie Roberts: Fettucine alfredo, Water
Rob Darlington: Pepperoni pizza, Coca Cola
you can use the foreach shortcode like this:
[foreach 100]
[101]: [102], [103]
[/foreach 100]
Replace 100 with the field ID of your Repeater field. Replace 101, 102, and 103 with the field IDs that are inside of the Repeater.
Display data in a table
You can also use the foreach shortcode to display the repeater fields in a table:
| Name | Meal | Drink |
|---|---|---|
| John Smith | Pepperoni pizza | Dr. Pepper |
| Julie Roberts | Fettucine alfredo | Water |
| Rob Darlington | Pepperoni pizza | Coca Cola |
Use the code below to create a table with the foreach shortcode:
<table>
<tr>
<th>[101 show="field_label"]</th>
<th>[102 show="field_label"]</th>
<th>[103 show="field_label"]</th>
</tr>
[foreach 100]
<tr>
<td>[101]</td>
<td>[102]</td>
<td>[103]</td>
</tr>
[/foreach 100]
</table>
Replace 100 with the field ID of the Repeater field. Replace 101, 102, and 103 with the field IDs that are inside of the Repeater.
Display data in reverse order
To display the data from a Repeater field in reverse order, you can use the parameter order="desc". It will iterate through the repeater entries, starting from the oldest entry and ending with the most recent one.
[foreach 5651 order="desc"]
[5653]
[/foreach 5651]
Replace 5651 with the ID of your Repeater field. Replace 5653 with the field IDs that are inside the Repeater.
Create a View from a Repeater Field
If you would like to learn how to create a View directly from your Repeater field, click here.
Change delete confirmation message
When deleting a repeater row, a confirmation message is displayed to avoid cases where form data is accidentally deleted. To change the message, go to Formidable → Global Settings → Message Defaults and look for the Repeater row delete confirmation field.

Limitation
Repeaters are not intended to contain a page break, section field, or another repeater. This functionality is not currently supported.
Related customizations
Review before submit
Note: Custom code is no longer needed. Please use a Summary field to review before submit.
Other field types are much simpler to display in an HTML field on the last page of your form. But repeater fields need a bit of extra code. Use [frm-repeat-post section_id=25 field_ids='26,27'] in the HTML field at the end of your form. Replace 25 with the ID of your repeater field, and 26,27 with the fields inside of it.
add_shortcode('frm-repeat-post', 'frm_repeat_post');
function frm_repeat_post( $atts ) {
	$content = '';
	$field_ids = explode( ',', $atts['field_ids'] );
	if ( ! isset( $_POST['item_meta'][ $atts['section_id'] ] ) ) {
		return $content;
	}

	foreach ( (array) $_POST['item_meta'][ $atts['section_id'] ] as $row ) {
		if ( $key === 'form' || $key === 'row_ids' ) {
			continue;
		}
		foreach ( (array) $field_ids as $field_id ) {
			if ( is_array( $row[ $field_id ] ) ) {
				$content .= ' ' . sanitize_text_field( implode( ', ', $row[ $field_id ] ) ) . '
';
			} else {
				$content .= $row[ $field_id ];
			}
		}
		$content .= '<br/>';
	}
	return $content;
}
Copy a calculated value from a repeater
If you need to copy a calculated value from one repeater to another repeater, you can start with this Javascript example.
Related developer hooks
- Create entry in form with repeaters using the frm_after_create_entry hook.
- Prevent entries from repeaters from being deleted when the parent entry is deleted with the frm_before_destroy_entry hook.
- Show ten rows in your repeater by default with the frm_repeat_start_rows hook.
- Automatically populate multiple rows in a repeater with the frm_setup_new_field_vars hook.
- Validate field in a repeater with the frm_validate_field_entry hook.
- Set a custom value in a repeater with the frm_validate_field_entry hook.
- Use the frm_before_action_settings action hook that fires before any form action settings.
- Allow custom actions to be triggered and skip the default trigger with the frm_custom_trigger_action hook.
- Allow adding or removing repeater actions support for form action type with the frm_pro_repeater_action_support hook.
- Change the number of repeated entries displayed in the admin Entries limit with the frm_pro_repeated_entries_display_limit filter.
Related Articles
Related Videos





 How To Use WordPress to Send Emails to Multiple Addresses
 How To Update Repeater Fields in ACF [The Easy Way!]
 How to Show Business Hours on Your WordPress Website
 The Gravity Forms Repeater Alternative - That Works!
 How to Create a Dynamic Form in WordPress [Step-by-Step!]
 How To Create a Repeater Field in WordPress [3 Easy Steps!]