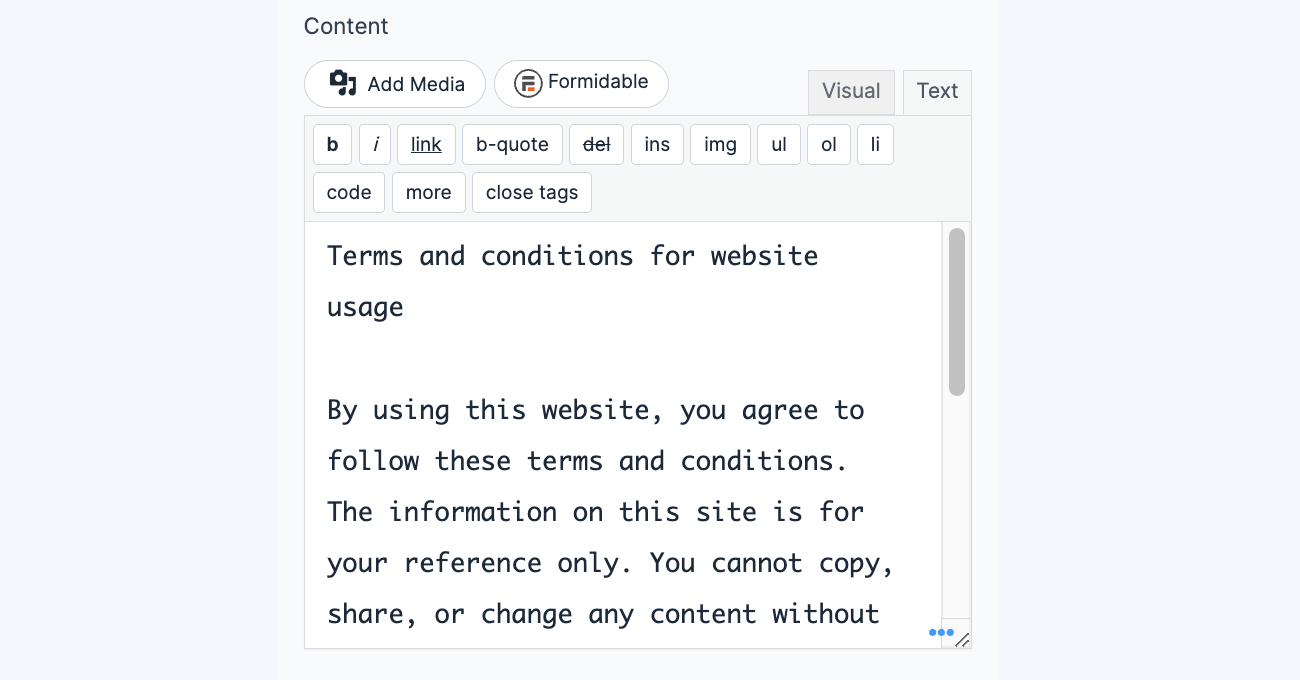
The HTML field is used to display descriptive text or HTML to form visitors. The text or HTML can only be inserted on the form builder and cannot be modified by users. An HTML field is commonly used to display static text instructions, a progress bar, or terms and conditions.
Standard field options
An HTML field has the following options:
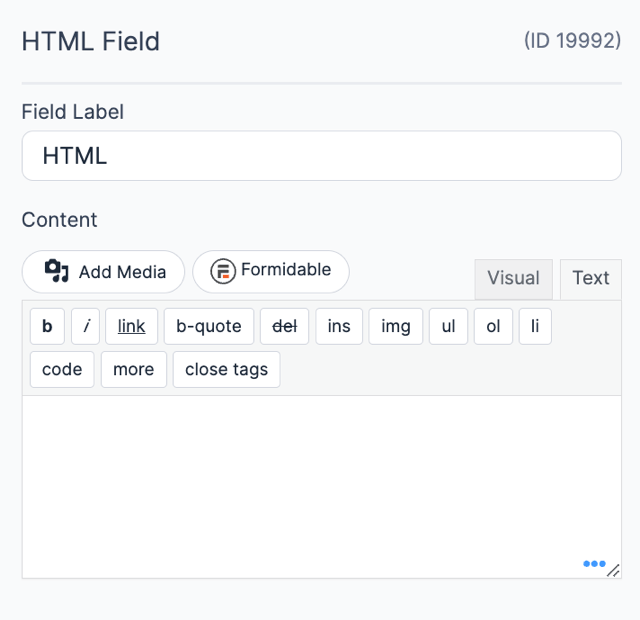

Field specific options
Content
Insert text or HTML in the Content box using a rich text editor, and it will be displayed in your form. You can easily add bold text, links, ordered lists, blockquotes, etc.

Field icons
Field action icons allows you to duplicate, delete, and/or move a field on the form builder page. See the field action icons article for more information.
Display default values
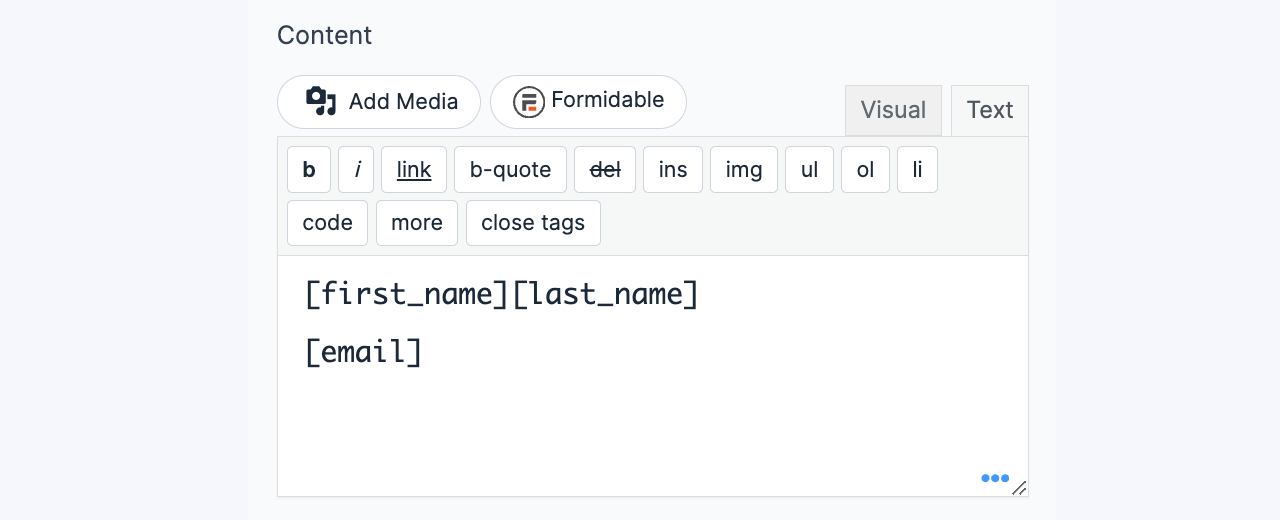
Use default values in an HTML field to display specific information.
- Add an HTML field to your form.
- Open the Field Options. Insert any default value shortcodes in the Content box.

- Save the form and click 'Preview'. When the form is visited it will look something like this

Show values from another field
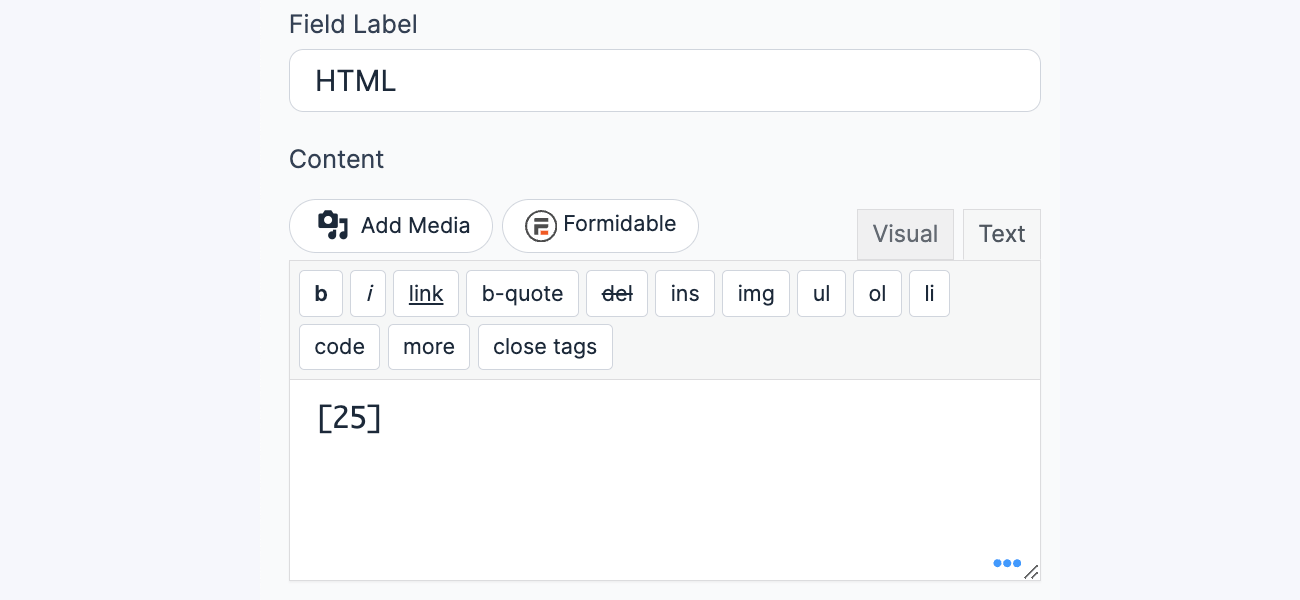
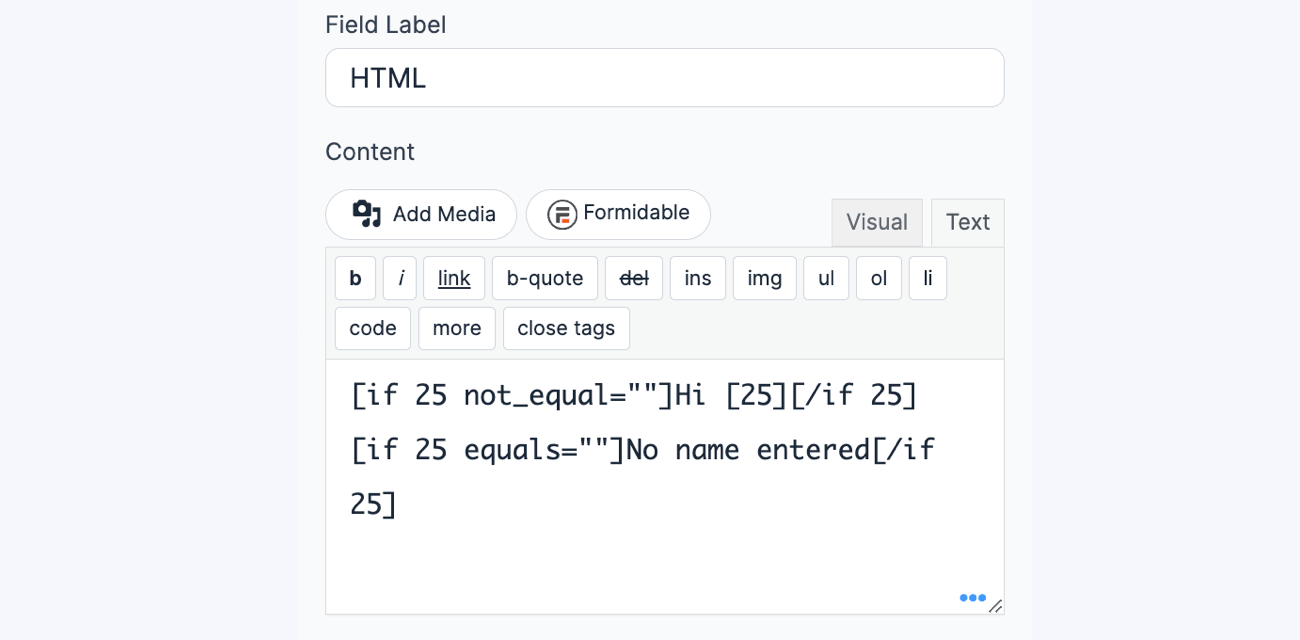
An HTML field can be used to display values from other fields. When the value is in the same form, there must be a page break between that field and the HTML field. The HTML field has to be on a page after the field whose contents you want to show.
- Display a value: Insert the field ID like [25] inside the HTML field.

- Conditional statements: Insert the conditional statement inside the HTML field, where [25] is the ID of the field before the page break.

HTML fields do not accept field keys, or other shortcode options like views or email content. Instead, they get the exact value posted in the referenced field.
If conditional content is needed in an HTML field, use multiple HTML fields and add conditional logic so the content shows only at the times you would like it.
Display HTML field content in Views
Although content in an HTML field isn't saved with the entry, it can be displayed in an email or view. Use [25 show=description] to show the content (replace 25 with the ID of the HTML field).
If the HTML content includes shortcodes or dynamic values, they will not be processed when displayed. If you are using an HTML field to generate content dynamically, we recommend saving it inside of a paragraph field instead.
Display a graph
If you would like to display a Formidable Forms graph inside of your form, follow the steps below.
- Go into the form where you would like to add a graph.
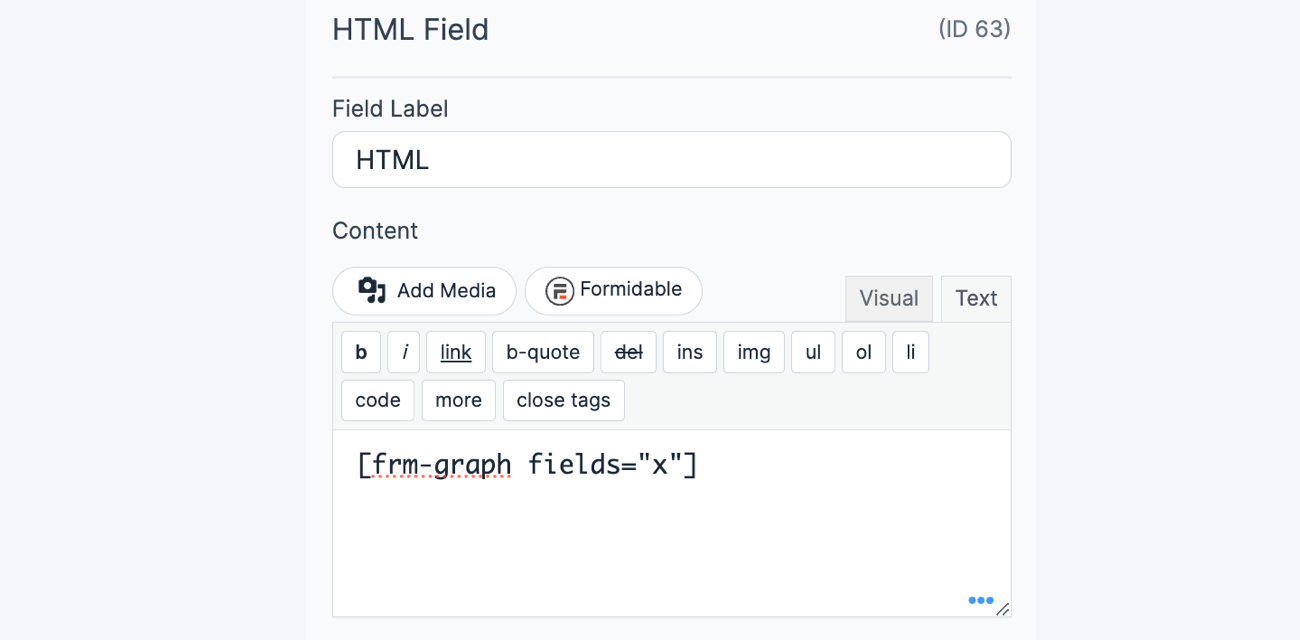
- Add an HTML field. Open the field options for the HTML field. Insert the following shortcode in the Content box:
[frm-graph fields="x"]

- Save the form and click 'Preview'. Now when the form is visited, a graph will be displayed in the form.
Replace x with the ID or key of the field you would like to graph. See the graphs page for more graphing options. Please note that the graph will only use entries that have already been submitted.
Create a terms & conditions field
Create a scroll box that holds terms and conditions. A required checkbox field will ensure that the user agrees to the terms and conditions before submitting the form.
- Go into the form where you would Qlike to add the terms and conditions.
- Add an HTML field.
- Open the field options for the HTML field. Insert your terms and conditions in the Content box.

- Insert the frm_scroll_box shortcode in the 'CSS Layout Classes' box. This will turn the text into scrollable terms and conditions box.

- Add a checkbox field. Give it a title like 'Terms and conditions' and set the first option to 'I agree to the terms and conditions.'
- In the field options, select Required. Also, change the Label Position to None.
- Save the form and click 'Preview'. Now when the form is visited, the terms and conditions will be shown in a scroll box with a required checkbox field for the user to indicate their agreement.

Display an image
If you would like to display an image inside of your form, follow the steps below.
- Go into the form where you would like to add an image and insert an HTML field in the form builder.
- Open the field options for the HTML field. In the Content box, insert the HTML img tag with the link to the image. It should look something like this:
<img src="http://example.com/image.jpg" alt="myimage">
Replace http://example.com/image.jpg with the location of your image and myimage to a descriptive alternate text.
- Save the form and click Preview. Now when the form is visited, an image will be displayed in the form.
Add a download link
If you would like to add a link that downloads a file upon clicking it, follow the steps below.
- Go into your form and insert an HTML field in the form builder.
- Open the field options for the HTML field. In the Content box, insert the HTML tag, including the download attribute.
<a href=".../wp-content/uploads/image.png" download="image">Download File</a>
Replace /wp-content/uploads/image.png with the file URL and replace the image with the filename of the downloaded file.
- (Optional) If you would like to include an icon with your download link, install the Formidable Bootstrap add-on to prepend/append Bootstrap Glyphicons. Your content may look like this:
<a href=".../wp-content/uploads/image.png" download="image">Download file <i class="glyphicon glyphicon-download"></i></a>
- Click the Update button to save the form.
- Now when the form is visited, a download link will be displayed on the form.
