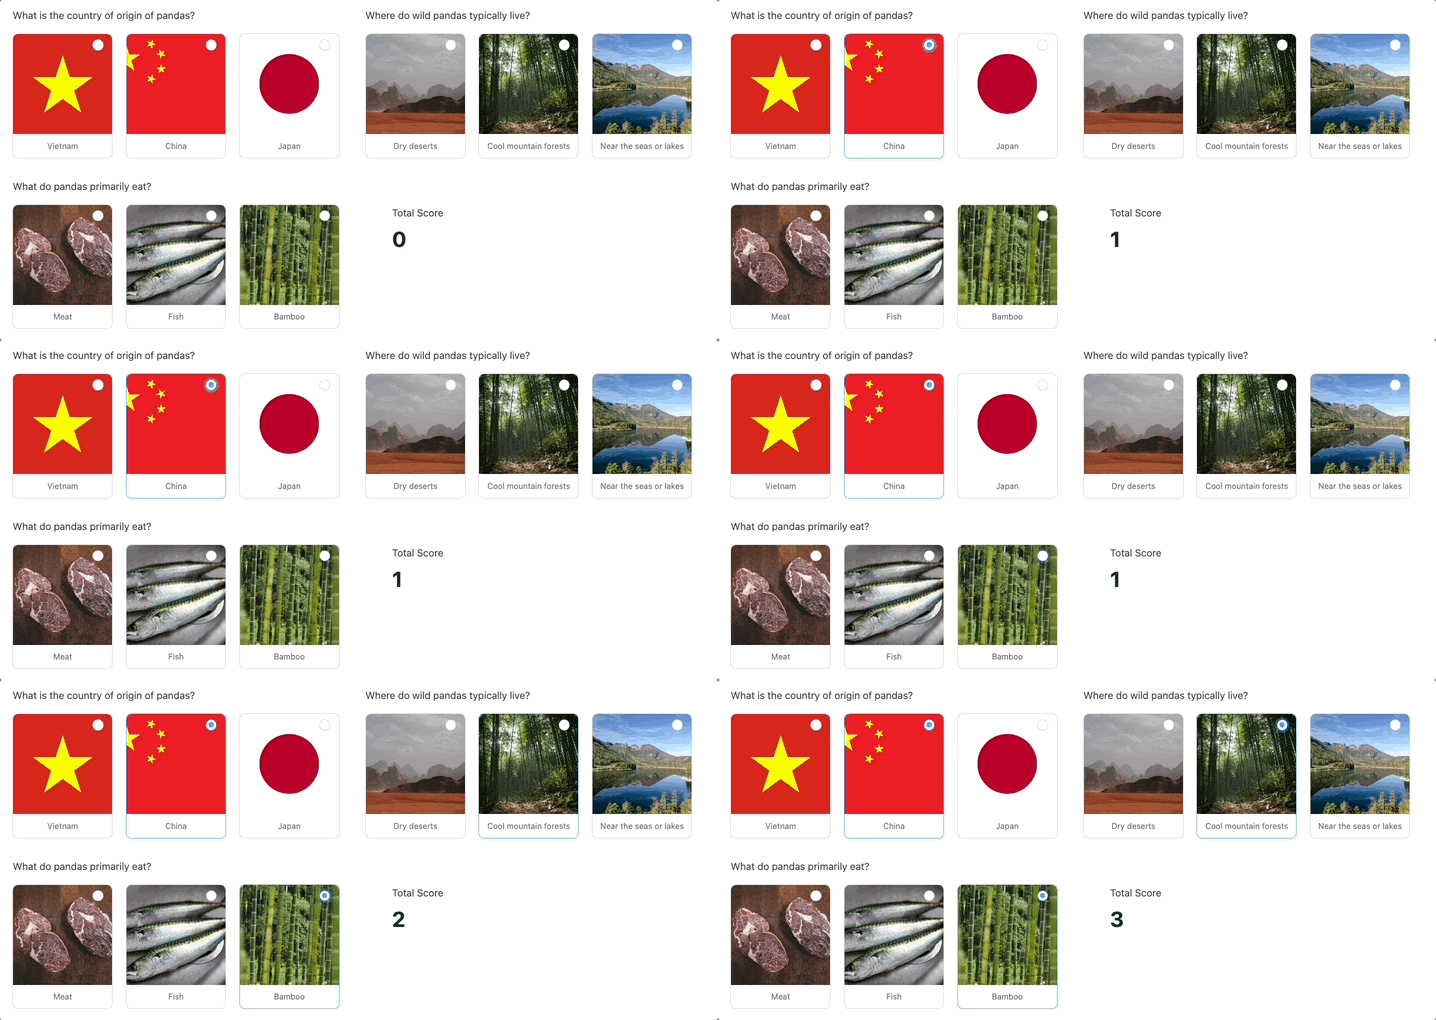
Create engaging multiple-choice quizzes quickly and easily online! Whether you're a teacher looking to engage your students, a business looking to generate leads, or a brand looking to promote yourself, our interactive quizzes will impress your audience.
Create a multiple choice quiz
To create a multiple-choice quiz, you can use radio buttons for each question and include field calculations to calculate the total score.
- If you haven’t yet, create a new form.
- Add a radio field for every quiz question and use the question as the label for the field. To make your quiz more engaging, consider including images for each option. Read more on how to use a radio button or checkbox with an image.

- In the field options, enable separate values. Modify your saved value column for each option wherein you add 1 point for every correct answer and 0 points for every incorrect answer. For example, you may set an option label to Dry deserts and set the saved value as Dry deserts - 0.

- Add a number field to calculate the total score. Set it to Read Only to prevent users from editing the total.

? Tip: You can use the available CSS classes to enhance the styling of your fields. For example, you can use the frm_total_big CSS class if you want to display the score in large, bold text and the frm_color_block to add a background color to the field. - In the field options, select Default Value (Calculation). Search for the field IDs of the radio button fields that you want to include in the calculation. Your calculation might look something like: [300]+[301]+[302]. Replace 300, 301, and 302 with the radio button fields that have the quiz questions.

- That’s it! A point is added to the total score each time a correct answer is selected.

Display quiz results on form submit
After completing the quiz, you can display a customized success message with the user's score. When the user clicks the Submit button, they will see how many correct answers they got. To edit the success message, follow the steps below:
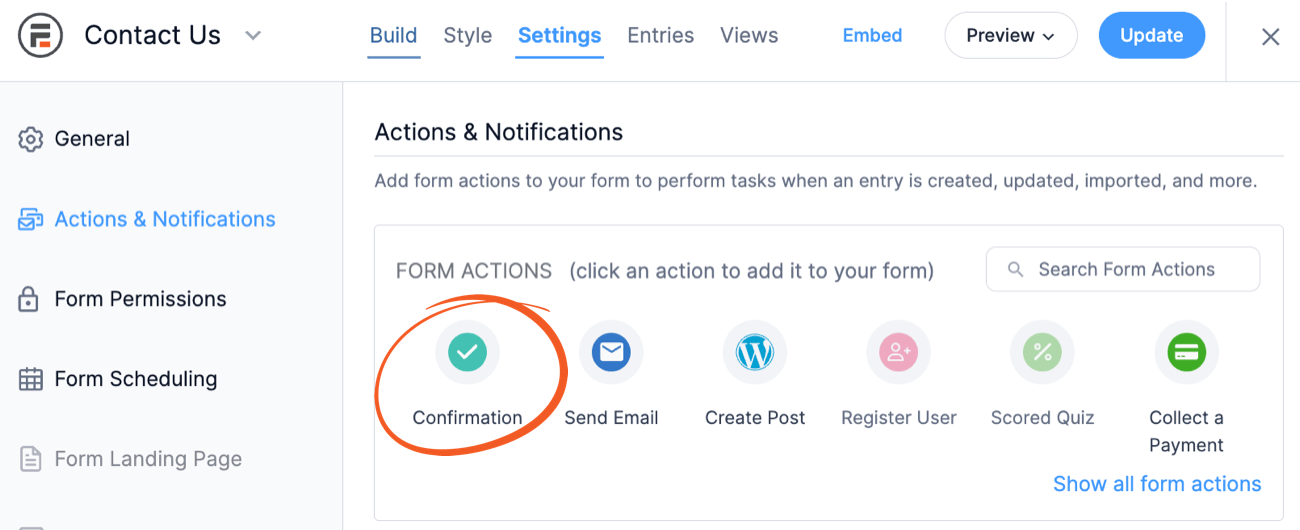
- Go to your quiz form Settings → Actions & Notifications and click the Confirmation action.

- Select the Show Message button. You can then enter your message like:
Thank you for taking the quiz! You have scored [304] out of 5 points.
Replace 304 with the ID of the field you have created to calculate the score.

- If you want to display different success messages based on the score results, you can use conditional statements. For example, if you have created a quiz with five questions, your conditional statement could look like this:
[if 304 greater_than_or_equal_to="3"]Congratulations! You passed.[/if 304]
[if 304 less_than="3"]You failed. Take the quiz again.[/if 304]
Replace 304 with the ID of the field you have created to calculate the score.


