Learn how to create a Mailchimp popup in WordPress to grow your email list. This step-by-step guide makes it easy to engage visitors and boost your site's conversions.
Approximate read time: 6.5 minutes
Do you use Mailchimp but don't have a Mailchimp newsletter popup on your website? Well, you’re missing out on a great way to grow your mailing list!
According to expert insights, the average popup form conversion rate is 11%, which is much better than standard forms.
In this tutorial, we'll show you how to create a Mailchimp popup for WordPress, which will allow you to capture more email addresses from visitors to your site than ever before.
First, we'll guide you through the fastest (and easiest) method using Mailchimp's popup builder.
Then, we'll show you a quick way to create custom Mailchimp signup forms in WordPress using our favorite plugin. And no, you won't need to code either way!
Ready to get started? Pick your preferred method, and let's go!
Make a basic Mailchimp popup for WordPress
If you've landed here, you likely don't need much control over the design of your Mailchimp popup. Not the case? Skip ahead to our step-by-step guide to creating a custom WordPress Mailchimp popup.
If you're in the right place, then let's jump straight in!
Step 1: Create a popup form in Mailchimp
Unfortunately, Mailchimp doesn't let you create forms in WordPress, so you'll first have to log in to your Mailchimp account on their website.
From your Mailchimp Dashboard, select Create to start creating a Mailchimp pop up form.
On the left-hand side, select Signup Form → Pop-up form. Choose your audience, then hit Begin.
Welcome to Mailchimp's bare-bones popup form builder! Pretty basic, right?
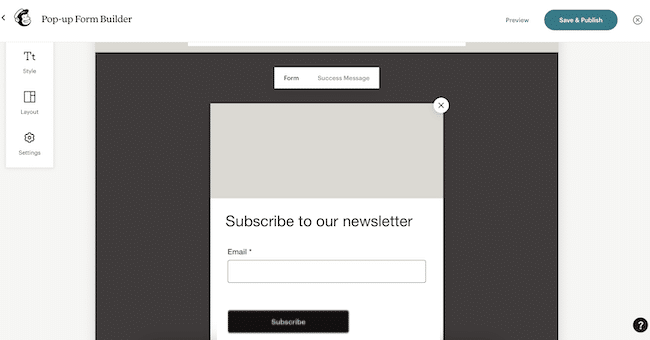
Edit the text and call to action, then add the form fields you want — first name, last name, email address, phone number, birthday, etc.
Then select Save & Publish.
If you haven’t connected your WordPress site, you'll need to copy some code from Mailchimp and paste it into your website's header for the popup to work.
Step 2: Personalize the popup design
Your popup form styling options are very limited in Mailchimp. You can change fonts, colors, and font sizes. And that's about it.
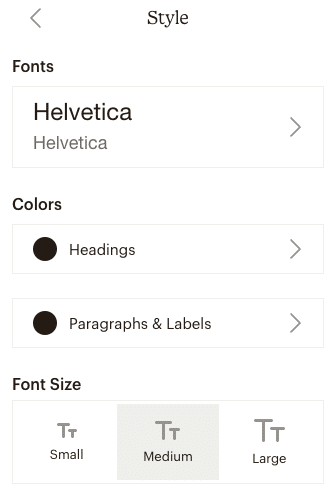
It's a start, though, and may be enough for some simpler sites.
But if you're trying to create a Mailchimp popup that perfectly matches a client's website or branding, you'll want to follow along with our custom WordPress popup steps below.
Step 3: Adjust display settings
The builder gives you a few display options for your subscriber popup form:
- Overlay opacity
- When to display
- Show Mailchimp badge
- Position
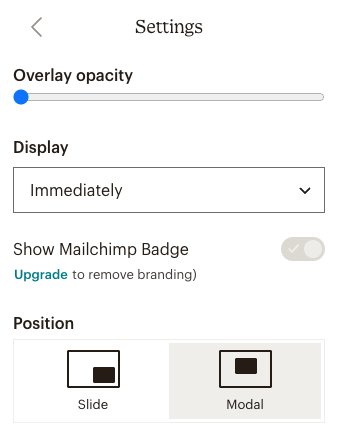
Mailchimp offers the basic triggers, including three different timings: on scroll and exit intent, but no advanced targeting options or personalization.
So, what if you want to go beyond the basics and create a better form for your WordPress website?
Keep reading to find out!
Make a custom Mailchimp popup in WordPress
Mailchimp is an excellent email marketing tool, but Mailchimp's form builder isn't the best. Luckily, we know of two excellent Mailchimp popup WordPress plugins that work together brilliantly to create killer, custom popup forms.
Let's show you how to use OptinMonster and Formidable Forms to make Mailchimp popups quickly.
But first, you’ll need three things to start: Formidable Forms Pro, the OptinMonster WordPress plugin, and an OptinMonster account.
Then it's a few easy steps:
Step 1: Install Formidable Forms Pro

If you haven’t already, pick up a Formidable Forms license, then install and activate Formidable Forms on your website.
Next, select Formidable → Add-Ons from your WordPress dashboard. Find the Mailchimp Add-On and click to install and activate.

Finally, go to Formidable → Global Settings → Mailchimp and enter your Mailchimp API Key.
Step 2: Install and activate the OptinMonster Plugin
Back in the Plugins tab of your WordPress admin, search for, install, and activate the OptinMonster plugin.
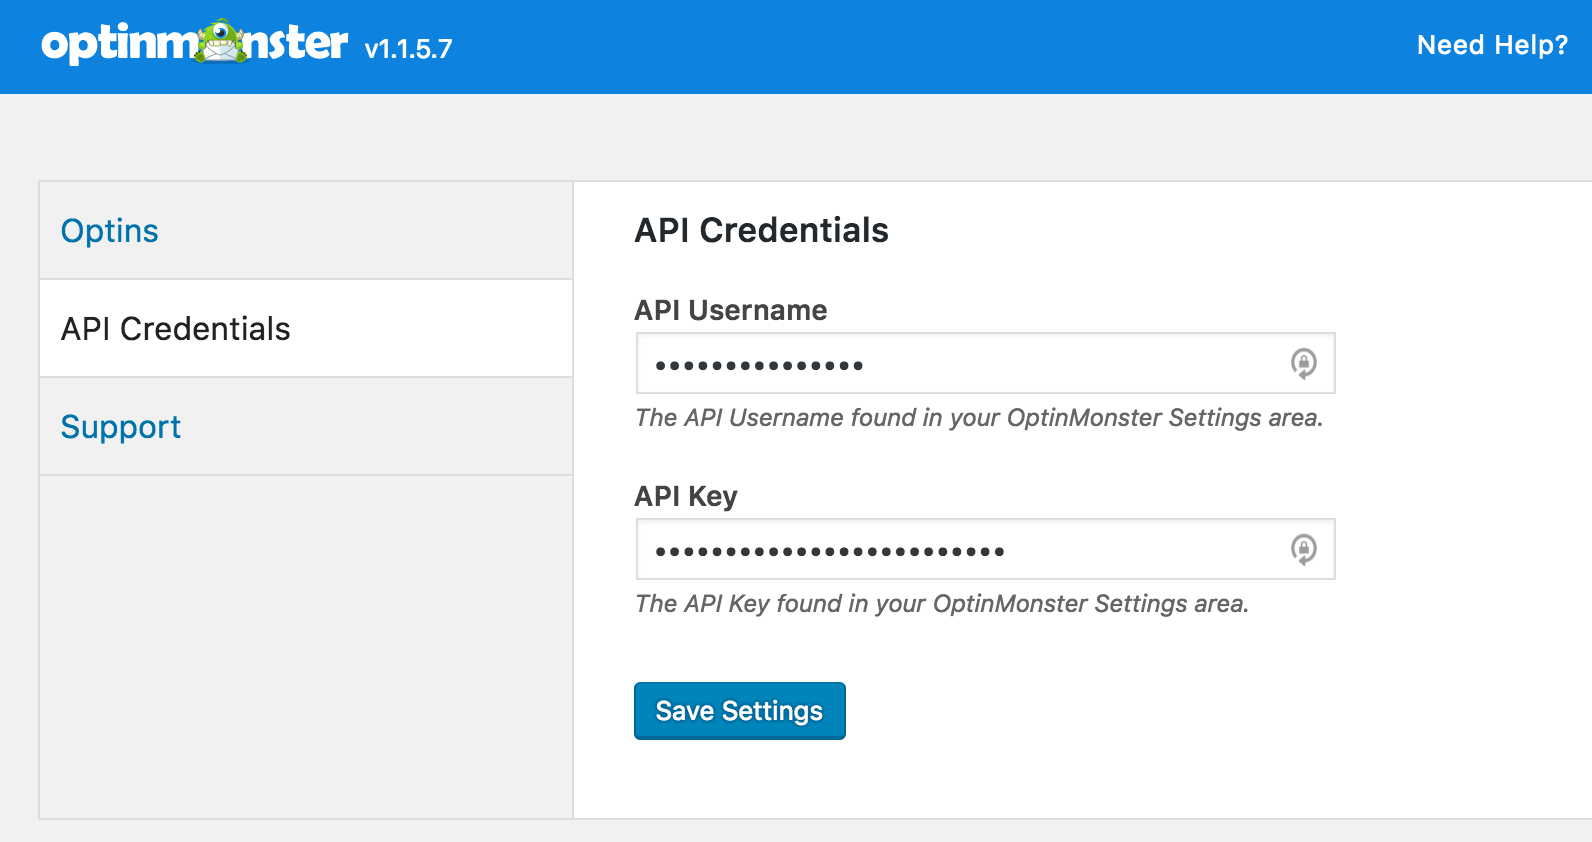
Then, open OptinMonster and enter the API Credentials for your OptinMonster account.
Don’t have an account yet? Create an OptinMonster account now.
Step 3: Build your Mailchimp form
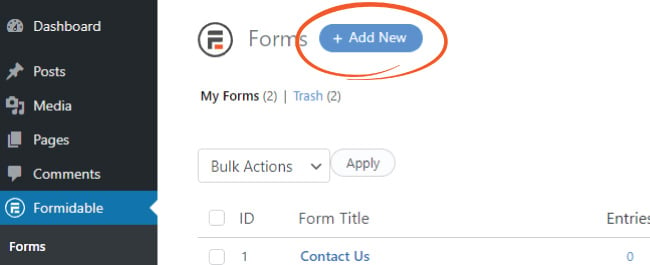
Open Formidable → Forms, then click +Add New to create a new form.
Choose our Newsletter Signup Form Template to keep things quick, or select Create a blank form to build a newsletter popup from scratch.
In the drag and drop form builder, you can add, edit, or remove the form fields you want to display in your Mailchimp popup.
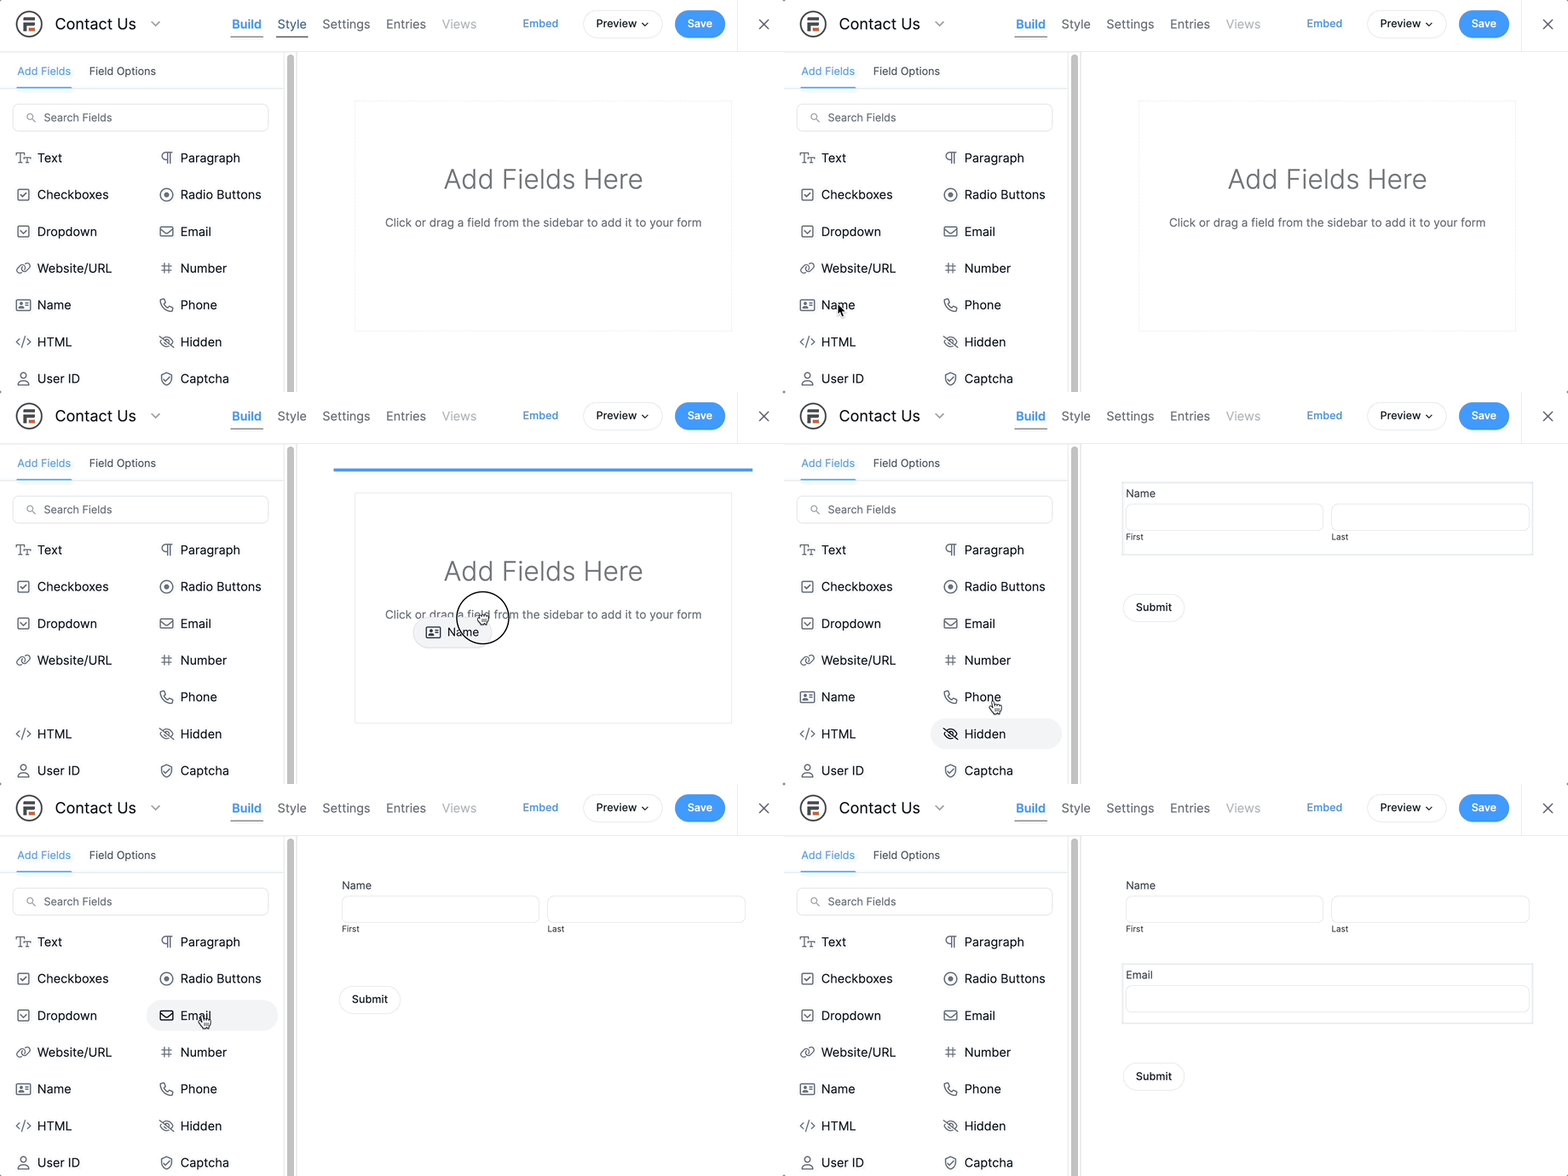
Click on any field in your form to change settings such as field title, description, fonts, size, and layout.
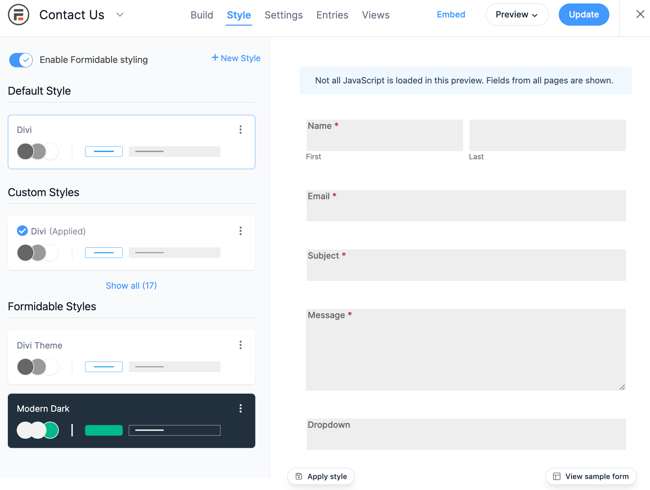
When you're happy with your form, remember to hit Save. Then, head to the Style tab to completely customize its look and feel.
👉 Learn more: How to style Mailchimp forms in WordPress
Step 4: Set form actions
From the form builder, navigate to Settings → Actions & Notifications and select Mailchimp.

Now, choose which Mailchimp email list visitors sign up to, the Mailchimp tags to add to contacts, and your email opt-in options.
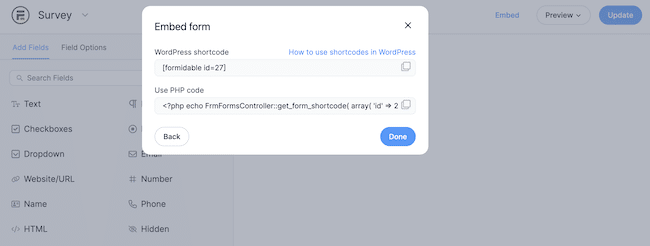
Update to save your changes. Then click Embed → Insert manually to find your form shortcode. Go ahead and copy the shortcode (in this example, it’s “[formidable id=27]”) — you’ll need it for the next step.
Step 5: Make your WordPress Mailchimp popup
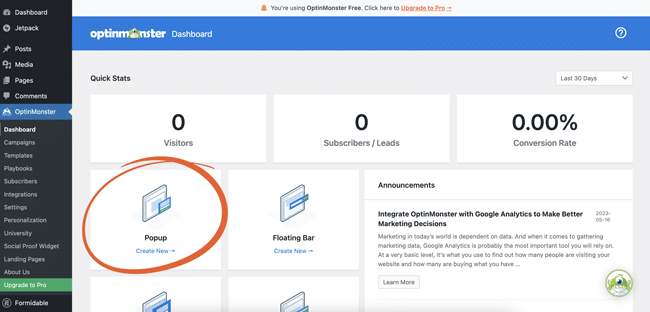
The last step is to create our popup in OptinMonster. From the WordPress dashboard, head to OptinMonster → Popup → Create New.
Next, we’ll pick a popup design template. Since we already built our form in Formidable, let’s select Basic.
Give your campaign a name, then click Start Building.
Since we want to paste our form shortcode, we'll delete all the template elements.
Once it's empty, drag the Embed Form block into your popup builder.
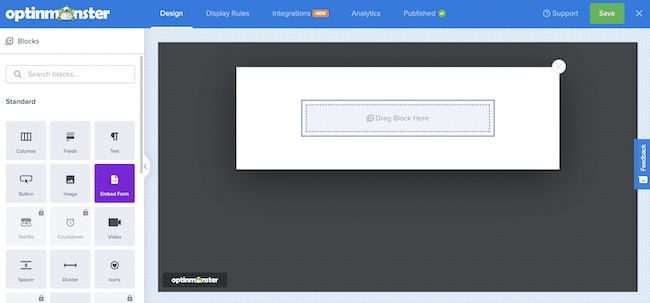
Then, we can paste the shortcode from Formidable Forms into this block.
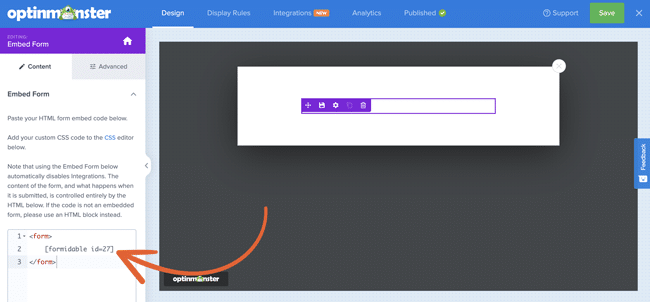
The popup shows your form shortcode for now, but you'll see your actual form when you preview or publish it.
All that’s left is to set the display and targeting rules!
Click Display Rules at the top of the screen to tell your popup survey when it should be shown to your target audience.
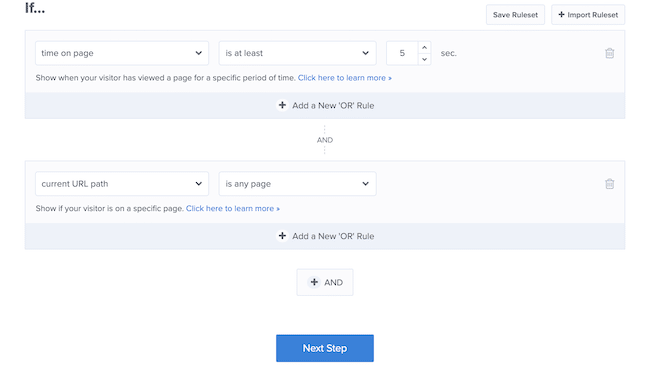
Now, you can choose when and where to display your popup. You can set a certain amount of time on the page or specific posts and pages.
If you have a premium OptinMonster plan, you can even show a popup based on exit intent.
Then hit Save, and you’re all done!
Ready to add a Mailchimp popup to WordPress?
Today, we covered two ways to add Mailchimp popups to WordPress:
- Using Mailchimp’s built-in form builder
- Using a Mailchimp WordPress popup plugin like Formidable Forms
Each option has benefits, but if customization and control are important, your best bet is to use Formidable Forms + OptinMonster to create your Mailchimp popup forms.
And since Formidable is the best WordPress form builder plugin, it won't only solve your Mailchimp popup or contact form troubles; you can also create all types of forms, including calculators, surveys, and quizzes. You can even make landing pages!
 How To Add a Mailchimp Signup Form to WordPress [4 Steps!]
 The Best Mailchimp Form Builder for WordPress
 7 Best Mailchimp Plugins for WordPress
Leave a Reply