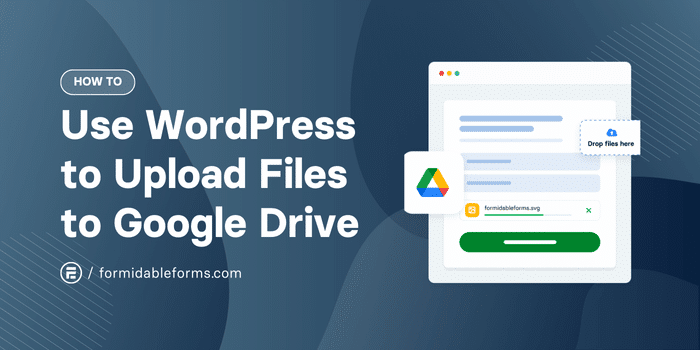
Learn how to upload files to Google Drive easily using WordPress. Follow this simple guide to streamline file storage and sharing with the best tools.
Approximate read time: 5 minutes
Getting WordPress and Google Drive to work well together can be difficult.
Maybe it's collecting documents for organizational reasons or sending images to Google Drive's cloud storage. Either way, it can be a challenge. But it doesn't have to be.
Create a File Upload Form Now!
With the right plugin, you can easily use WordPress to upload files to directly to Google Drive. You can even choose the Google Drive folder it goes to! And you don't have to know how to code to do it. So, this post will show you how to create a WordPress form to handle file uploads step by step.
Let's get started.
How to use WordPress to upload files to Google Drive
To start, you must install Formidable Forms.
It's the best WordPress form plugin, making creating any type of form fast. No fumbling around with code or spending time on unimportant tasks—just simple form building.
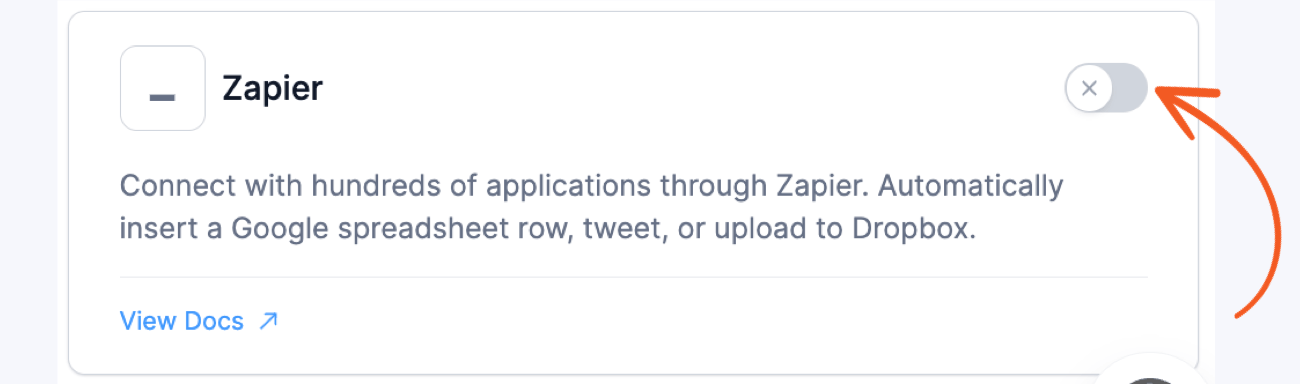
You need Formidable's Zapier add-on to connect to Google Drive. And that's included in the Formidable Pro Business plan.
Then, it's a few easy steps to get started:
Step 1: Install and activate Formidable Forms
Once you have Formidable Forms Pro, follow this guide to install and activate the plugin on a WordPress site.
Next, confirm your Formidable license, then go to Formidable → Add-Ons in the WordPress dashboard. Find the Zapier WordPress Plugin and click the Install button.
Once activated, it's time to create the file upload form.
Step 2: Set up a Google Drive file upload form in WordPress
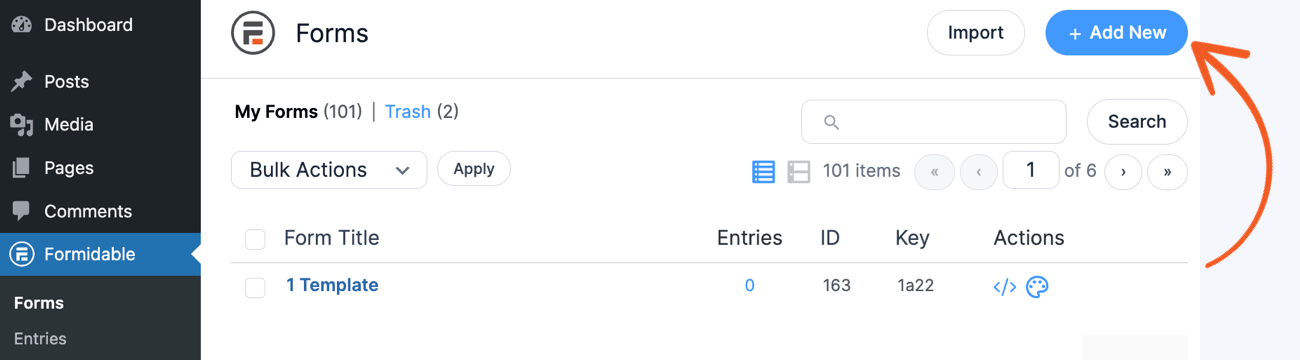
To start creating a form, go to Formidable → Forms and click the Add New button.
Next, you have three options to create a form:
- Create a blank form
- Use a WordPress form template
- Use the AI form builder
You have various choices with the form templates, from contact forms to file upload forms. So be sure to check out the library of 200+ form templates.
Whichever option you choose, it will open the drag and drop form builder to start editing the form.
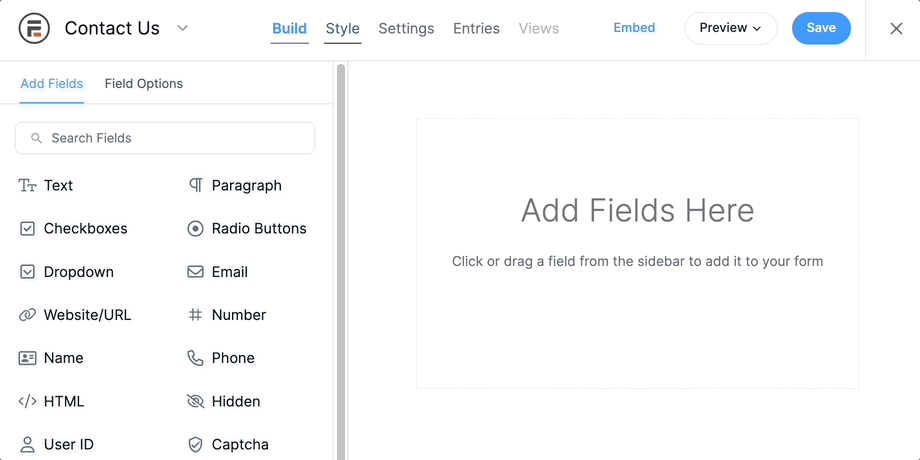
Regardless of what other form fields you need, add a File Upload field.
You can adjust the field settings in the left-hand panel. Things like making it a required field, allowing multiple files to be uploaded, and more are customizable here.
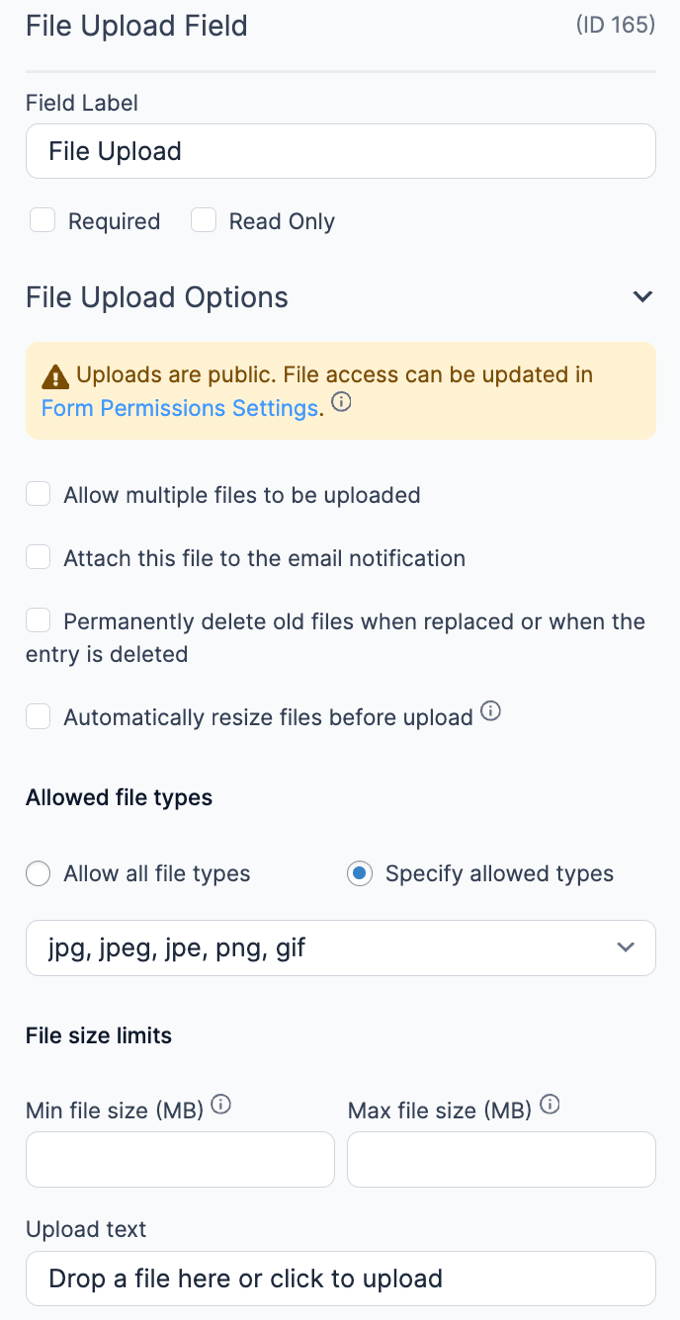
Feel free to adjust these to suit the specific needs of the WordPress website or project. When you're ready, you can test it by uploading a file (like an image in the media library).
Step 3: Create the Zap and connect Formidable Forms
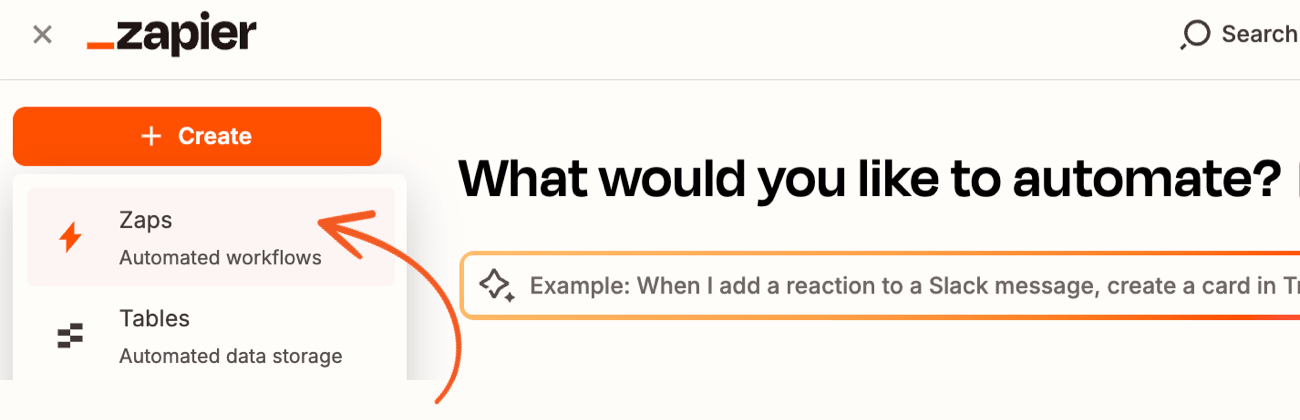
Once that's finished, you'll need to head to Zapier and log in/create an account to create a new Zap.
Next, choose Formidable Forms as the app. This app will trigger the event to start so it knows when to perform the action.
Then, you must choose the event under Trigger event. There are two options, but you want to choose New Entry to upload. Then, click the Sign In button to connect your Formidable account to Zapier.
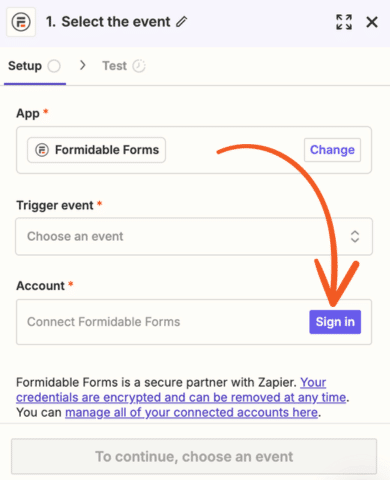
Follow the Formidable Forms wizard to connect Zapier to Formidable Forms, then click the Continue button. Next, it will ask which form you want the Zap to "listen" to. Choose the form where you'll put the Google Drive uploads.
Once you've set that up, you must create a test entry to verify that things are working. You can do this by going to the Entries section under the form you created.
Then, choose the form submission when it comes through to ensure it works correctly.

If the record looks good, click Continue with record to go on to the next step.
Step 4: Set up the Google Drive action
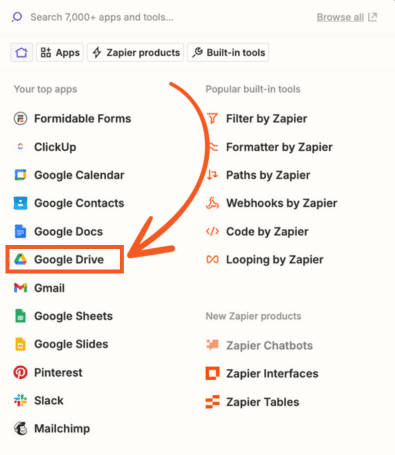
The process for setting up Google Drive is similar to Formidable Forms.
Add a new step to the Zap you're editing and click the action. Next, choose Google Drive from the list of apps.
Then, you can edit the action. So, choose Upload File under Action Event and then choose/connect your Google Drive account to upload the file. Click Continue.
On the Configure tab, choose the Drive and specific folder (or leave it blank for no selected folder) for the file. Next, under the File field, choose the ID for the File Upload field from your form in Formidable. This ensures it uploads the file itself.
Then, set Convert to Document to False and the File Name to one of the form fields. Next, leave File Extension blank or set it to an extension. Then, click Continue.
Last, test the step to ensure the WordPress upload to Google Drive works!
Step 5: Publish the file upload form
Last, you need to publish the form on the website.
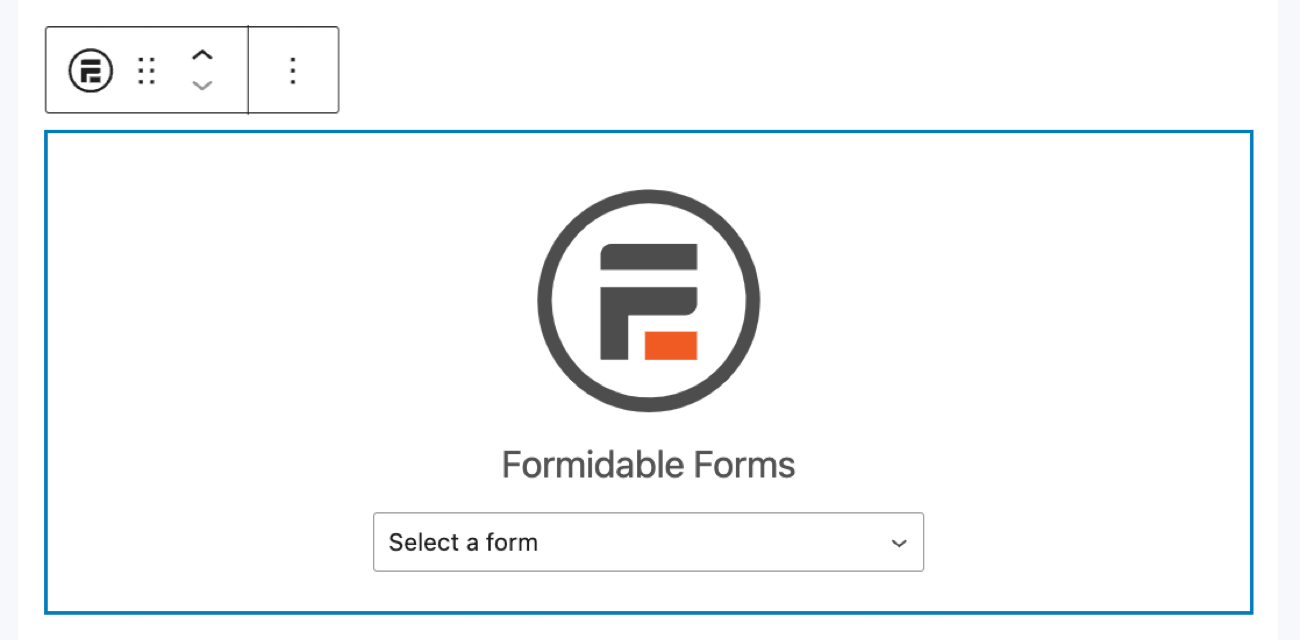
So, go to the post or page where you want to show the form and add a new WordPress block. Next, find the Formidable Forms block and add it.
Then, choose the file upload form from the dropdown menu.
Update the post/page, and the form is live. And that's all you need to do. The form will handle all WordPress file uploads to Google Drive!
Create a multi-file uploader today
See, it doesn't have to be difficult to create a Google Drive file upload form in WordPress. All you need is the right tools. Now, you can securely share your Google Drive documents with anyone!
And speaking of those tools, they can do much more than create a single file upload form. We have the perfect solution if you need something more powerful to handle multiple files. Learn how to make a multi-file uploader in WordPress with our simple guide.
Also, join our community on Facebook, Twitter, LinkedIn and YouTube for more WordPress tips & tricks!
 How To Create a WordPress Contact Form with File Uploads
 5 Best WordPress Plugins To Download PDF Files (& Upload PDFs Too)
 How to Display Form Submissions in an Image Carousel
Informative!!
This is fantastic, exactly what I was looking for
Very handy API
This doesn't actually work to reduce the storage space - it simply copies the file over to Google Drive.
"However, if you're working with limited storage space, you may run into issues.
The solution is to upload those files to a third-party platform such as Google Drive. This is something that you can easily accomplish using a Google Drive file upload form."
So this doesn't make sense - as the file still exists on the server.
Sure, you can delete the entry - and associated file with it - but it's not actually a "server bypass" it's billed as.