Learn how to make a questionnaire in WordPress with a few simple steps. This guide shows you how to design a questionnaire in WordPress using easy-to-use tools.
Approximate read time: 8 minutes
Okay, maybe you can't read minds (it'd be cool, though).
But with a WordPress questionnaire, you can get pretty darn close!
Questionnaires are a direct line to your audience's thoughts and opinions. They help discover what makes your visitors tick, what they love about your product or service, and what they want to see next.
Creating one can be as difficult as reading minds sometimes. But not with this guide. In this post, you'll learn how to create a WordPress questionnaire that gets feedback directly on your WordPress website. No coding skills needed — just a bit of time and a cup of coffee (or tea).
Let's get started.
Why you need a questionnaire on your WordPress website
Questionnaires are feedback magnets.
Want to know how you're doing? Just ask your audience! There is no need to complicate market research.
What kind of content do they want? What products or services would make their lives easier? Are they facing any challenges? A feedback form gives you bits of information to create a website and offerings that click with an audience.
But it does more than that
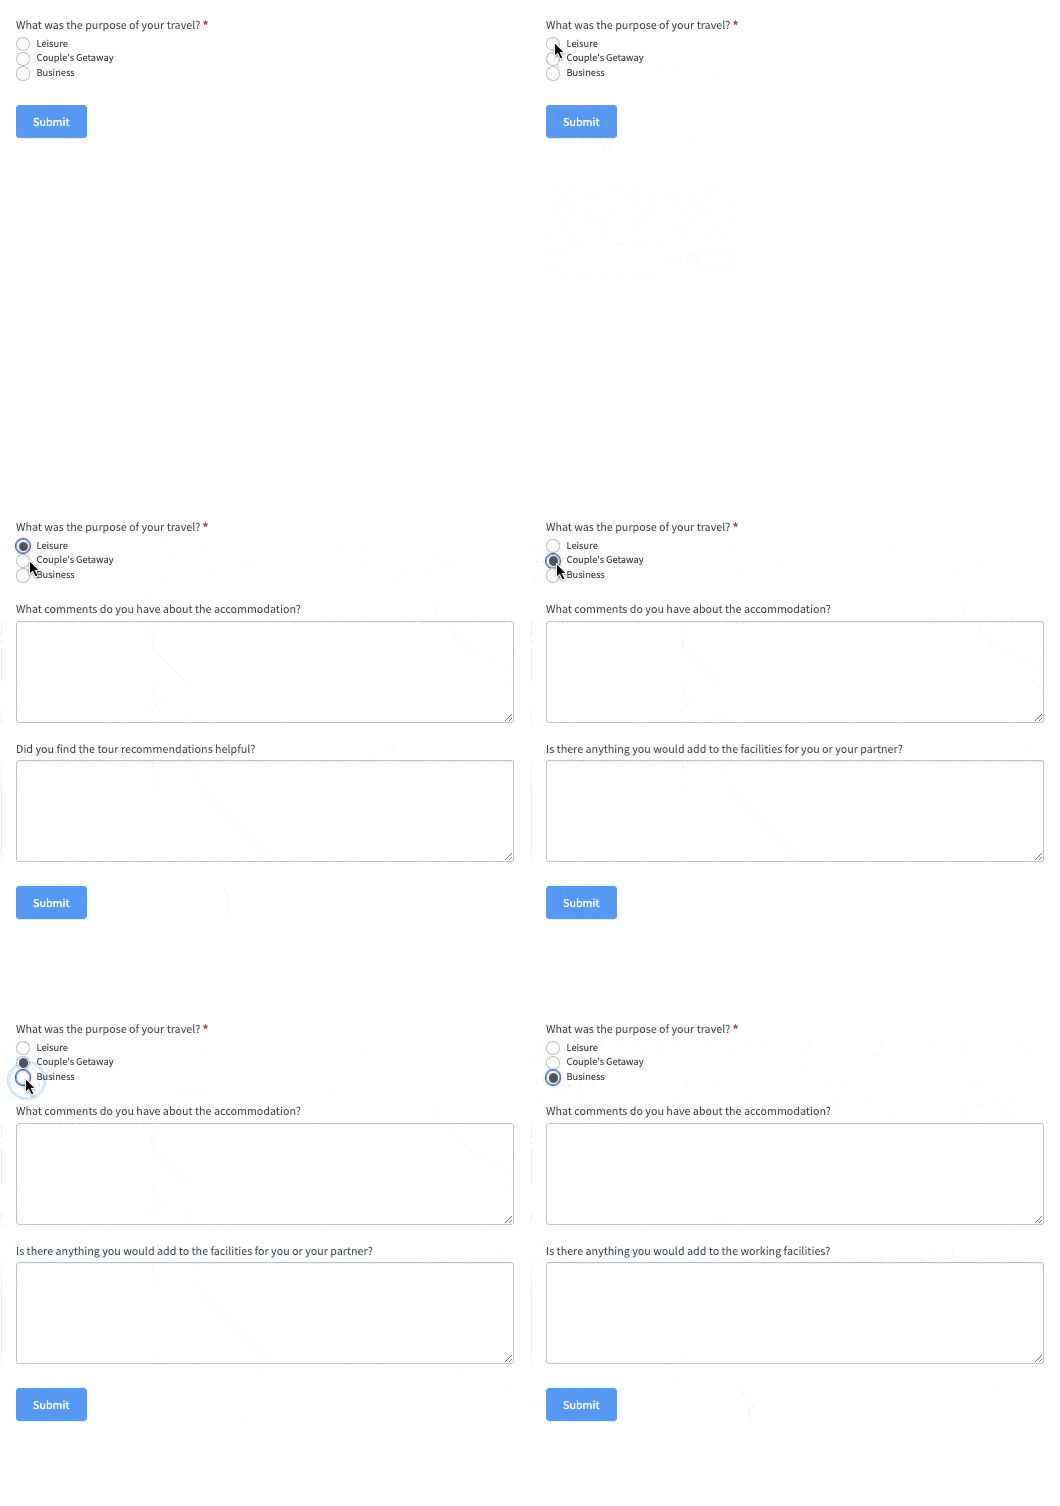
Questionnaires are also amazing for engagement. Think about it: who resists a fun quiz or poll that speaks to them? Interactive quizzes like this keep visitors glued to a site, clicking on more content and engaging more.
And the longer they stay, the more likely they become loyal fans or customers.
But here's the secret weapon: questionnaires help grow your email list without being too pushy. Simply add an email signup field at the end and watch your email list explode. People are much more likely to share their email addresses when they get something cool in return, like quiz results or a discount code.
So that's three separate benefits in one simple questionnaire!
How to create a questionnaire in WordPress
The easiest way to create a questionnaire for a WordPress site is by using Formidable Forms, the most advanced WordPress form builder.
Its drag and drop form builder helps you create any kind of form in a few minutes—contact forms, calculators, and surveys, too. You can customize it to match any website or brand you want.
Plus, with its Surveys and Polls add-on, it's the best WordPress survey plugin, too! You can easily create questionnaires, collect submissions, and display the survey results in a chart or graph!
You can use its free online form plugin to create a basic questionnaire. But the premium version gives you much more, like its Surveys and Polls add-on, more question types, multi-step forms, and questionnaire templates to save you time.
So, grab the Formidable Forms form maker using the button below to get started.
Then, it's five easy steps:
Step 1. Install and activate Formidable Forms and its WordPress survey plugin
First, you need to install Formidable Forms.
So, go to your WordPress dashboard and Plugins → Add New. Search for Formidable and click the Install button. Finally, click Activate when it appears. You can also add your email and site URL below, and we'll take you straight to the page to activate our free plugin.
If you use the free version of Formidable Forms to create a free online questionnaire, you can proceed to the next step.
If using the premium version, there's one more step. Go to Formidable → Global Settings and click the Connect an Account button.
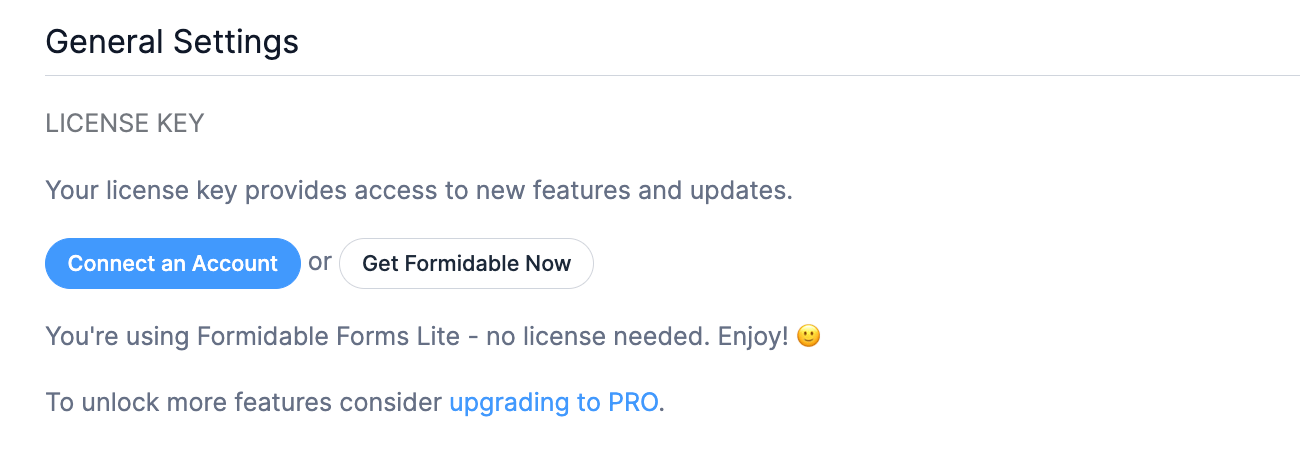
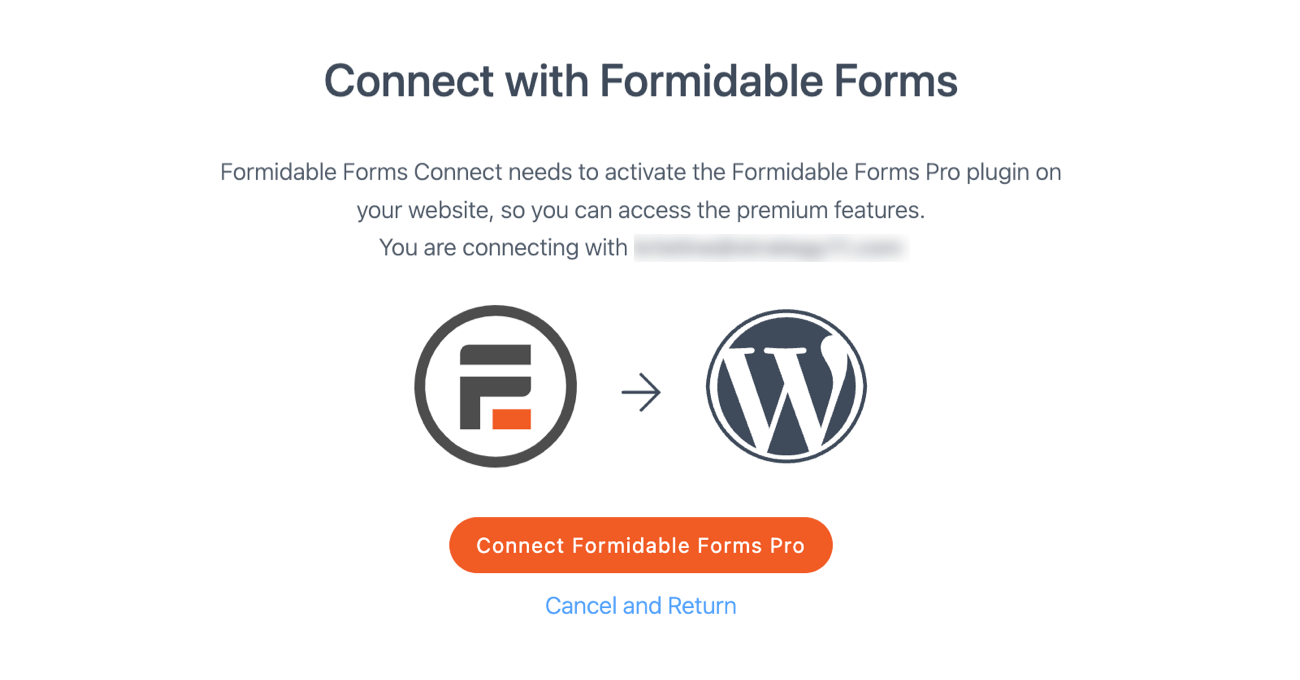
This takes you to the Formidable Forms site to connect your account. So you'll log in, then click Connect and Install Formidable Forms Pro.
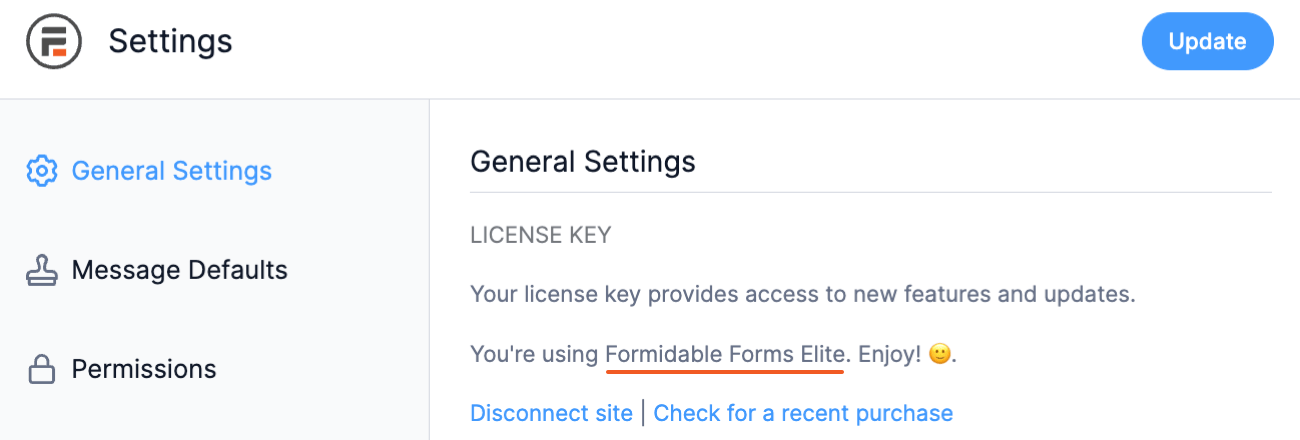
Next, it'll install the download package and link your site with your license key. Then, it'll show your account is active in the dashboard. (It'll show your plan depending on your choice — Business or Elite.)
Next, you need the Surveys and Polls add-on to create a survey form for the questionnaire.
So, go to Formidable → Add-Ons in your WordPress admin menu and toggle on the Surveys and Polls plugin.

Now everything is set up, you can begin creating your questionnaire.
Step 2: Create a form
To create a form, go to Formidable → Forms and click the Add New button in the top-right.

Next, you have a few options to create a form. You can use:
- A blank form to start from scratch
- A pre-built WordPress form template to customize further
- Use the AI form builder to give it a prompt
Whatever option you choose, the form builder plugin will take you to its drag-and-drop builder, where you can begin customizing your form. Below is an example of using it for contact form building.
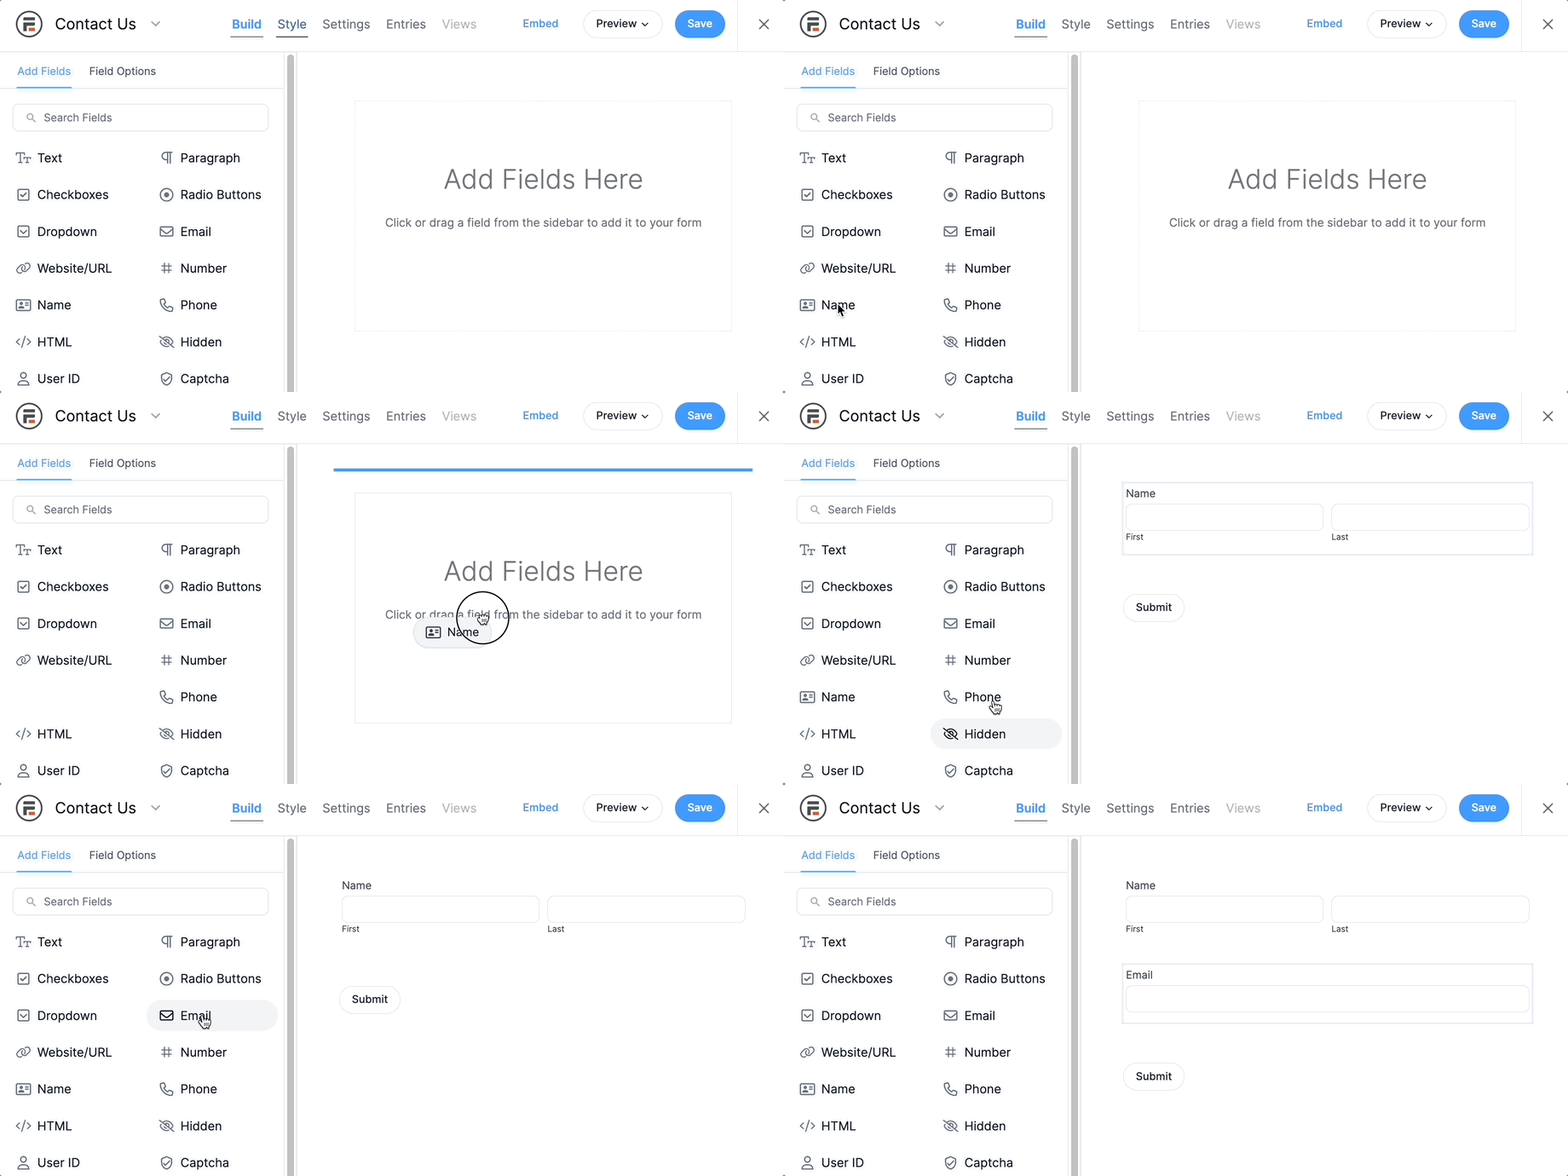
You can add any fields you want to the form canvas. A few form fields used to create surveys are:
- Net Promoter Score (NPS)
- Likert Scale
- Ranking
- Radio option or checkbox as buttons
These are all customizable, so you can design them exactly how you want to fit your needs.
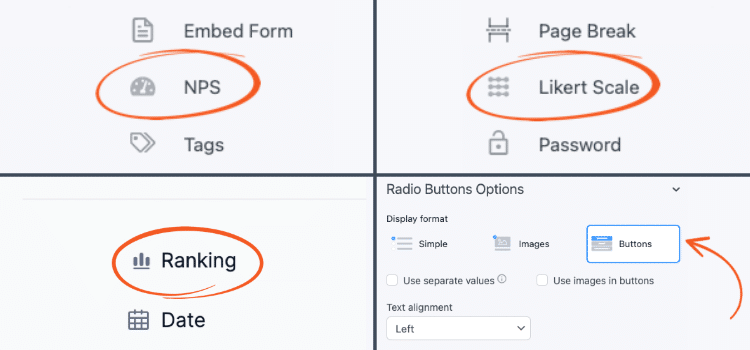
Page Break fields (like in the top-right photo above Likert Scale) are excellent for breaking the page into multiple parts. This makes it less overwhelming for the user and makes them more likely to complete it.
For a full breakdown of our survey features, check out our KnowledgeBase docs.
Whenever you're finished designing it, you can click the Preview button to get a quick look at your form preview. Last, click the Save button to save your progress and give the questionnaire a name (only you will see this).
Then, it's time to publish the form on a post or page.
3. Publish and share the questionnaire
Go to the post or page where you want to show the questionnaire.
Next, you have two options. You can show it using the Formidable WordPress plugin block or embed the form using a shortcode (similar to a widget).
To show it using a WordPress block, add a new WordPress block and search for the Formidable Forms block. Then, choose the questionnaire from the block's dropdown menu.
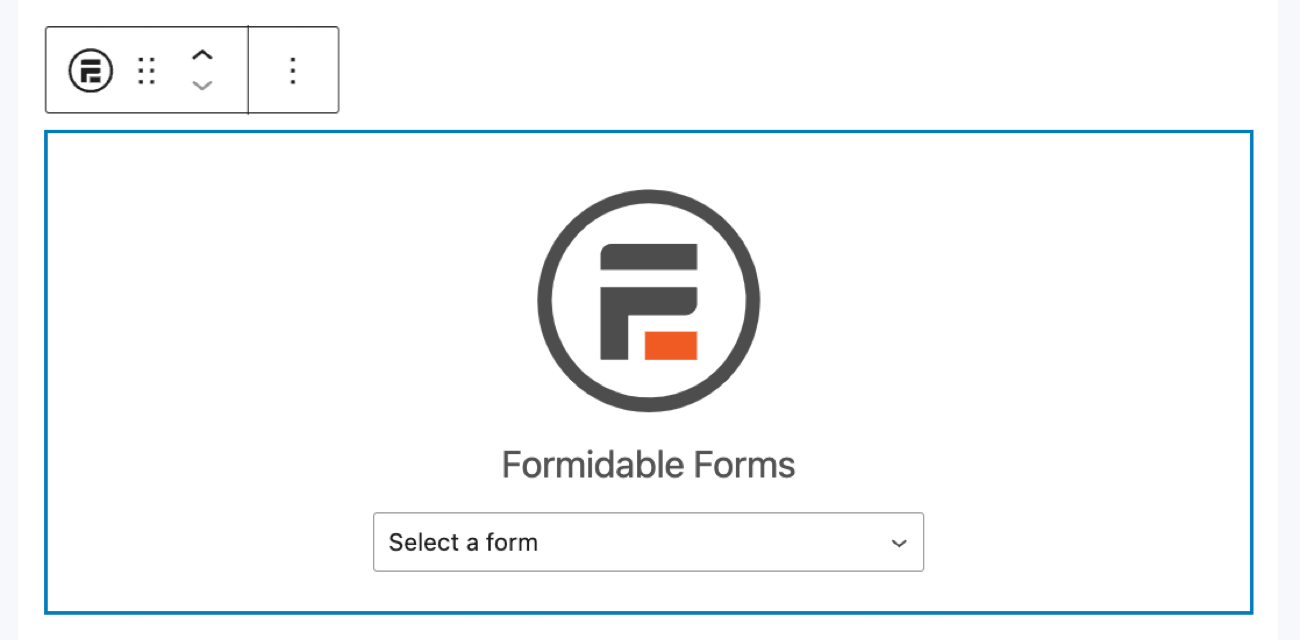
Then, update the page or post, and it's ready.
To show it using a shortcode, click the Embed button in the form builder.

Then, click Insert manually and copy the WordPress shortcode. Next, add a Shortcode block on the post or page where you'll show the questionnaire. Last, add the copied shortcode and click the Update button to save the post or page.
4. Customize the questionnaire design (optional)
If you'd like to customize surveys or questionnaires with a specific design or look, Formidable's Form Styler is perfect.
Go to Formidable → Forms and click the icon under the Actions column. You can also go into the form and click Style to start editing. This is where you can adjust settings quickly and easily from here using Formidable's Quick Settings.
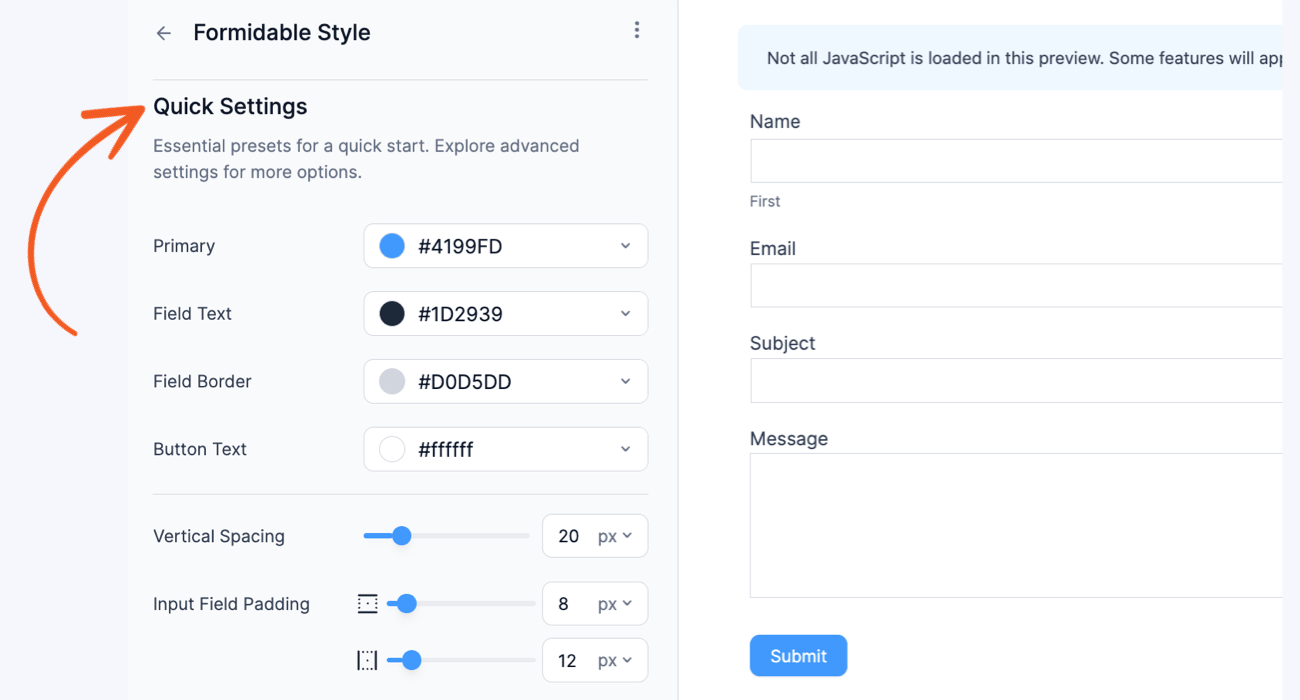
Change the font type, color, alignment, border, padding, and more. You get control of every detail of your form from here, and you don't need to use CSS to customize any of it (though you can if you want!).
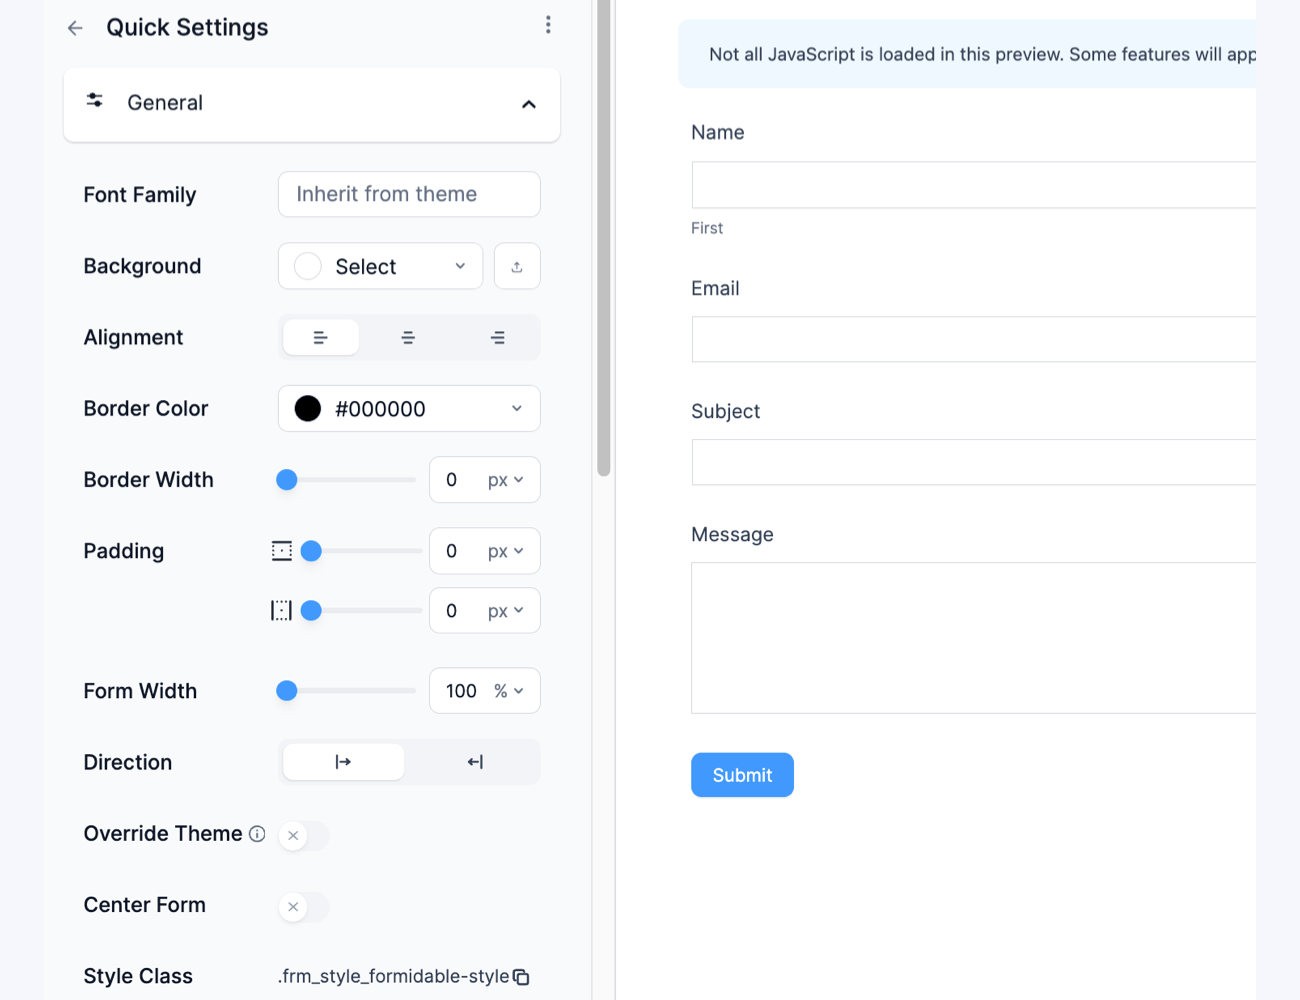
So feel free to jump in here and customize the questionnaire exactly how you need to match your website.
5. Display the questionnaire results
As we mentioned earlier, Formidable is one of the best survey tools.
But what makes it better than the best WordPress survey plugins is how the plugin allows you to create graphs and charts to show your form entries in any way you want. One of those ways is using graphs and charts, which let you create easy-to-understand survey reports for website visitors or your own staff. All you need to create the chart is your form submissions and a bit of imagination.
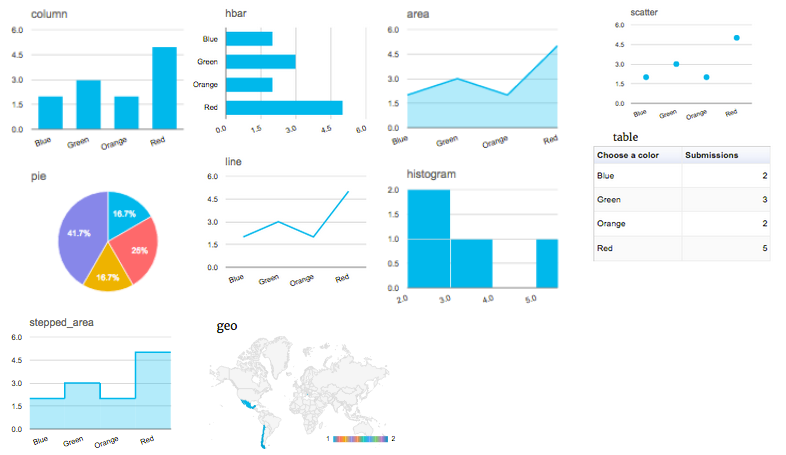
For this, you'll also need our Graphs and Charts add-on. But the good news is that you'll already have it if you have our Surveys and Polls add-on. You can check out this blog post for a detailed breakdown of how to create a chart in WordPress using the plugin.
Ready to create a WordPress questionnaire form?
And just like that, you have a beautiful questionnaire in WordPress!
Whether it's for gathering feedback, getting leads, or market research, a questionnaire can do a lot to help. And with a few simple steps, you're on your way to having one on your site. So, grab Formidable Forms using the button below and get started now!
Also, join our community on Facebook, Twitter, LinkedIn and YouTube for more questionnaire tips and tricks!
