Discover how to accept iDEAL payments easily. Follow our step-by-step guide to use iDEAL, attract more Dutch customers, and increase online sales.

Approximate read time: 5.5 minutes
iDEAL is one of the biggest payment methods in the Netherlands.
So much so that it accounts for around 55% of all online transactions in the country. So tapping into the Dutch market doesn't happen without having iDEAL as a payment method.
And we're here to show how to accept iDEAL payments on any WordPress website with this step-by-step guide.
So, let's get started.
What is iDEAL?
iDEAL is the most popular online payment method in the Netherlands, accounting for an incredible 70% of all online transactions. It may be the only thing they use as much as their bikes! 🚲
Like ACH payments in the United States or SEPA throughout the European Union, iDEAL is a direct debit from a customer's bank account. It's operated by the country's Currence eCommerce organization, of which all major Dutch banks are members. 🏦
Unlike other direct bank transfers though, iDEAL doesn't support recurring payments. It is possible to make it work through Stripe-iDEAL-SEPA connection, but it requires a little extra setup.
But why has iDEAL won the hearts of so many Dutch online shoppers? The short answer is security, speed, and convenience. And we'll dive into that more here in a minute.
For now, if the Netherlands is on your radar, offering iDEAL payments is a must. 🇳🇱
Why let customers pay with iDEAL?
Honestly, the stats speak for themselves. Even a quick glance at this graph from Stripe makes the benefits to business owners incredibly obvious:

Dutch consumers trust their preferred local payment method and are much more likely to make online purchases if it's available.
How do iDEAL payments work?
Let's explore the nuts and bolts of paying with iDEAL in case you aren't in the Netherlands yourself. 🔩 When customers choose to pay online with iDEAL, they are redirected to their online banking environment, which ensures top-notch security for the transaction.
They're then prompted to provide two-factor authentication (2FA) as a one-time password or a secure QR code. This extra layer of security is a big reason for iDEAL's success. 🔐
As soon as the customer confirms the transaction, they receive a notification about the purchase status. Real-time feedback during checkout helps both the customer and the merchant.
How to accept iDEAL payments on WordPress
It's clear you can make more money online with iDEAL. But how do you accept iDEAL payments on your website?
Luckily, it's a super straightforward process with the right payment plugin. So, which plugin should you use? We recommend Formidable Forms — and that isn't just because it's ours, although we may be biased. 🤭

Formidable's free WordPress plugin lets you create payment forms AND accept iDEAL payments, along with other Stripe payment options. But, there is a small fee with each payment by using the free Formidable Forms version.
Want to avoid the fees? Grab a Formidable Forms Pro plan now, and every payment is fee-free.
Need help getting started? Follow this step-by-step guide to installing and activating Formidable Forms on your WordPress site.
Step 1: Connect Stripe to your website
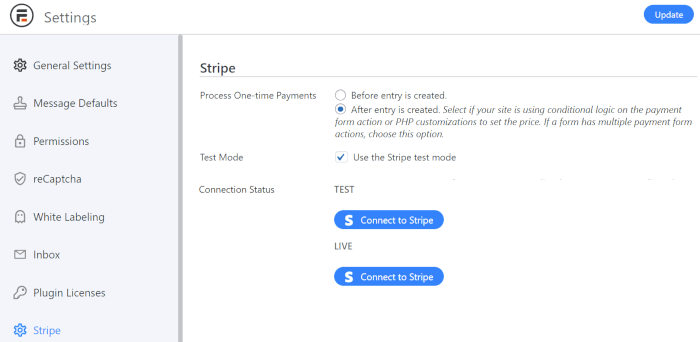
Once you've installed Formidable Forms, go to Formidable → Global Settings → Stripe on your WordPress dashboard.
We recommend selecting the Use the Stripe test mode option initially so you can test things without breaking your site or accidentally charging customers.
⚠️ But do note — you'll need to return to this page when you're ready to launch so you can turn off test mode and connect to Stripe Live.
Next, click Connect to Stripe.
This opens Formidable Forms' Stripe integration. Now, you can create a new Stripe merchant account or log into your existing one.
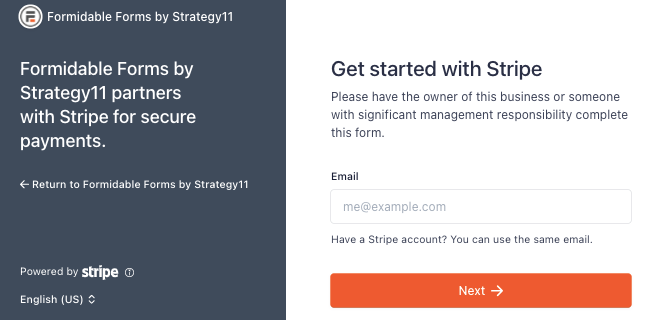
And that's it! Your site is now connected to Stripe. Easy as pie! 🥧
Step 2: Activate iDEAL payments in Stripe
From your Stripe account, first go to Settings → Payment Methods. Here, you should see a list of all available payment methods.
🤔 Don't see the list? From the Select Platform dropdown menu, first select Formidable Forms.
Scroll down to the Bank Debits section. Click to Turn On iDEAL direct debits.

Save your changes, then head back to your WordPress admin.
Step 3: Create your payment form
From your WordPress dashboard, go to Formidable Forms → Forms → Add New.
Choose Blank Form, or if you're short on time, use the Credit Card Payment form template to get started faster. Next, give your form a name, then hit Create.
In the drag and drop form builder, click on a form field, then drag and drop it into your form. Add any fields you want, but don't forget to add a Payment field to take online payments. 💳
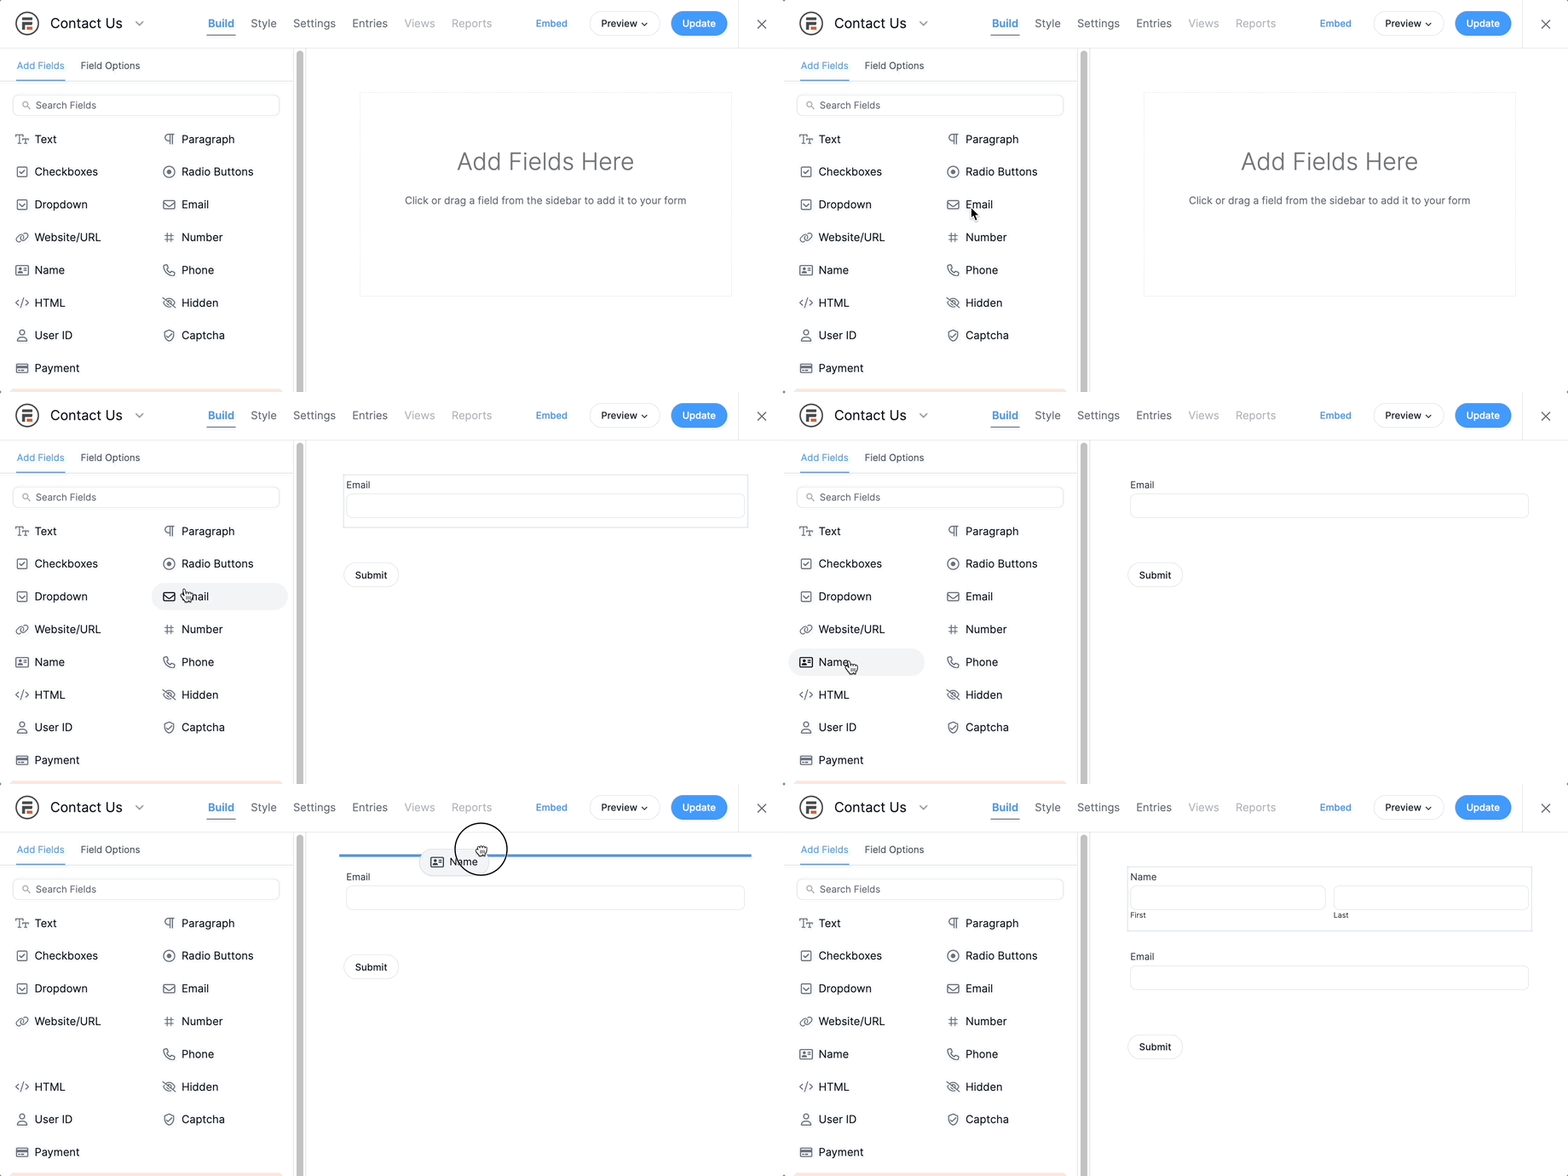
When you're done building your payment or subscription form, click Update to save your changes.
Step 4: Configure your form settings
With the form builder still open, select Form Settings → Actions & Notifications. Then, either add or edit the Collect a Payment action.
Add an action name, description, and payment amount. Finally, select Euro (EUR) as the currency.
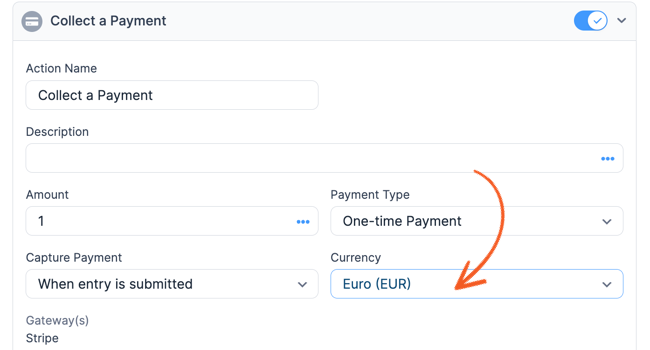
Click Update to save your settings. Now, Preview your form, and you'll see iDEAL as a payment method!
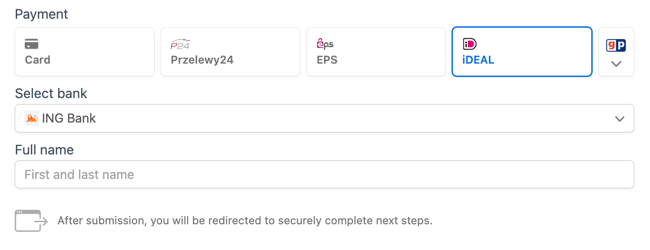
All that's left is to publish your form on the page or post of your choice, and you're good to go!
Ready to add iDEAL payments to your site?
We know you're eager to add iDEAL payments to your site, but test everything thoroughly before launch. After all, you want the checkout process to be as delightful as a freshly baked stroopwafel! 🧇 😋
So, are you ready to reach more Netherlands-based consumers? Click below to grab Formidable Forms and start accepting iDEAL today!
And don't forget to follow us on Facebook, YouTube, and Twitter for more online payment pointers! 📱💬
 How To Accept Stripe Membership Payments in WordPress
 Authorize.net vs Stripe: Which Is Right for Your Site?
 How To Make a WordPress Form with Payment Gateways
Leave a Reply