Discover how to create a Salesforce form in WordPress! This simple step-by-step guide shows how to integrate Salesforce forms with your WordPress site.

Approximate read time: 9 minutes
Creating a Salesforce form in WordPress seems like a difficult task.
The connection between Salesforce and WordPress isn't always seamless. Form data may not sync correctly, or the forms may not match your brand. It's frustrating for what seems like a simple task.
But it doesn't have to be.
In fact, we'll show you the easiest way to simplify your Salesforce data flow and save you hours of work. By the end of this tutorial, you'll have a fully working WordPress Salesforce form you can use to add and update records.
Let's dive in.
Is there a WordPress form integration with Salesforce?
Yes, there are ways you can integrate WordPress forms and Salesforce. And it's not only possible, but it's straightforward.
We recommend Formidable Forms, the most advanced WordPress form plugin, thanks to its WordPress Salesforce integration plugin. Not only does Formidable create any type of form (contact form, calculator, survey, etc.), but it can also easily sync that form submission data with Salesforce.
The main benefit of a Salesforce app integration is that it can save you a lot of time. Sales processing and customer tracking can all be automated.
Using Formidable, you can:
- Map fields from your WordPress forms to Salesforce objects like Leads, Contacts, and Accounts
- Send form entry data to any custom object in Salesforce
- Set up the connection with only your Consumer Key and Secret in a few easy steps
- Add conditional logic to keep forms relevant to users and clear of clutter for your team
All of these features help with everything from lead generation to event registrations to getting customer feedback.
And that means you save time on work and costs on a developer.
So, let's look at how it works.
Read more: 5 Tips to Capture Leads in Your Online Lead Form
How to create Salesforce WordPress forms
To get started with this tutorial, you'll need two things:
Once you have these two products, it's only a few simple steps to get your Salesforce WordPress forms working:
Please note that the Salesforce plugin requires the Web Services API feature in your Salesforce account.
Step 1: Install Formidable Forms and activate the Salesforce add-on
To get started, you must install and activate Formidable Forms first.
To do this, go to your WordPress dashboard, and go to the Plugins → Add New and search for the Formidable plugin. Click the Install button and then Activate when it appears.
You can also use the form below to enter your email and site URL to go to the install page.
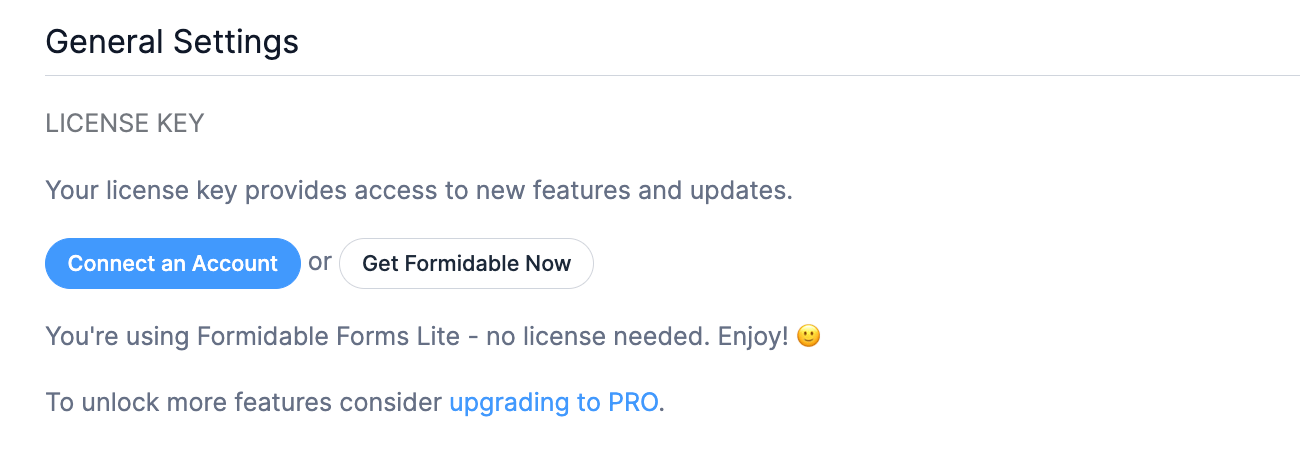
Once the free online form builder is installed, go to Formidable → Global Settings page and click the Connect an Account button.
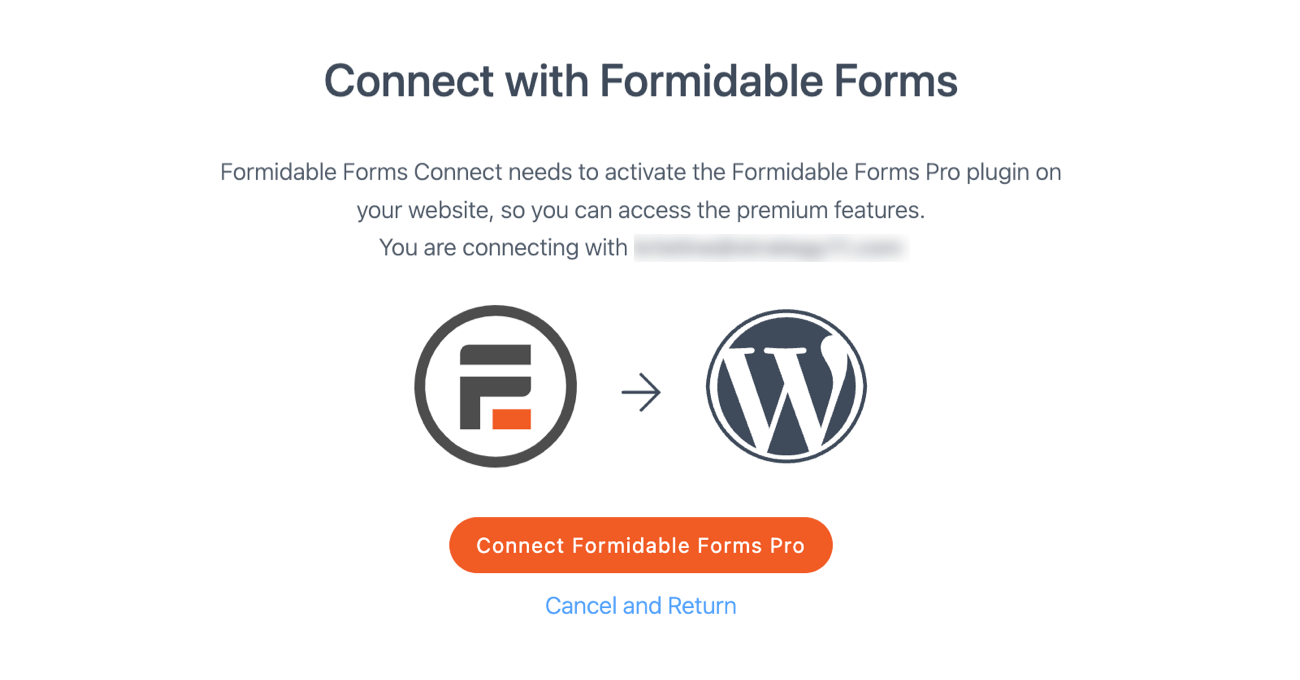
This takes you to our website, where the setup wizard will handle the rest. If you haven't already logged in, do so now. Then click the Connect and Install Formidable Forms Pro button to download and install the package.
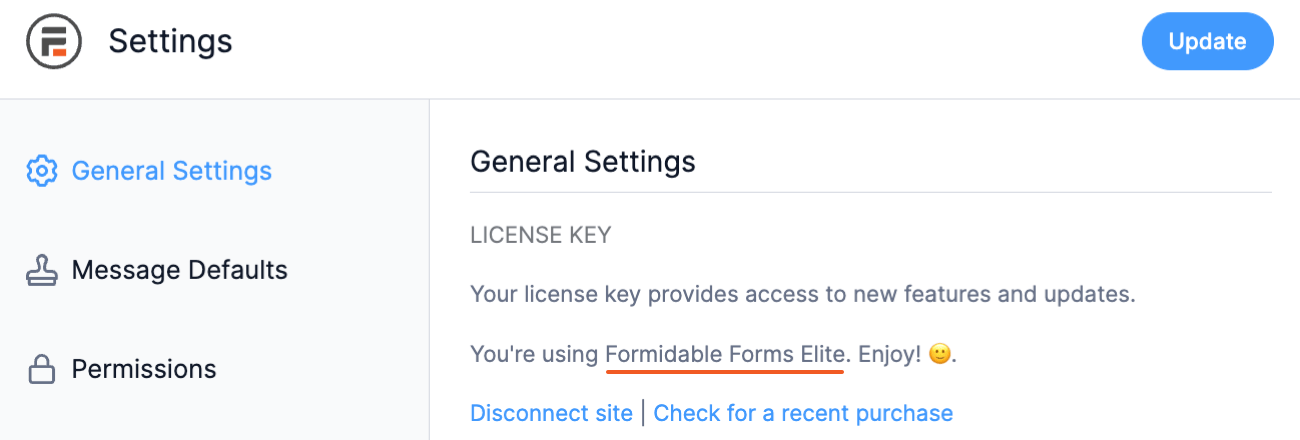
Once that's finished, your account will show your active license type.
If you have any issues, please check out our documentation for help.
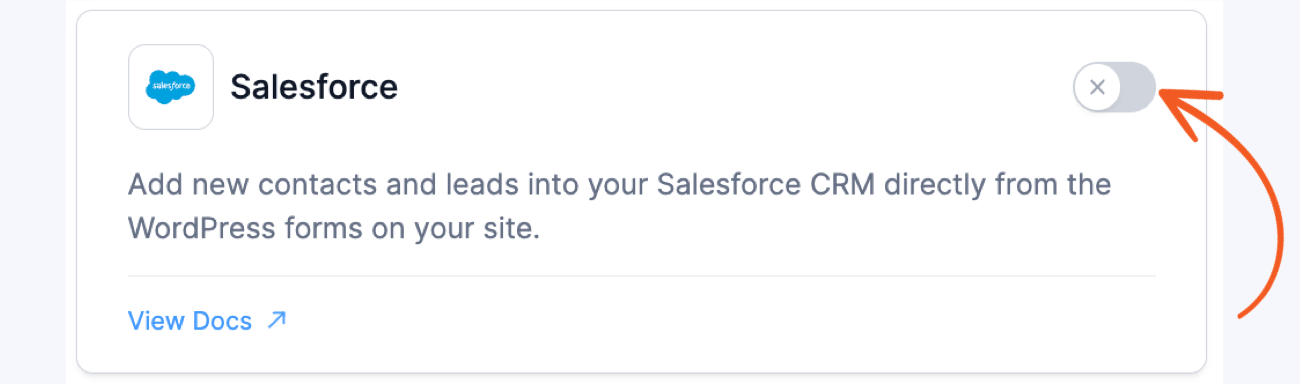
Next up is activating the Salesforce Add-on.
Go to Formidable → Add-Ons and find the WordPress Salesforce Integration. Click the toggle for Salesforce to activate it.
Step 2: Create a Salesforce app
This step will be the "hardest" step of them all.
But don't worry; whether you're familiar with Salesforce's dashboard or not, we have you covered. We must get your Consumer Key and Consumer Secret for the integration.
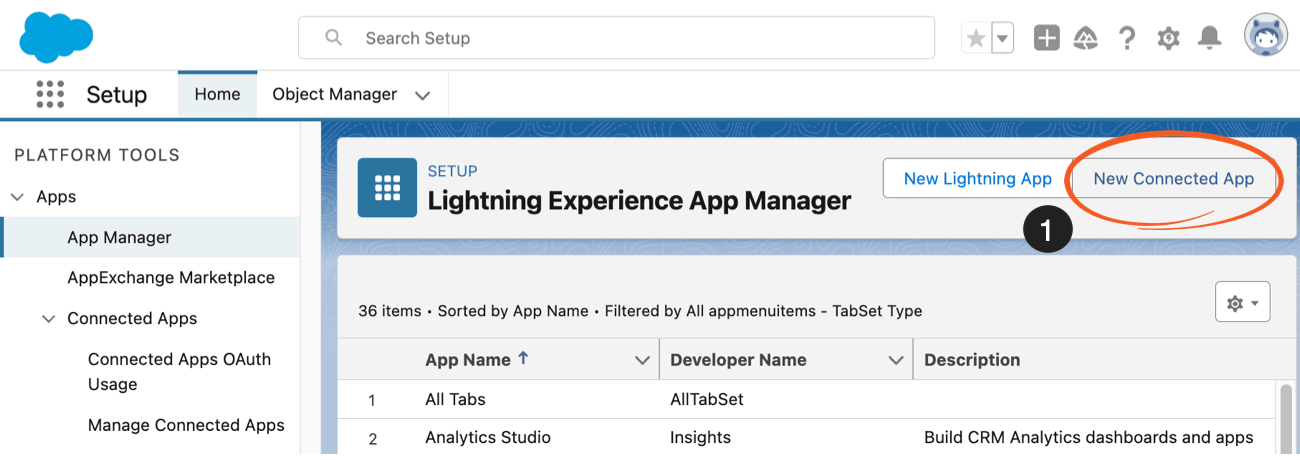
First, create a Salesforce App. In Salesforce, go to Setup → Platform Tools → Apps → App Manager and choose New Connected App.
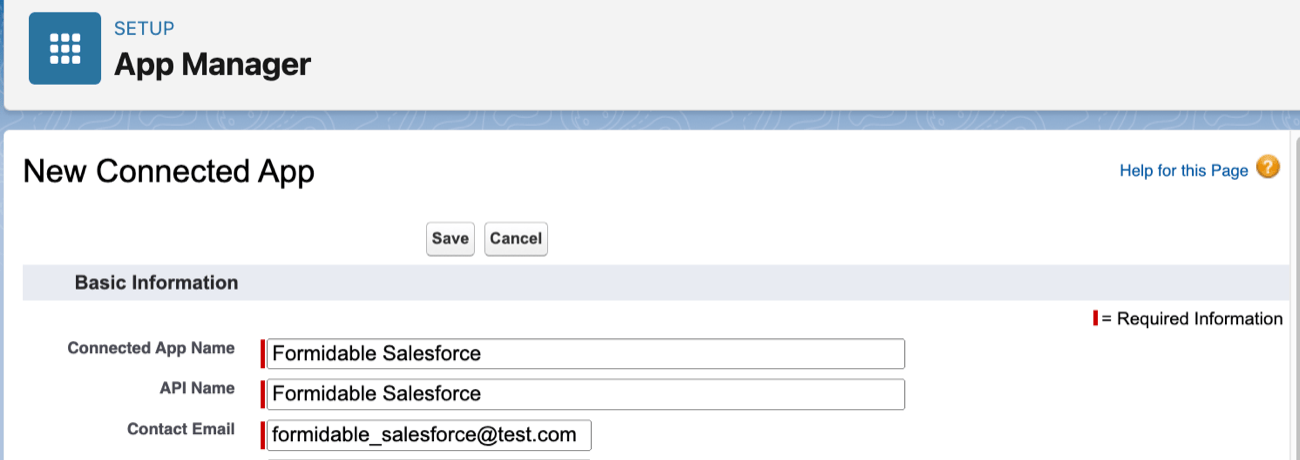
Next, enter the Connected App Name, API Name, and Contact Email to complete the basic information.
The Connected App Name is a unique name visible to Salesforce users. API Name is automatically filled out based on the Connected App Name. And the Contact Email is the email of the user creating the app.
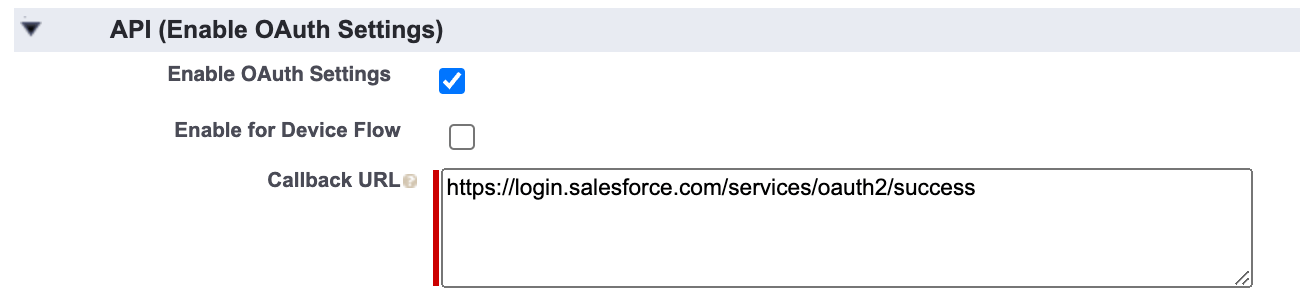
Next, you'll need to configure your app's permissions.
You can do this by choosing the Enable OAuth Settings checkbox under API (Enable OAuth Settings).
Then, insert this URL in the Callback URL box:
https://login.salesforce.com/services/oauth2/successIf you're using the Salesforce sandbox, you can use this instead:
https://test.salesforce.com/services/oauth2/successSo, your settings will look like this:
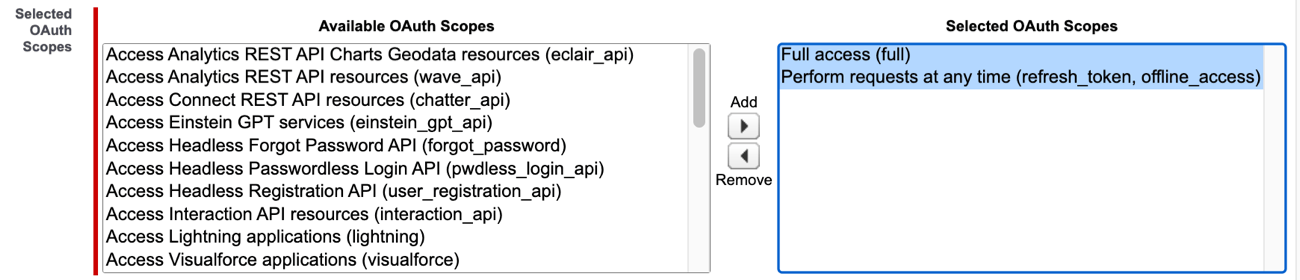
Next, under the Selected OAuth Scopes section, enable the following permissions by selecting them and then clicking the Add button:
- Full Access (full)
- Perform requests at any time (refresh_token, offline_access)
After you've added the permissions, uncheck the Require Proof Key for Code Exchange (PKCE) Extension for Supported Authorization Flows checkbox to allow Salesforce authentication.

For this part, the last thing you have to do is scroll to the bottom of the page and click Save. Give the app around 10 minutes for the changes to take effect before you click Continue to see your API information.

Step 3: Connect to Salesforce
Okay, the last step is to finish linking Salesforce and Formidable Forms.
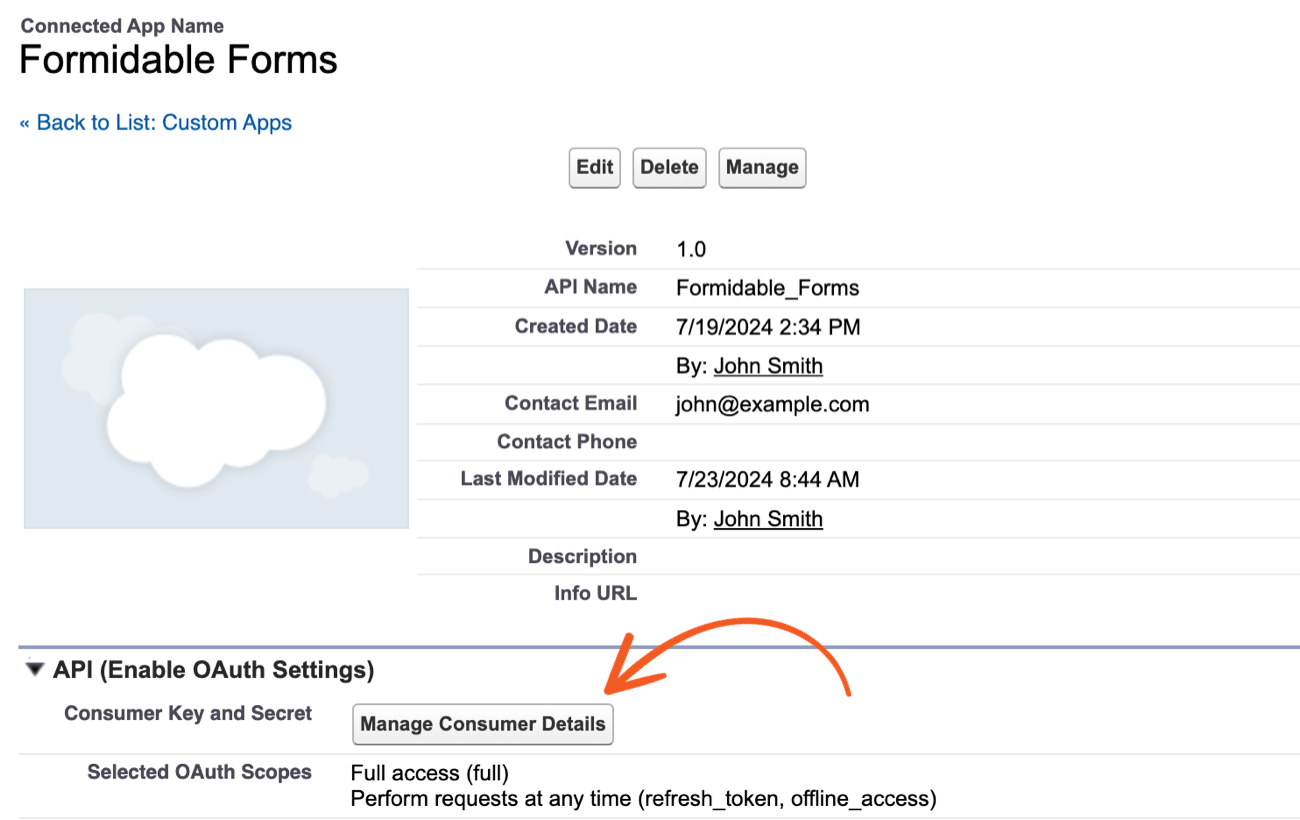
Go to the page showing your API details, find the API (Enable OAuth Settings) section, and click Manage Consumer Details.
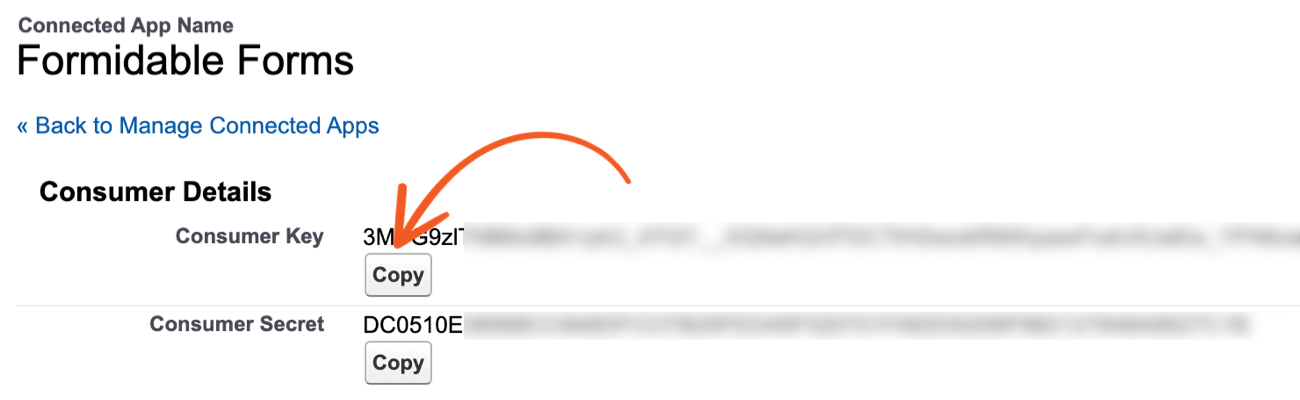
Next, copy your Consumer Key and Consumer Secret Key by clicking the Copy button next to each key.
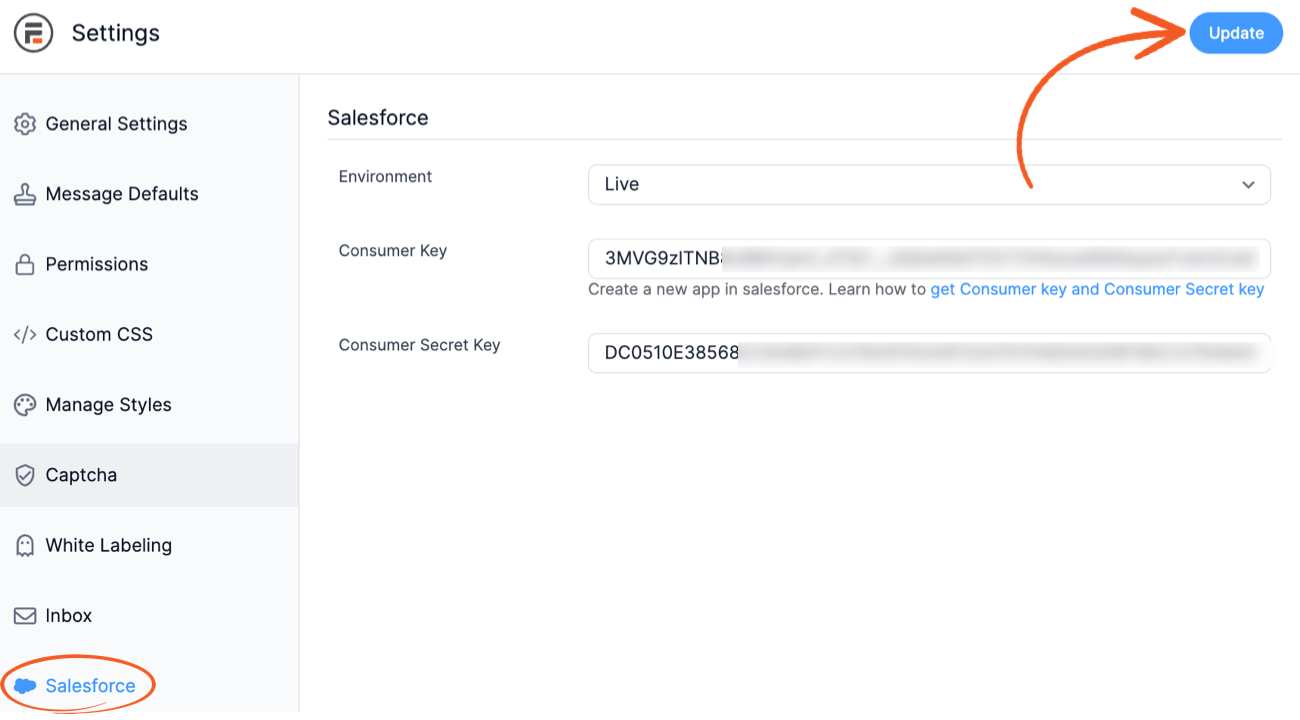
Once you have these, head to your WordPress dashboard and go to Formidable → Global Settings → Salesforce. Paste your Consumer Key and Consumer Secret Key on this page.
Then, click the Update button to save the settings.
When you enter these, the Authorize button and Auth code field will appear. Click the Authorize button to start the connection.
A popup will appear, asking you to log in using your Salesforce credentials. Enter these, then click the Allow button. When the popup appears, it shows the Remote Access Application Authorization message. Look for ?code= in the URL shown in the address bar.

Copy the string of characters after the = and close the popup.
Head back to Formidable → Global Settings → Salesforce and enter the code in the Auth code field. Make sure to change the %3D%3D at the end of the code to ==.
Once you make these changes, click the Update button to save the changes.

The hard work is over! Now, we have fun creating your Salesforce form in WordPress!
Step 4: Create a WordPress Salesforce form
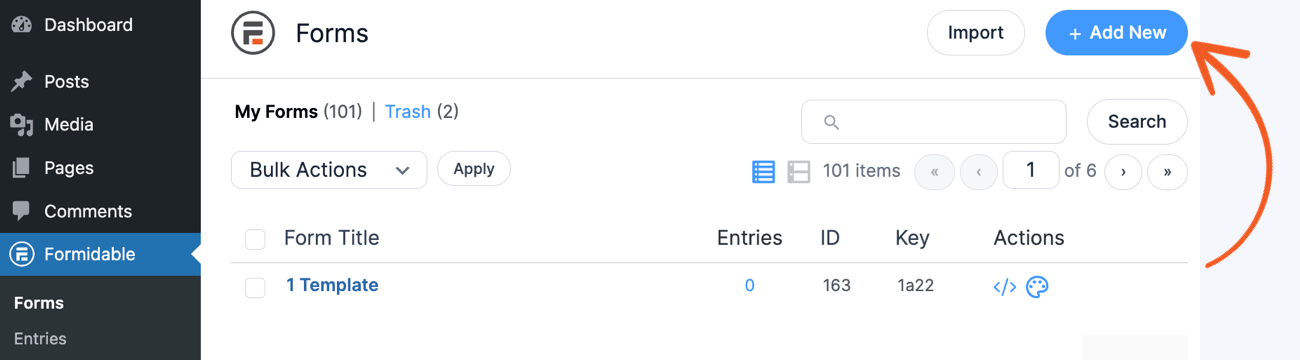
To start building a form, go to Formidable → Forms and click the Add New button.
Next, you have three options to build a form:
- Create a blank form and start from scratch
- Use one of the pre-built WordPress form templates
- Use the AI form builder
Whichever option you choose will take you to Formidable's drag and drop form builder where you can start customizing your form.
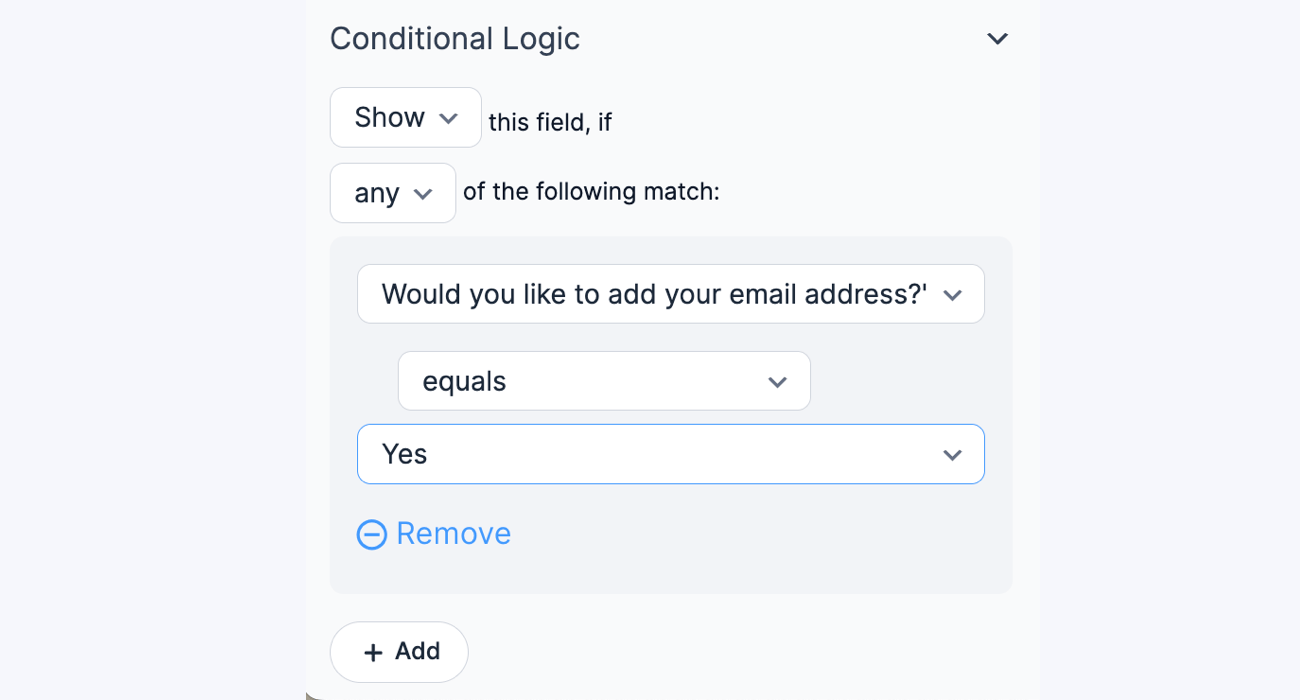
With the Elite plan, you can access all of Formidable's form fields and customize the form exactly as you need. And if you click on one of the fields, you can set up conditional logic in the Field Options on the left-hand side.
When you're ready, click the Save button to save your form and give it a name.
Next, you must link the form to Salesforce.
So, click the Settings button at the top of the form builder, go to the Actions & Notifications tab, and click the Salesforce icon.
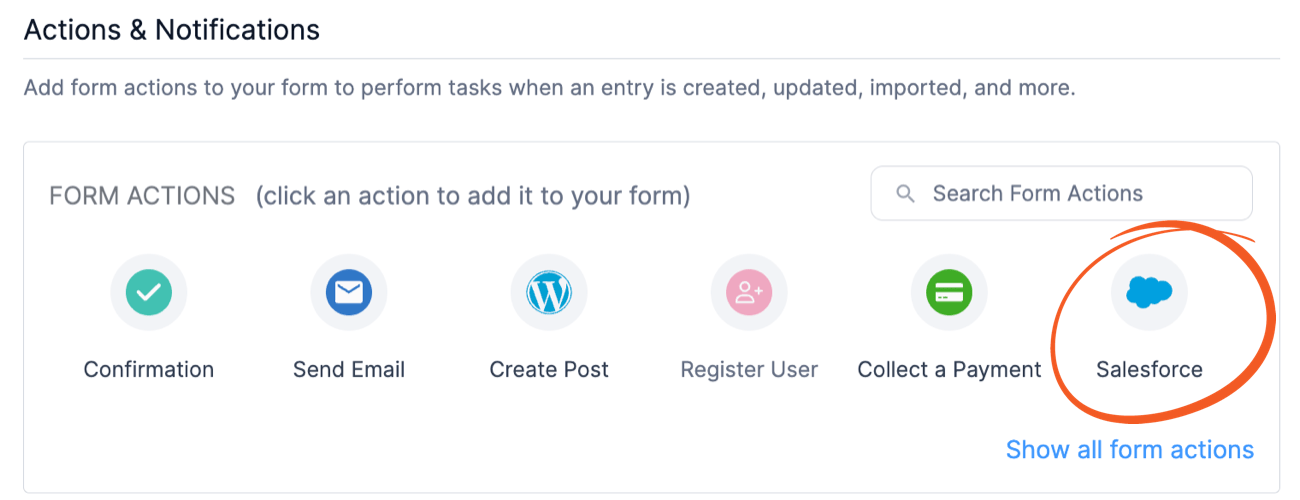
This will let you start mapping the form fields to Salesforce. Start by choosing the Salesforce Object you want to create, which can include contacts, leads, events, etc.

Once you do, it will automatically grab all the relevant fields and show them as dropdown options.
This makes it easy to match the proper fields and ensure no errors when sending data from Formidable Forms to Salesforce.

Last, click the Update button to save your progress and you're ready to publish the form.
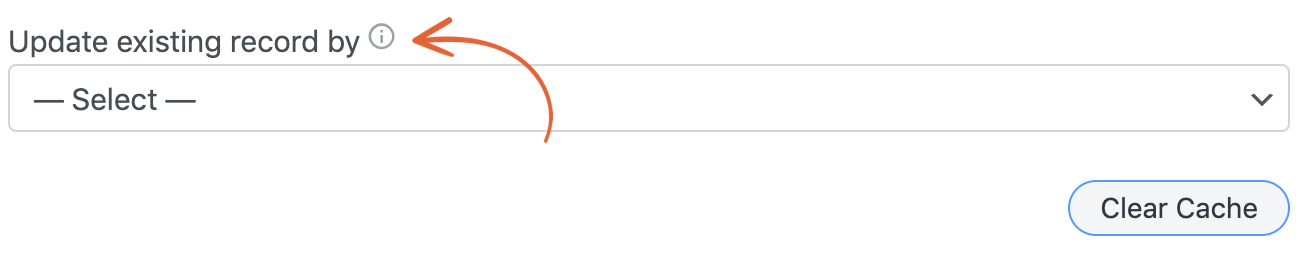
One last thing: If you'd like to update and add new records when a user submits the form, you can map the Update existing record by option to a form field, such as an email field for email addresses.
For more information, check out our Salesforce documentation to see everything you can do with your Salesforce form in WordPress.
Step 5: Publish the form
Formidable Forms has two ways to display its forms:
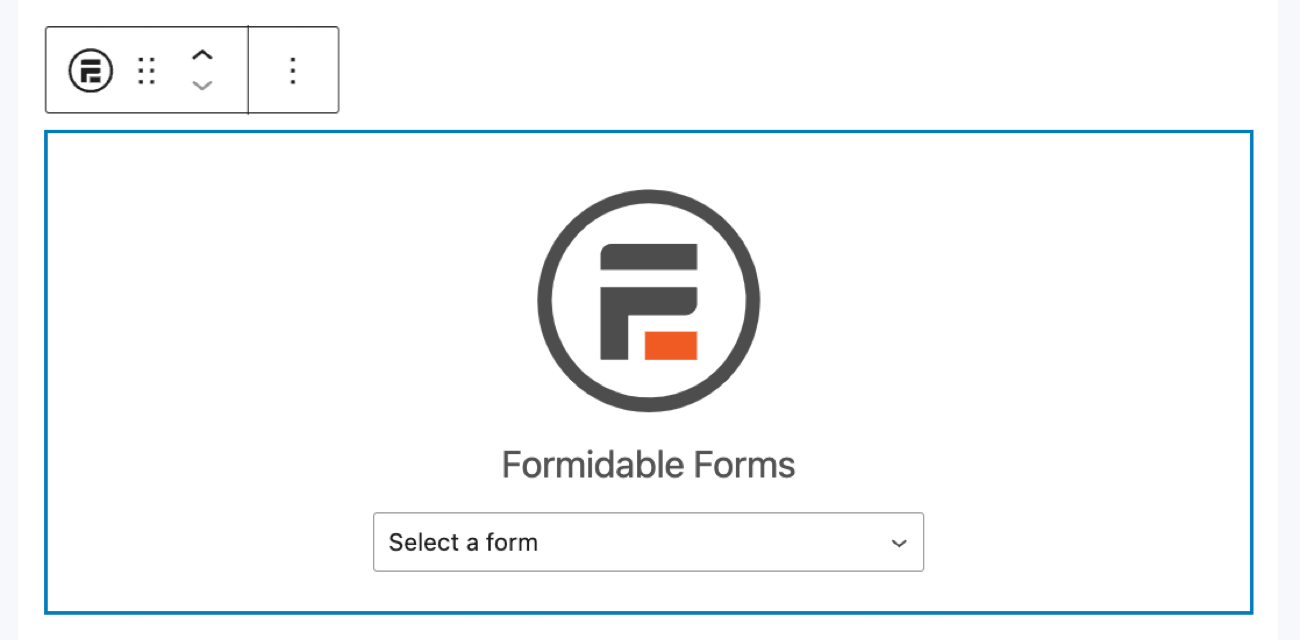
For this example, I'll show you how to do it using a WordPress block. First, go to the post/page where you want to show the WordPress Salesforce form.
Next, add a WordPress block and find the Formidable block. Then, choose your form from the dropdown and show a preview in the block.
Last, update your post or page, and the form will be live. And that's it! You've created your first Salesforce form in WordPress.
Now it's time to create more! 😉
Start collecting Salesforce leads now!
We hope this guide was helpful in creating a Salesforce form in WordPress. Integrations like these don't need to be difficult, and we hope this guide was the best example of that.
It's frustrating when things can't just be simple. And we understand that.
So, if you haven't already, grab Formidable Forms Elite and get started using the button below!
And join our community on Facebook, Twitter, LinkedIn and YouTube for more WordPress tips and tricks. Or, join our newsletter and get it sent straight to your inbox!
 How to Connect a Pipedrive Form to WordPress
 How to Integrate Zoho CRM with WordPress
 How to Use Hubspot with WordPress Forms
Any plans to add new / extra functionality into the Salesforce connector? Wish it would be possible to have a 2-way sync. But more importantly to be able to do stuff in a multiple step. EG
1. Create lead
2. Add lead to campaign after creation
3. Add task for accountmanager
For example.
Also a custom Formidable Object would be nice, so you can see all your forms and the submitted responses within Salesforce itself.
Thanks so much for the feedback and feature requests...These two features do come up from time to time so it is great to know what our users are needing out of this integration.
I'll add your votes to these feature requests so our devs can prioritize them accordingly.
Thanks again.
There is a major flaw with this add on. If someone makes a field required in Salesforce, but the mapped field is left blank in Formidable Forms, none of those entries will make it in, and not a single person will know it happened. There is no immediate notification, only an entry in the error logs. This creates a single point of failure.
Fortunately, a lot of people are perfect, never make mistakes, and always remember to check the error logs every day, so you should be fine. ?
Hi David,
Thanks for reaching out. You can avoid this issue by making any required Salesforce fields required in your Formidable Form. That way the form won't submit if the required fields are left blank.
Hope this helps.
Is there a way (besides a hidden form field) to input a static value for one of the Salesforce fields? For example, for a Source field, I want to submit "Website" - and I'm hoping not to update all our forms with that as a hidden field in the form.
Thanks in advance for your help!